
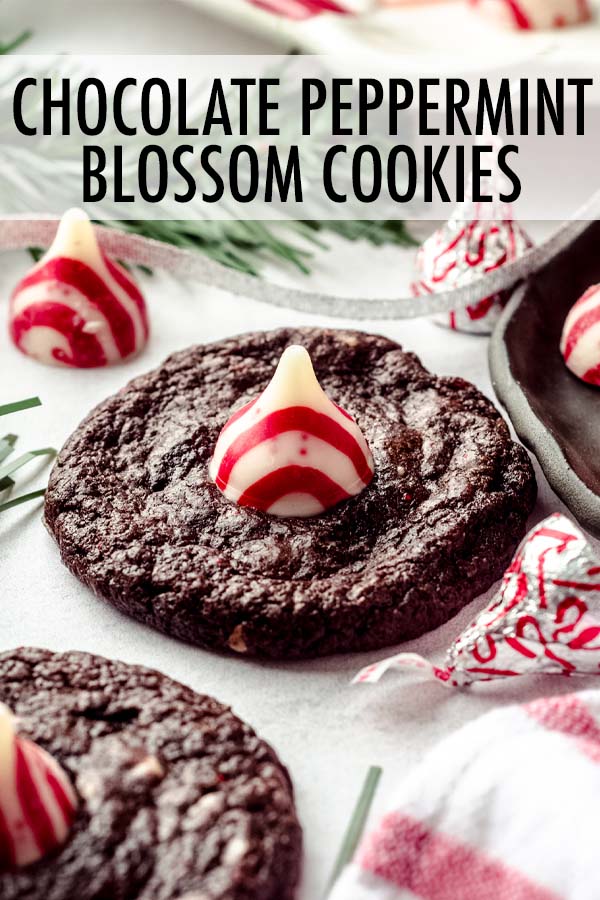
Chocolate Peppermint Blossom Cookies
As an Amazon Associate, I earn from qualifying purchases. Read the full disclosure here.
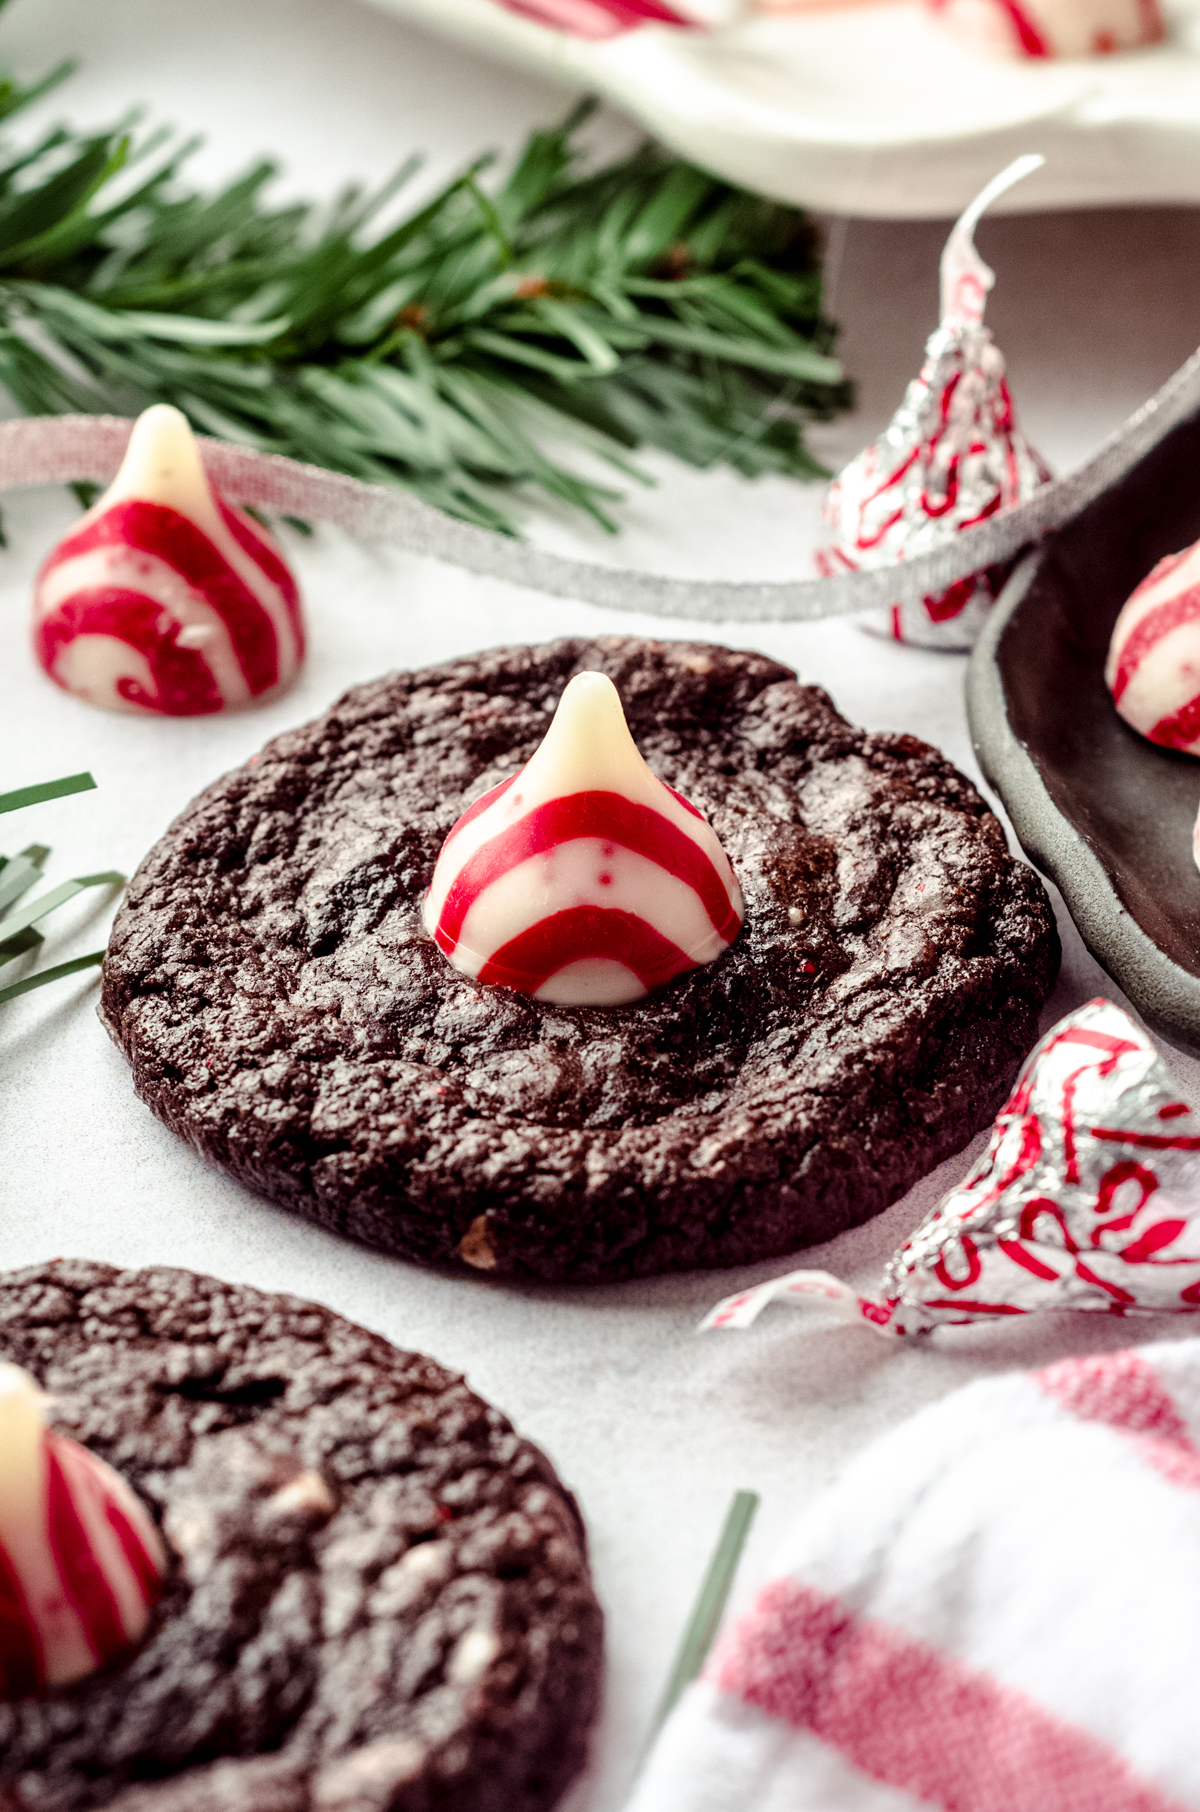
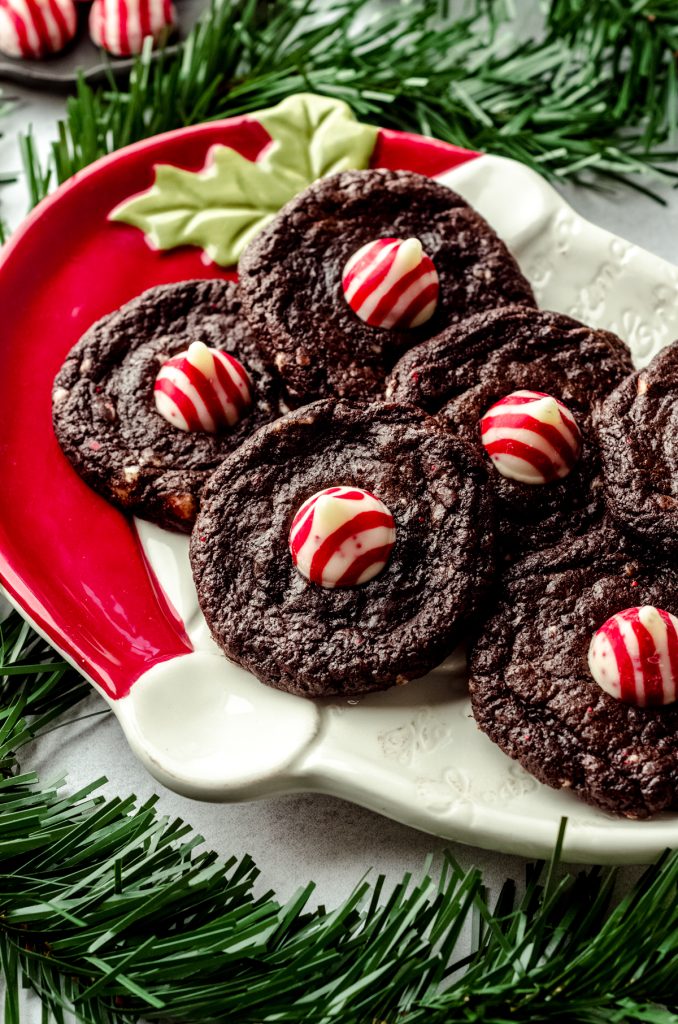
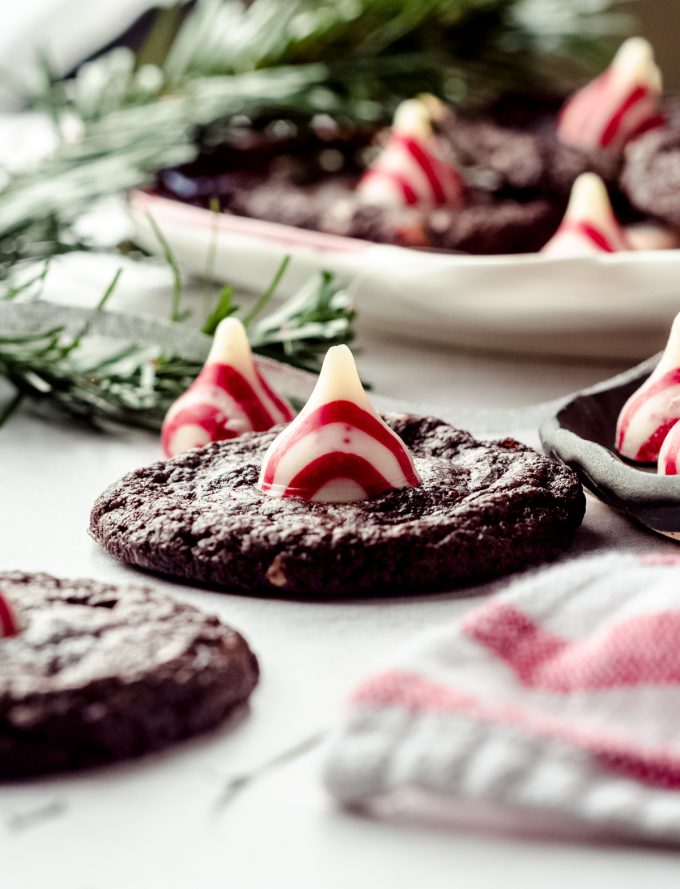
These chocolate peppermint cookies are soft & chewy and topped with a festive candy cane Hershey’s Kiss. Perfect for Christmas!
A CHRISTMAS TWIST ON THE CLASSIC
You’ve seen classic peanut butter blossom cookies before, I’m sure of it. They’re an iconic “classic” cookie created as a nod to the perfect flavor combination of chocolate + peanut butter that often show up around the holiday season.
Though if you ask me… There’s never a bad time for them, so be sure to bake them sometime during the other 11 months of the year so they know we still love them.
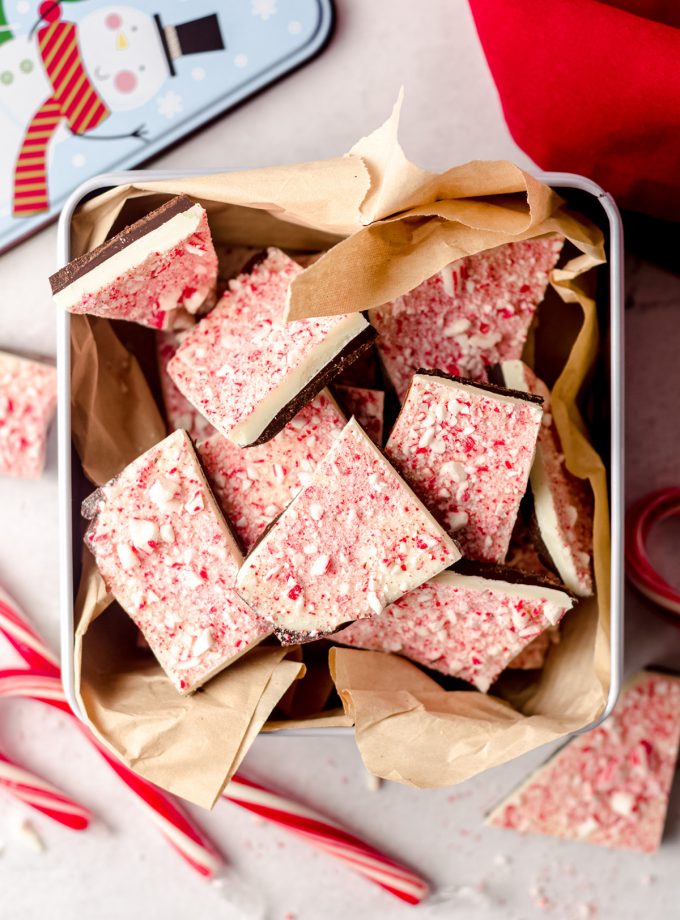
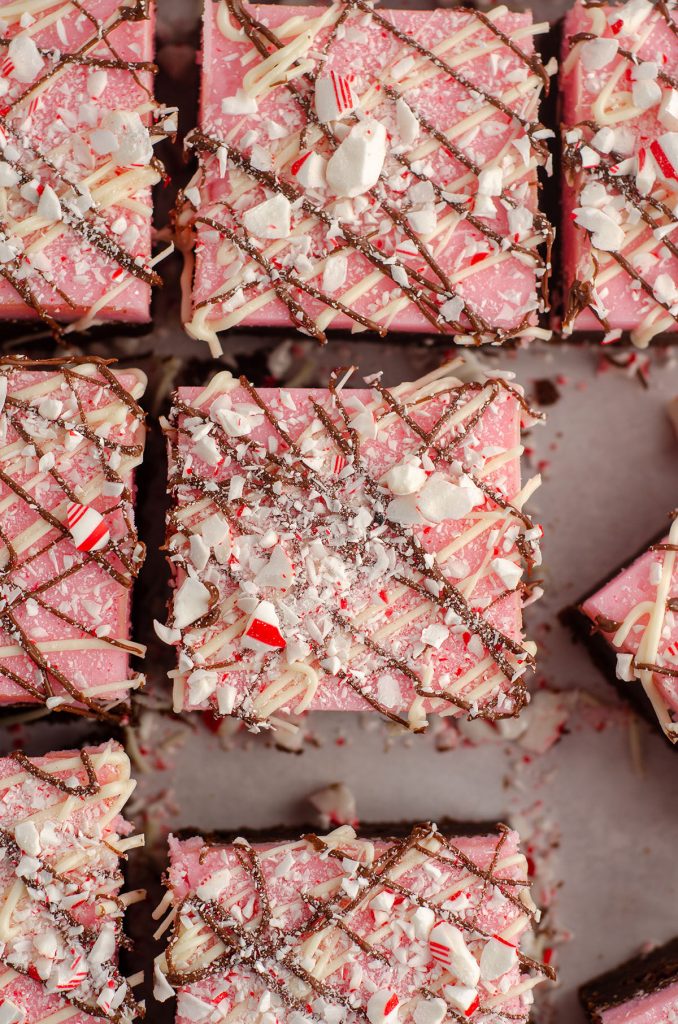
These blossoms, though, are definitely a Christmas/winter thing. Mostly because peppermint Kisses are only available for a short time in stores, but also because that candy canes and peppermint flavor are absolutely quintessential to the holiday season. Just ask my peppermint bark, peppermint mocha coffee creamer, peppermint bark cookies, peppermint pie, and peppermint brownies.
Yes, December. Give me all of the peppermint chocolate.
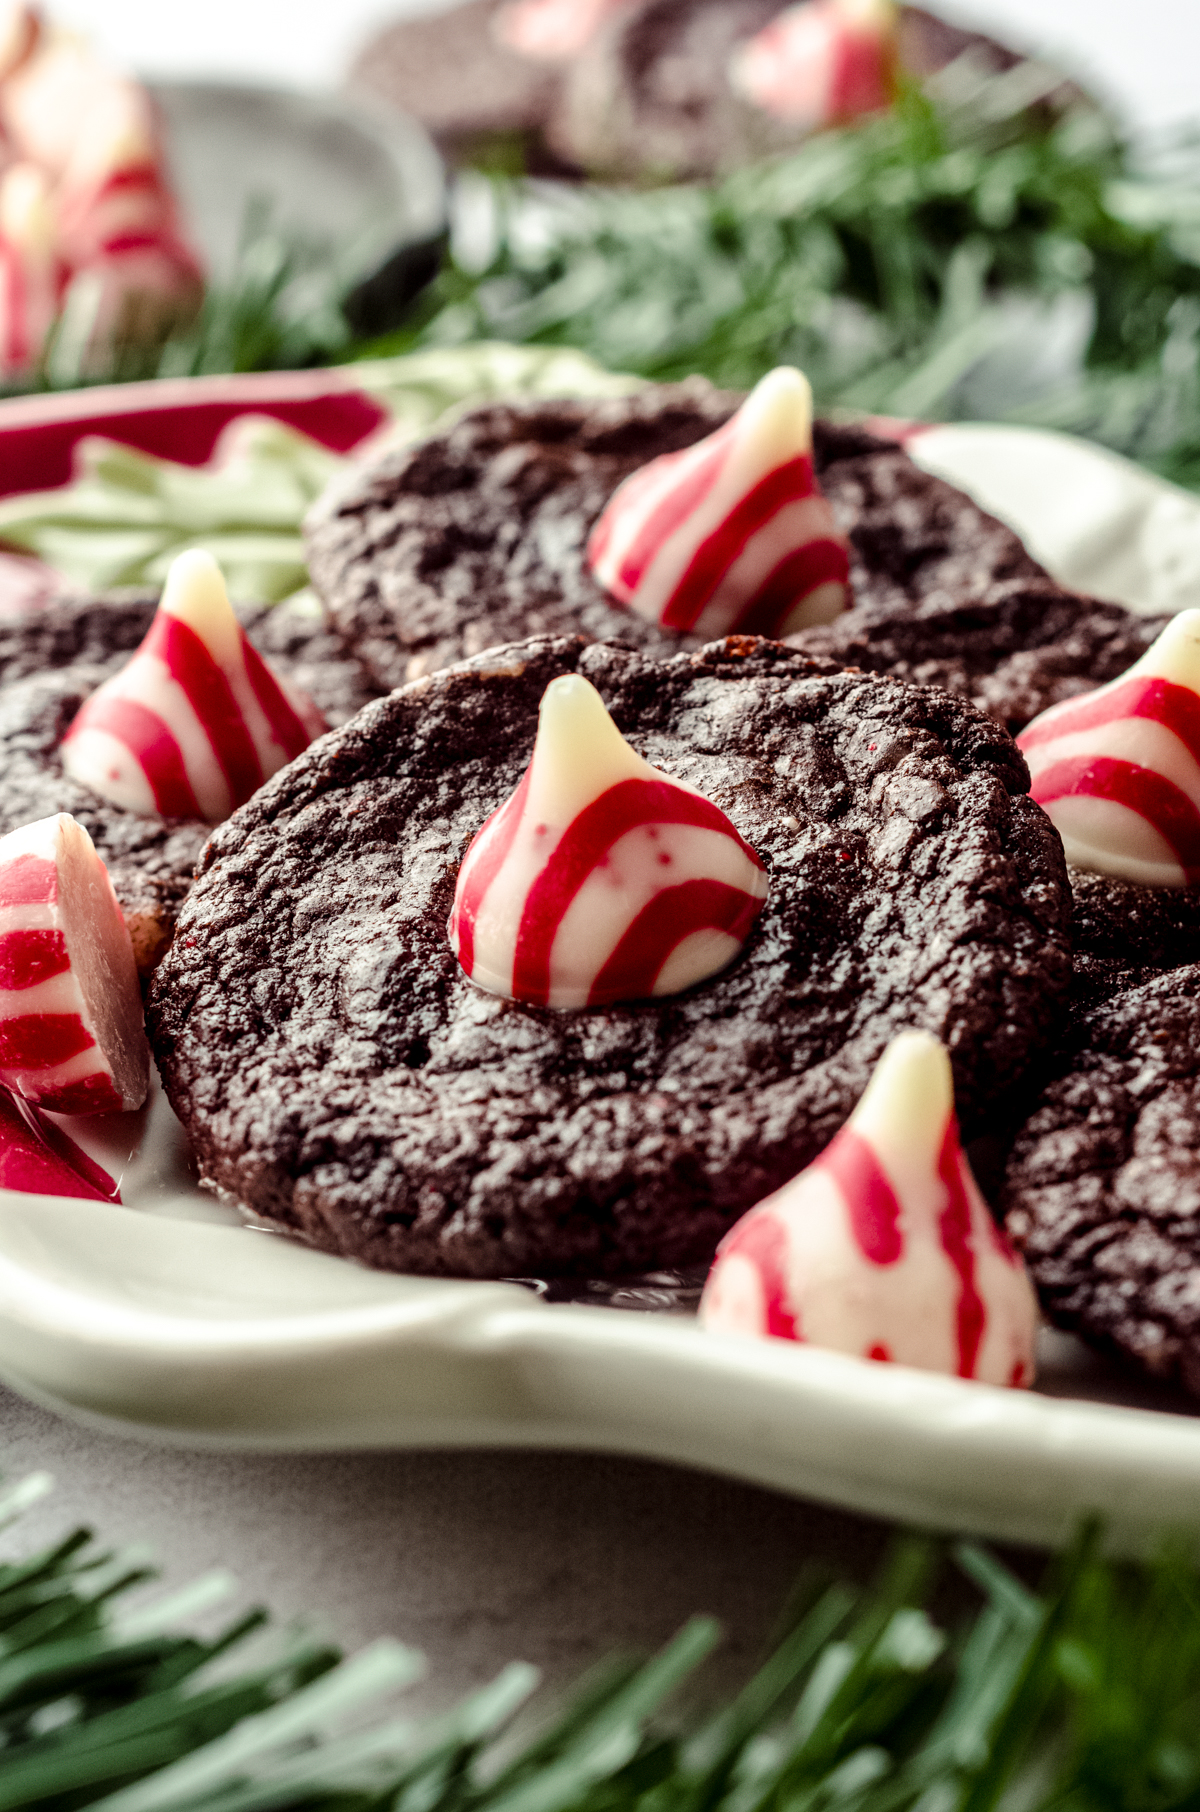
This peppermint blossoms recipe yields chewy chocolate cookies that are filled with chopped Hershey’s candy cane Kisses for a little crunch in every bite, and a full kiss right on top for a beautiful contrast of color.
INGREDIENTS YOU WILL NEED
This cookie recipe has a list of ingredients I’m sure you have in your pantry right now, save for the Hershey Kisses, unless you’re like me and buy the family size bag as soon as they become available in stores. Then you’re all set.
Rest assured, you don’t need a family size for this recipe, just the standard smaller size. Unless you have no self control when it comes to these things. In that case, splurge for the big guy.
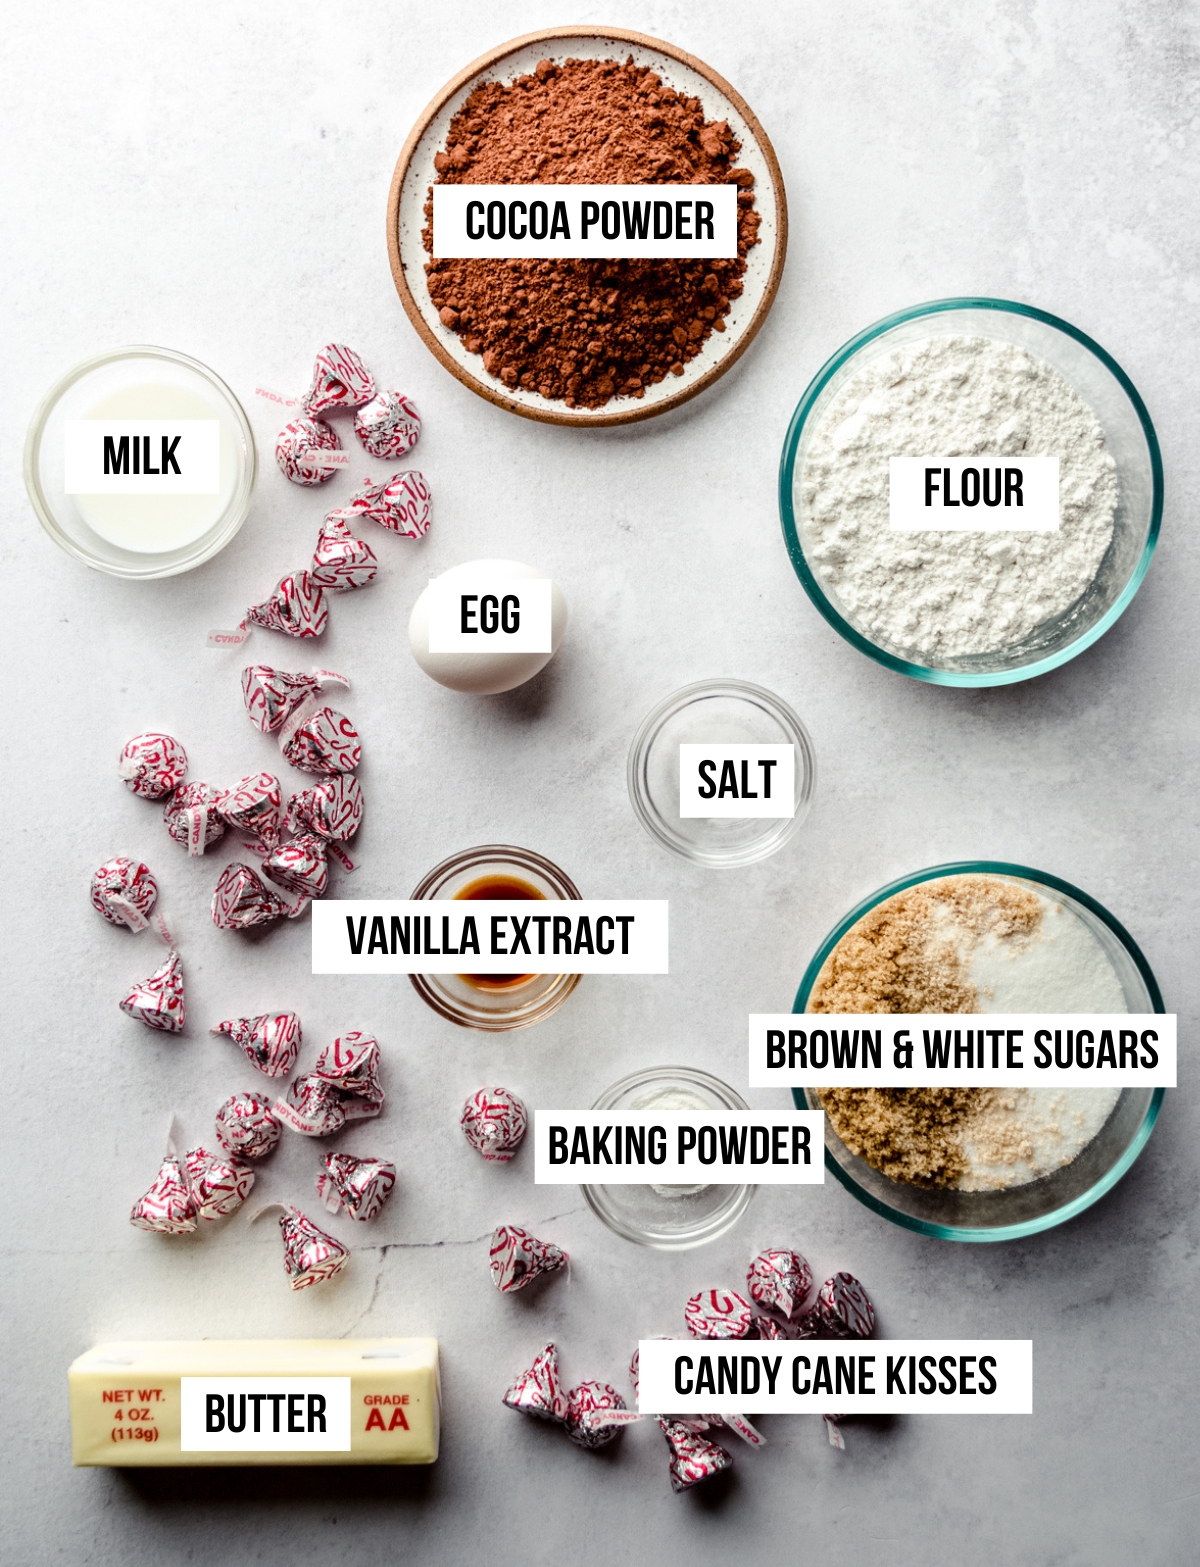
For these chocolate peppermint blossoms, you will need:
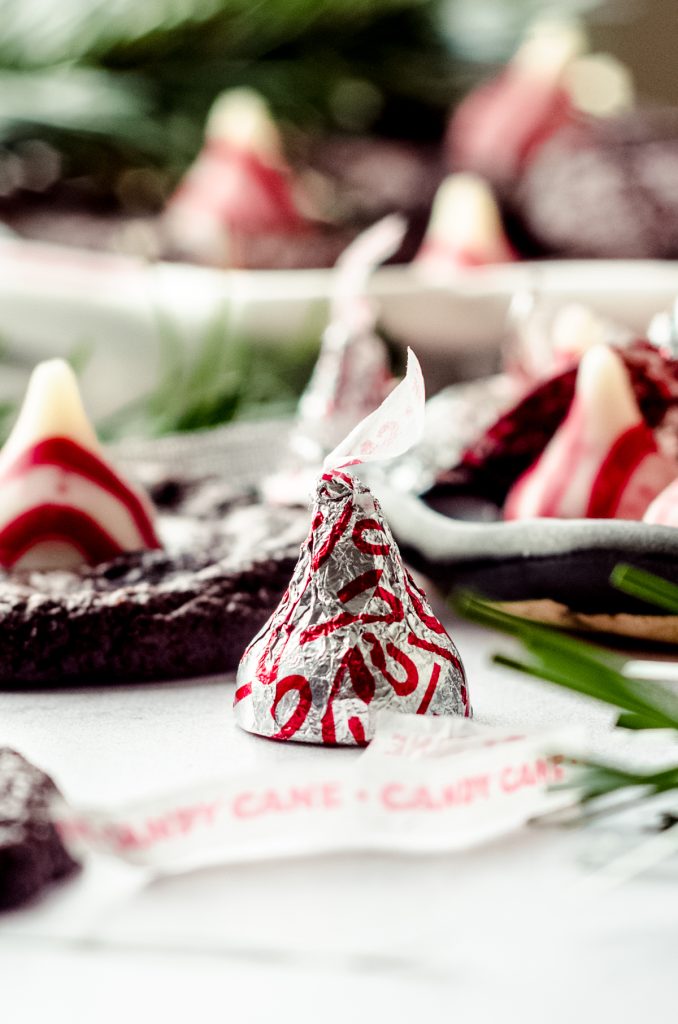
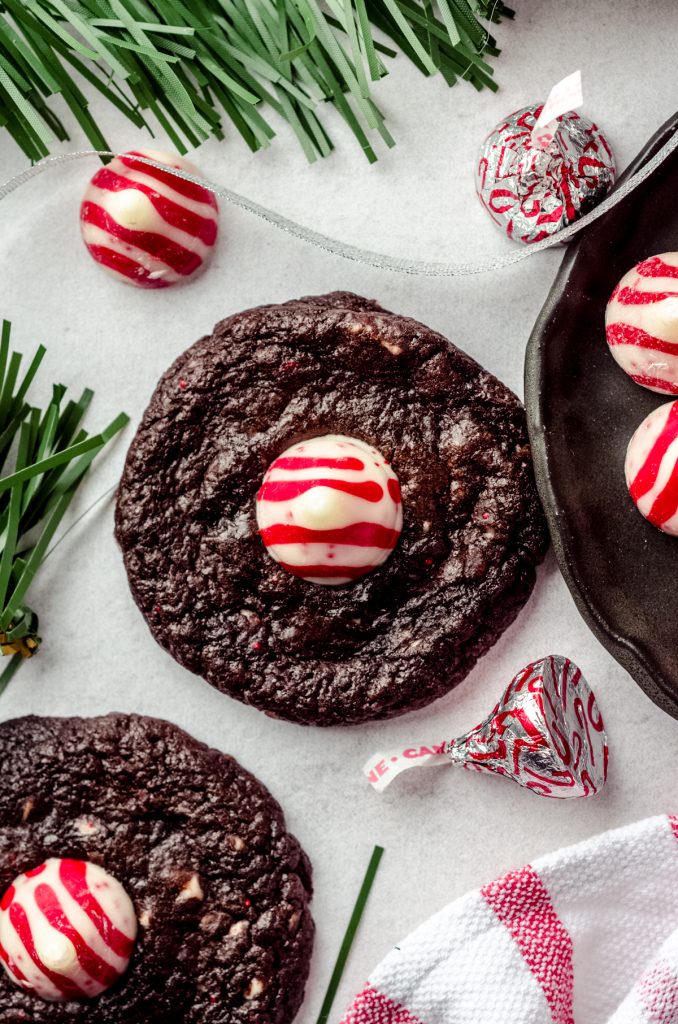
• Candy Cane Hershey’s Kisses
• all-purpose flour
• unsweetened cocoa powder
• baking powder
• salt
• unsalted butter
• granulated sugar
• light brown sugar
• egg
• vanilla extract
• milk
HOW TO MAKE CHOCOLATE PEPPERMINT BLOSSOMS
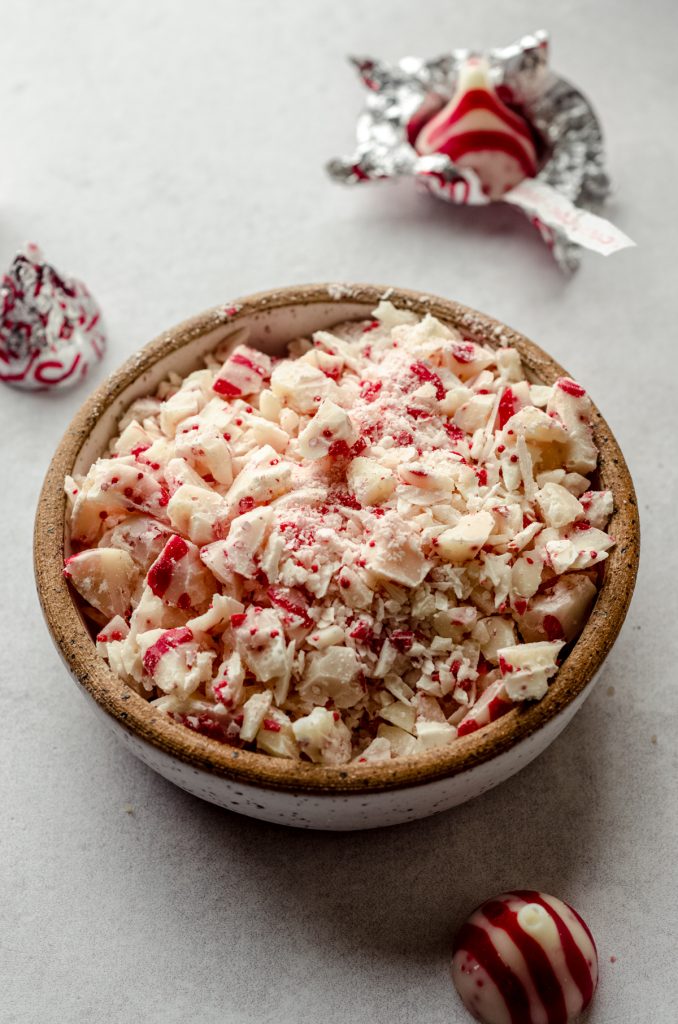
Before you start, you’ll need to unwrap approximately 34 kisses. You’ll be chopping 18 of them and using the other 16(ish– depending on how many cookies you wind up with!) to top the baked cookies. There will be plenty leftover for taste testing, don’t you worry!
Build in time for this task as well as chilling the dough, but otherwise, this cookie recipe is very straightforward.
MAKE & CHILL THE COOKIE DOUGH
STEP #1
Start by whisking together the flour, cocoa powder, baking powder, and salt, then set this mixture aside.
STEP #2
Next, cream the butter and both sugars on medium speed until light and fluffy, then add the egg and vanilla and beat again on medium speed until everything is incorporated. Be sure to scrape down the sides and bottom of the bowl as necessary.
STEP #3
Slowly add the dry ingredients to the wet ingredients and blend the mixture until the cookie dough just starts to come together, then add the milk and beat again until combined.

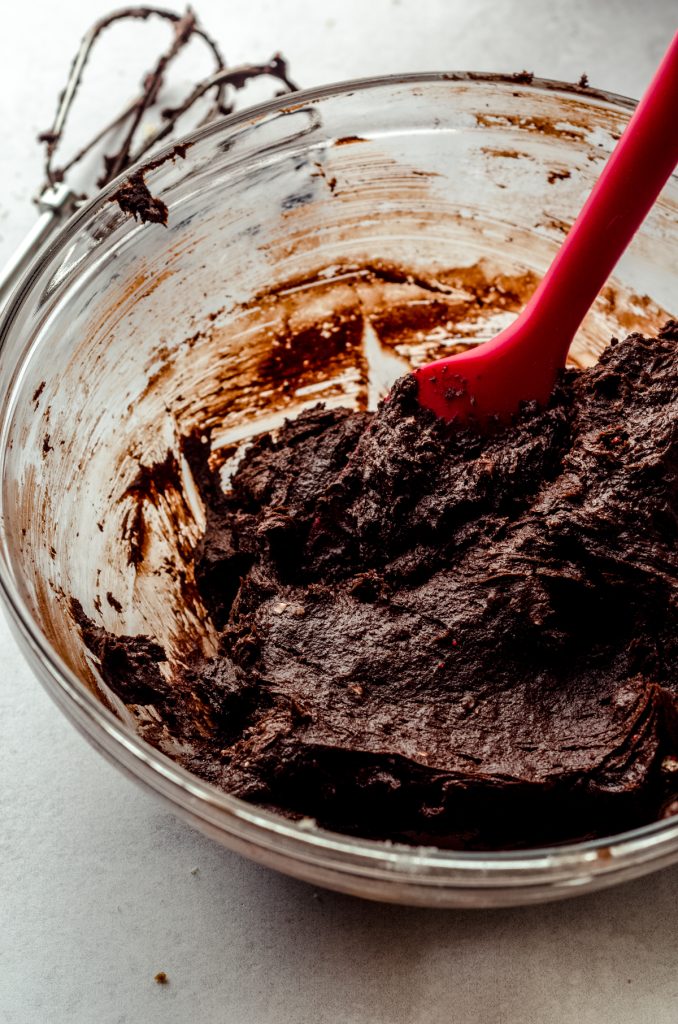
STEP #4
Lastly, add the chopped Candy Cane Hershey’s Kisses, blend again until evenly dispersed, then cover tightly and refrigerate for at least 2 hours and up to 3 days.
BAKE AND COOL BRIEFLY
STEP #5
When you are ready to bake the cookies, using a cookie scoop to make round balls of dough with your hands and then bake.
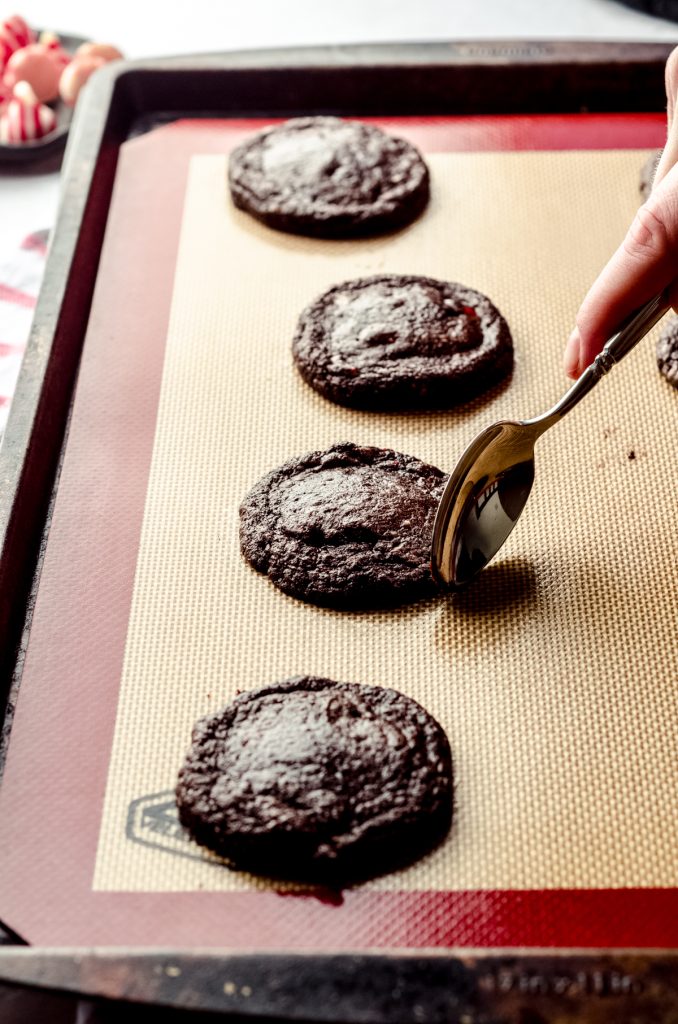
STEP #6
Remove the baked cookies from the oven, reshape with a spoon if the shapes got a little wonky, then allow the cookies to cool on the baking sheet for about 5 minutes.

CRUCIAL STEP
While the cookies are cooling, make room in the freezer.
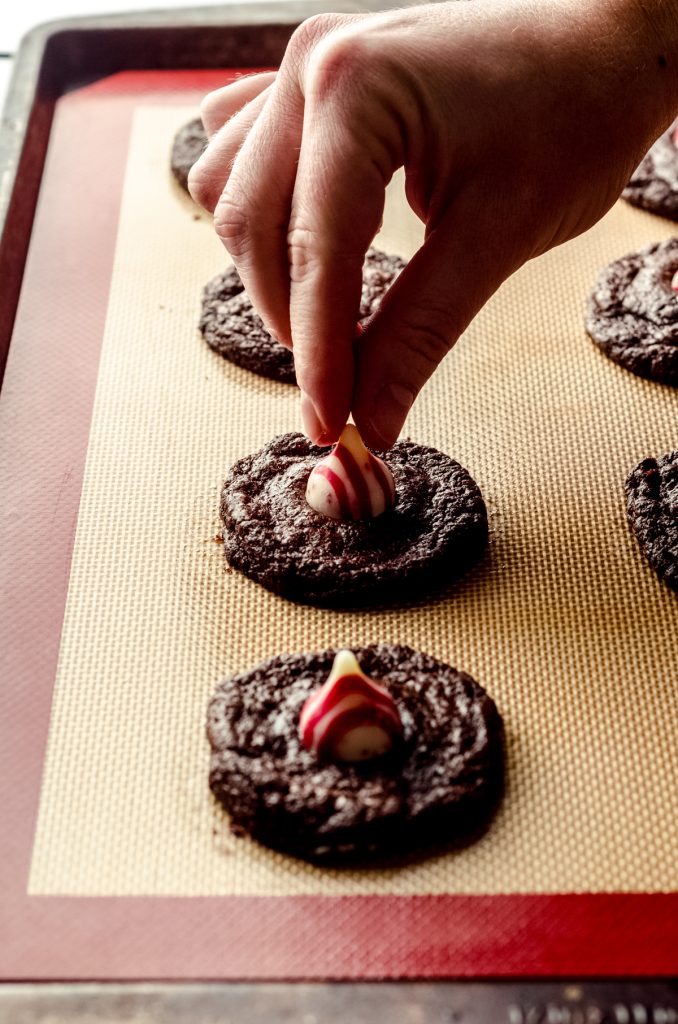
TOP WITH A KISS AND FREEZE
STEP #7
Quickly press a Candy Cane Hershey’s Kiss into the center of each warm cookie and immediately put the baking sheet into the freezer for 10 minutes to prevent the Kiss from melting. Once completely cooled, you can allow cookies to come to room temperature on the baking sheet.
WHAT IF I CAN’T FIND CANDY CANE KISSES?
If you’re somehow unable to find Candy Cane Hershey’s Kisses or you want to make these at another time of year, you may certainly use a regular chocolate kisses and just add ½ teaspoon peppermint extract to the dough.
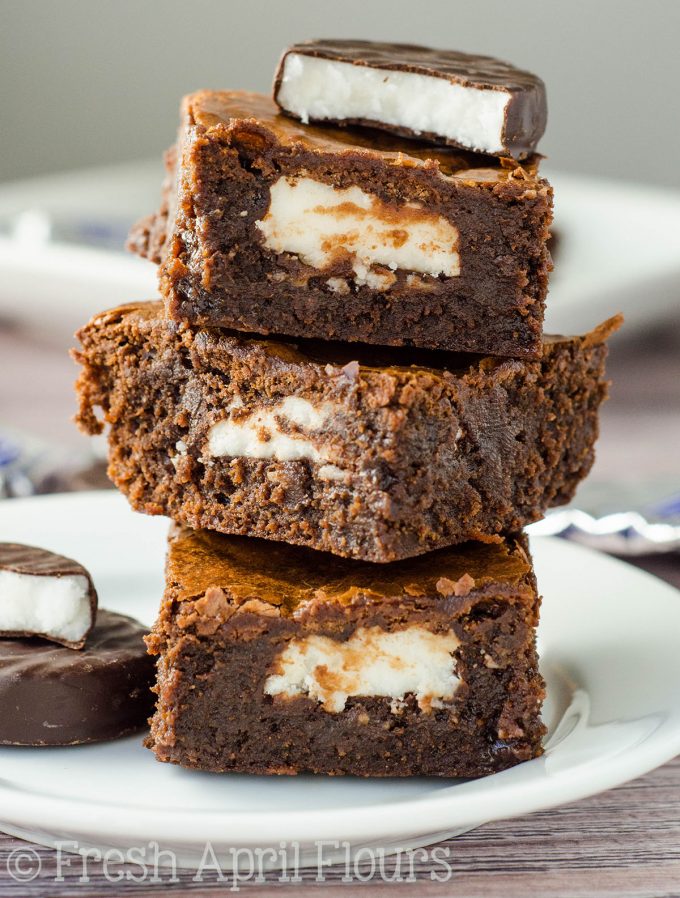
Do you love peppermint and chocolate as much as I do? Check out these EASY must-try recipes next: homemade peppermint bark, peppermint brownies, and Peppermint Pattie brownies.

Chocolate Peppermint Blossoms Recipe
Ingredients
- ¾ cup (90g) all-purpose flour be sure to measure properly
- ½ cup (48g) unsweetened cocoa powder
- 1 teaspoon baking powder
- ⅛ teaspoon salt
- ½ cup (113g) unsalted butter softened to room temperature
- ½ cup (100g) granulated sugar
- ¼ cup (50g) firmly packed light brown sugar
- 1 large egg room temperature
- 1 teaspoon vanilla extract
- 2 Tablespoons (30ml) milk any
- ½ cup finely chopped Candy Cane Hershey's Kisses approximately 18
- 16 Candy Cane Hershey's Kisses unwrapped and kept whole
Instructions
- In a medium size bowl, whisk together the flour, cocoa powder, baking powder, and salt. Set aside.¾ cup (90g) all-purpose flour, ½ cup (48g) unsweetened cocoa powder, 1 teaspoon baking powder, ⅛ teaspoon salt
- In a large bowl with a handheld mixer or in the bowl of a stand mixer fitted with the paddle attachment, cream the butter and both sugars on medium speed until light and fluffy, about 3-4 minutes. Add the egg and vanilla and beat again on medium speed until everything is incorporated. Scrape down the sides and bottom of the bowl as necessary.½ cup (113g) unsalted butter, ½ cup (100g) granulated sugar, ¼ cup (50g) firmly packed light brown sugar , 1 large egg, 1 teaspoon vanilla extract
- With the mixer speed on low, slowly add the dry ingredients and blend until cookie dough just starts to come together. Add the milk and beat again until combined. Add the chopped Candy Cane Hershey's Kisses and blend again until evenly dispersed. Cover the cookie dough tightly and refrigerate for at least 2 hours and up to 3 days.2 Tablespoons (30ml) milk , ½ cup finely chopped Candy Cane Hershey's Kisses
- When you are ready to bake the cookies, preheat oven to 350ºF (177ºC). Line two large baking sheets with parchment paper or silicone baking mats. Set aside.
- Using a cookie scoop (I use this #50 cookie scoop for all of my standard size cookies), remove dough from bowl and form into balls with your hand. Dough will become sticky with the warmth of your hand, so try to be gentle and work quickly. Bake the cookies for 10-12 minutes. Cookies will look underdone. Use a spoon to reshape the cookies if the circles have gotten wonky. Allow cookies to cool on the baking sheet for about 5 minutes. While the cookies are cooling, make room in the freezer.
- Quickly press a whole unwrapped Candy Cane Hershey's Kiss into the center of each cookie and immediately put the baking sheet into the freezer for 10 minutes to prevent the Kiss from melting. Once completely cooled, you can allow cookies to come to room temperature on the baking sheet. Cookies can be kept in an airtight container at room temperature for 1 week. Cookies may be frozen, up to 2 months. Unbaked cookie dough balls may be frozen up to 3 months. Do not thaw before baking and add 1-2 minutes to baking time.16 Candy Cane Hershey's Kisses
Nutrition Disclosure
All nutritional values are approximate and provided to the reader as a courtesy. Changing ingredients and/or quantities will alter the estimated nutritional calculations.
Now I’m imagining Chocolate Peppermint Blossom flavoured toothpaste, which would be awesome!!
I am going to try to get to our American candy store this weekend because I just know these cookies would be a massive hit with my work friends – sharsies is my favourite baking thing tool, well that and licking the bowl 😉
These are a perfect holiday cookie Lynn, and your photography is just awesome!
Chocolate peppermint toothpaste… I wouldn’t hate it! Hahaha! Thanks, Amy 🙂
These cookies are adorable!
Thank you, Matea!
This recipe is a winner!
Thank you!
These cookies are so delicious! I’ve never made blossom cookies before and I’m glad I started with these! With me, the more peppermint the better and they didn’t disappoint! Clear directions and not hard to make! And turned out very pretty too!
I always forget about these cookies– I’m totally making them next year!!
Man I love these cookies. I didn’t chop my kisses suuuper fine so there is a lot of texture in the cookie. I also put the kisses on the hot cookie right out of the oven. I hate it when you have a cookie with an embellishment and it falls off, so I let the kiss melt into the cookie and did not pop them in the freezer as recommended. The kiss softened into the cookie and is for sure stuck in there. These just taste like Christmas. Definitely going in the regular rotation.
This is lovely! Thanks so much, Erin!
This recipe will be joining our must bake for the holiday season. So yummy!
Thanks so much, Erin!
I made these cookies today with my 8 year old daughter on a snow day off of school. So good! They turned out really well and had lots of opportunities for my daughter to help. She especially loved counting the kisses and rolling the dough into balls. Everyone enjoyed eating them. The perfect blend of chocolate and peppermint!
Thanks so much, Megan! I’m so glad you all enjoyed it 🙂
Excellent! I made this for my family and they just loved them! Rich, gooey inside and perfect combination of chocolate and peppermint
Thanks, Ellen! 🙂