
Sourdough English Muffin Recipe
As an Amazon Associate, I earn from qualifying purchases. Read the full disclosure here.
Put that sourdough starter to good use and make your own sourdough English muffins from scratch, with all the nooks and crannies you love about the store-bought ones!
Raise your hand if you started a sourdough starter during stay-at-home orders.
Ok, now raise your other hand if you haven’t made anything with it other than a loaf of sourdough bread, if that.
Mmmkay, so there may be some of you with one hand up, probably very likely two, and you two-handers is who I’m here for today.
Everyone else, I’m here for you, too… But if you’ve yet to actually use the sourdough starter you so enthusiastically brought to fruition, today is your day, one thousand percent.
But before I get to the goods, we’ve got to establish a couple of things, and the first thing on that list is addressing exactly what a sourdough starter is, for those of you who may not actually know or those of you who got here and are like “uhh… A what?”
WHAT IS A SOURDOUGH STARTER?
A sourdough starter is a living culture of naturally occurring yeast and bacteria that you can use to leaven, or give rise to, bread.
You can purchase a starter or start one yourself from scratch, which is what manyyyy folks decided to do in the last few months because HELLO, stuck inside and HELLO, fun.
Cultivating a starter from scratch is fairly simple and straightforward, and the basic principle involves combining flour and water.
Because there are naturally occurring yeast and bacteria already present in flour and in the air, adding water to the flour + bacteria allows the bacteria to begin feeding on the starches in the flour.

This is called fermentation, and by feeding fresh flour + water to this combination, we can create a strong culture of wild yeast that can then be used in place of traditional dry yeast to leaven our bread.
If you are looking for a good tutorial on how to make a sourdough starter, my friend Kristin has a wonderful one.
She also has an awesome video that covers all the ins and outs of what’s happening in a starter and why we do certain things throughout the process of cultivating and maintaining a starter, which I’ve included below.

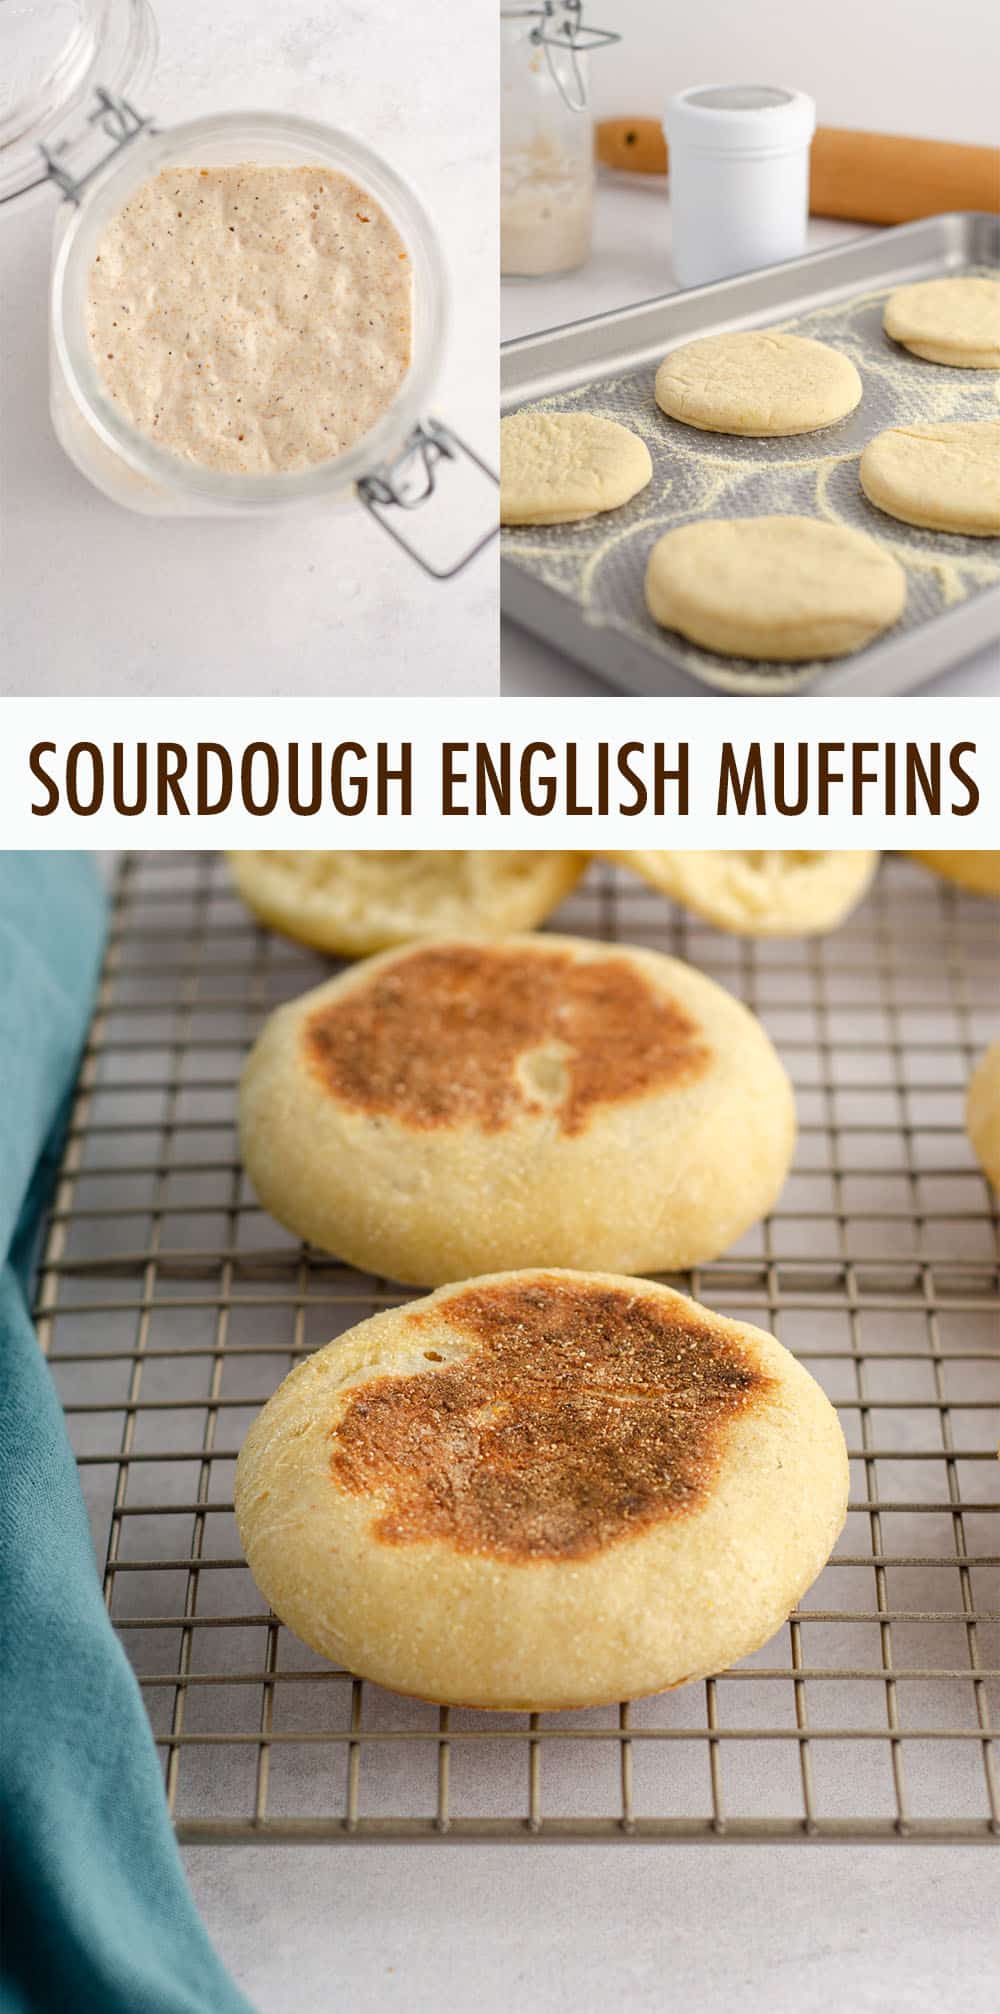
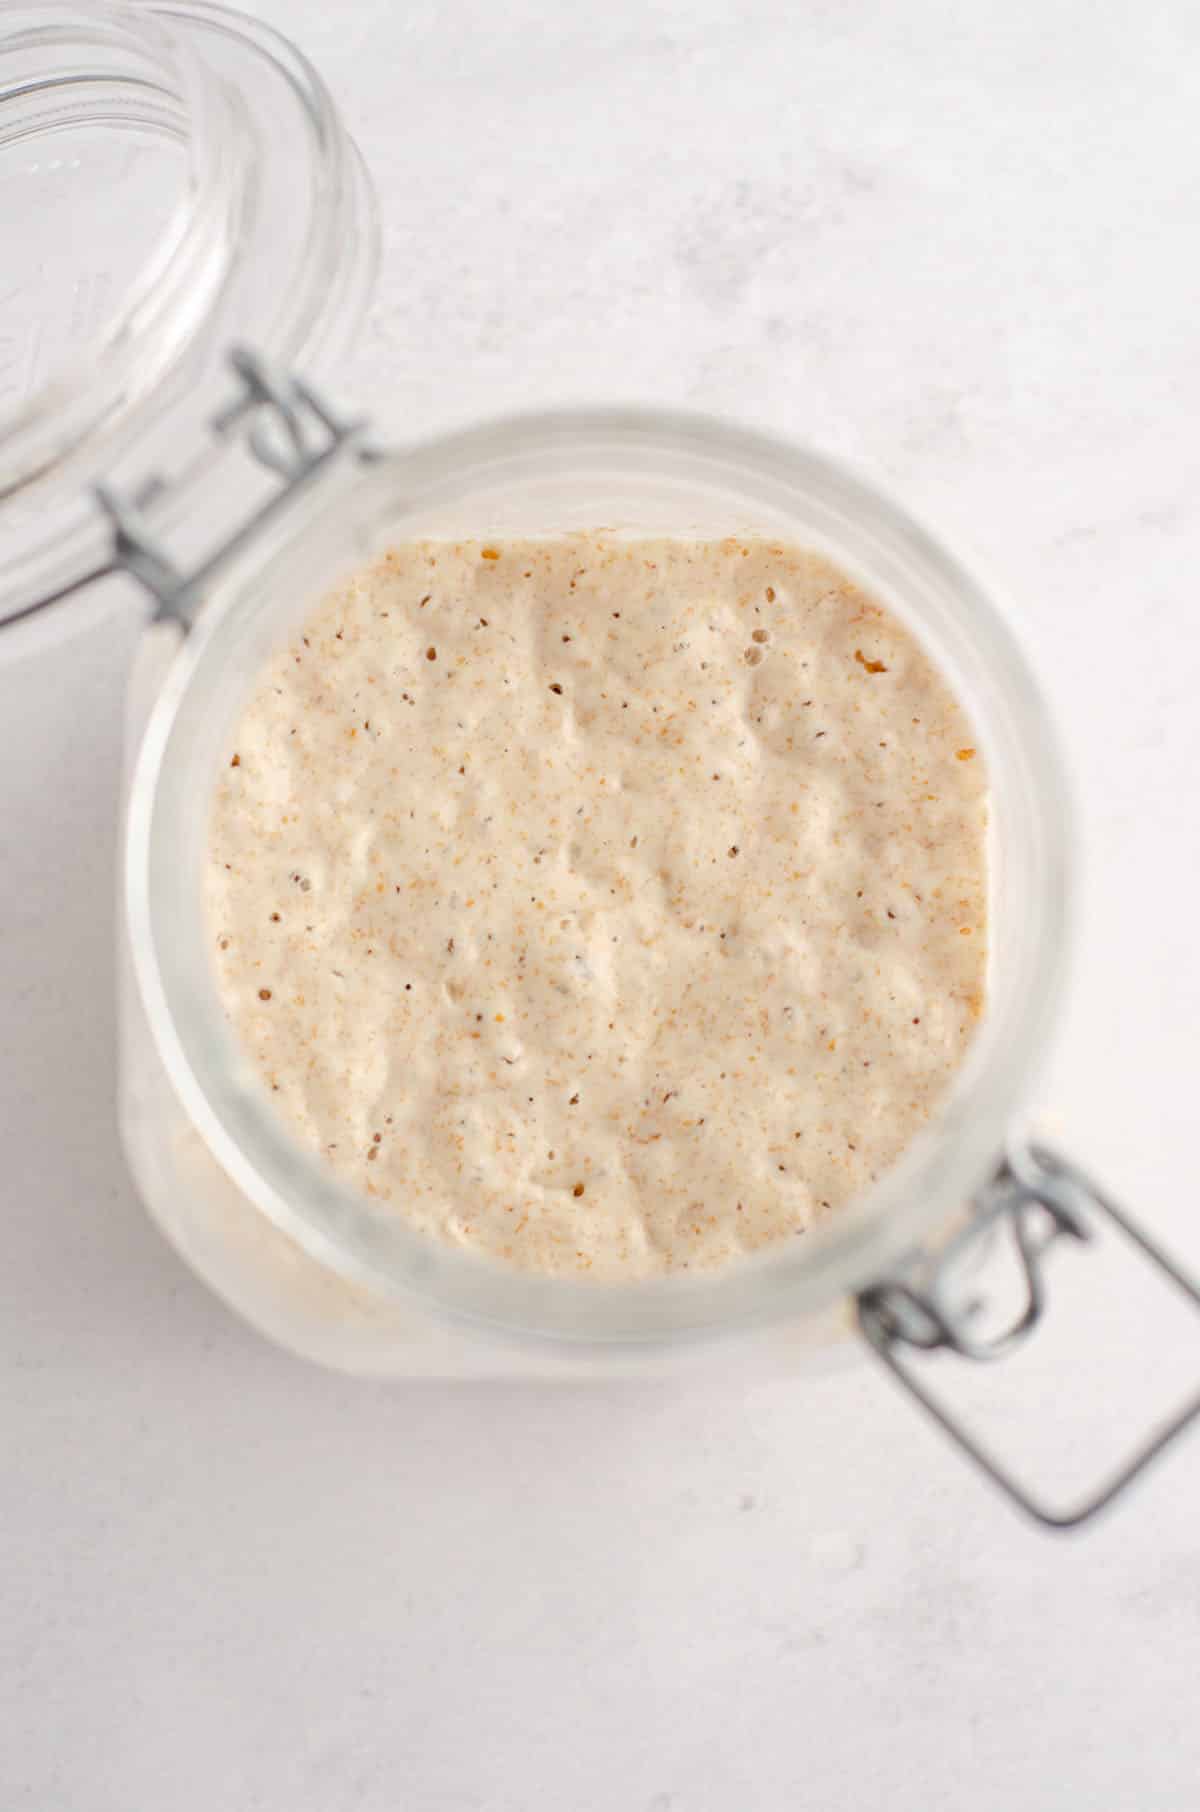
My sourdough starter, Carly, was born on January 6, 2020! And you can follow along in my Insta highlight to watch her go from nothing to everything.
So Carly is who I’m working with in these photos. Say hiiiiiiii!
Though I did make many sourdough loaves with my starter, I really wanted to do something different, and I also wanted to present other recipes for those of you out there looking to use your sourdough starters in something else, too.
Because as much as we loveeeee sourdough loaves in this house, we don’t need one every week.
Enter: my sourdough English muffin recipe.
Sourdough English Muffin Ingredients
As far as bread making goes, this recipe is pretty straightforward. While we aren’t using any traditional yeast, we’ll still be using a portion of our starter as the leavening component, and nothing in the rest of the recipe is out of the ordinary.

For these sourdough English muffins, you’ll need 80 grams of a fed starter, which is a little more than ⅓ of a cup.
Remember, you don’t want to use up all of your starter, so make sure you feed your starter enough food so that you are left with enough for a feed the next day.
You will also need:
• fed sourdough starter
• warm water
• all-purpose flour
• granulated sugar
• unsalted butter
• egg
• salt
• corn meal
How to Make Sourdough English Muffins?
You’ll want to feed your starter about 8 to 10 hours before you want to start your dough. We’re looking to use a portion of the starter when it’s nice and bubbly and active.
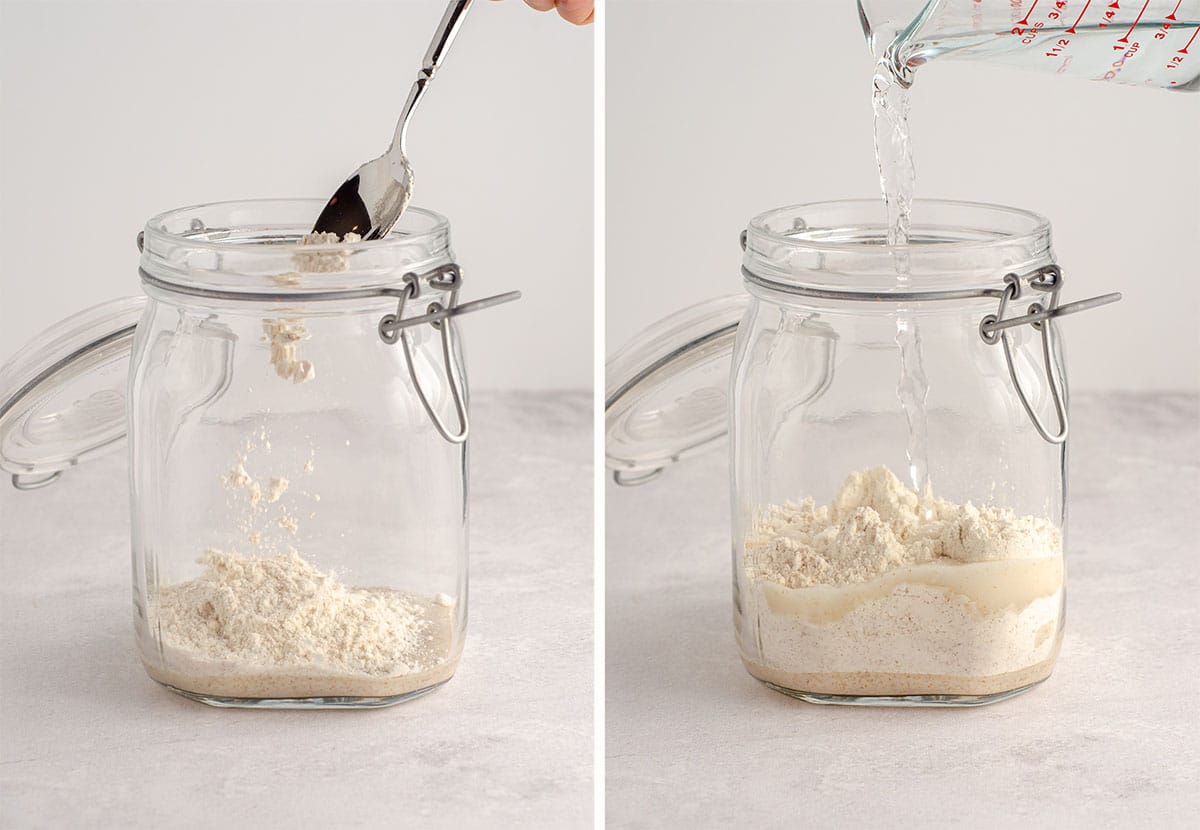
STEP #1: in a large bowl, whisk together the starter and the water until starter is dissipated. Add the flour, sugar, butter, egg, and salt and stir to combine. Once the dough becomes less sticky, use your hands to bring everything together to form a shaggy dough.
STEP #2: turn the dough out onto a lightly floured surface and knead until dough becomes smooth (about 5-8 minutes).
STEP #3: coat the bowl with oil or nonstick spray, then place the dough back into the bowl, turning and flipping it to coat it. Cover bowl with a kitchen cloth and set in a warm spot until doubled in volume, approximately 3-4 hours.
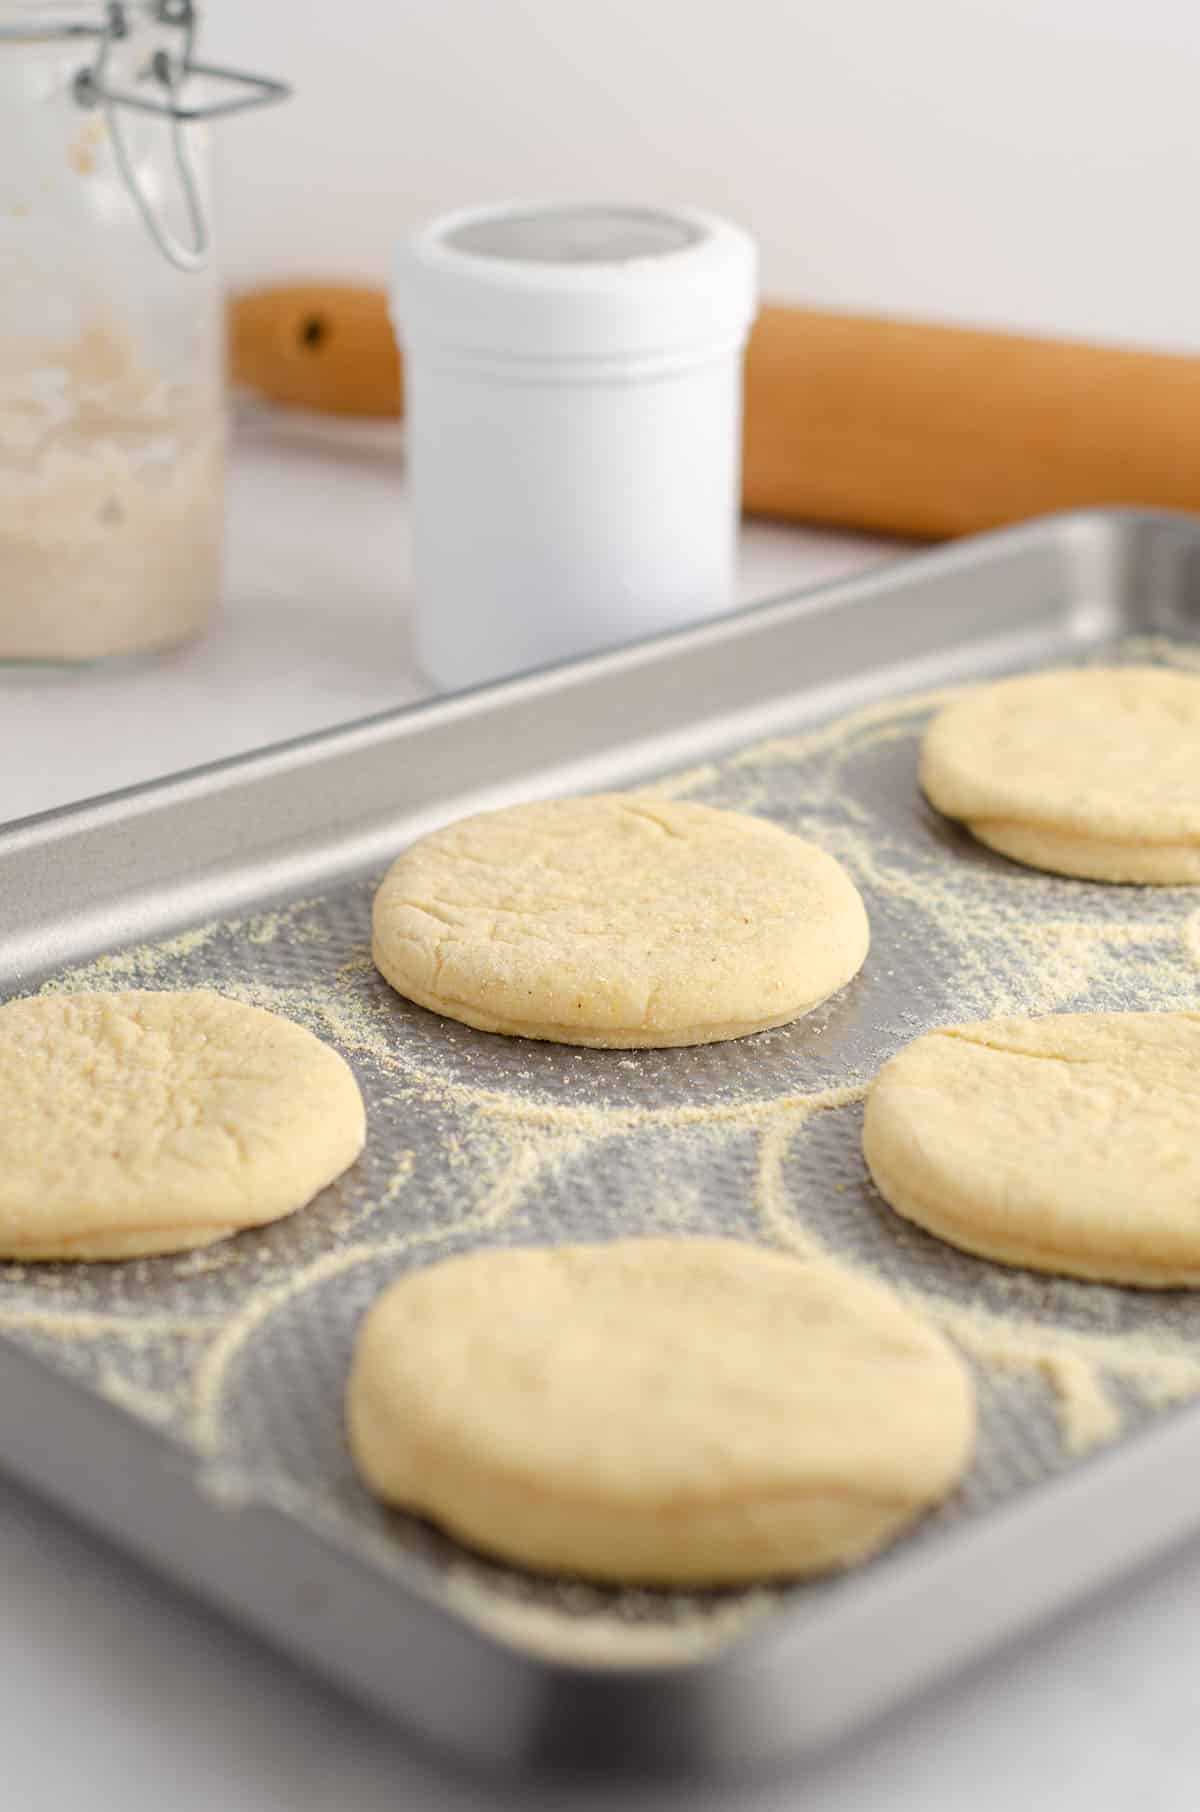
STEP #4: when you are ready to work with the dough again, dust a baking sheet generously with corn meal. Set aside.
STEP #5: dust your surface with more flour and a little corn meal. Gently roll the dough out to about ½ inch (1.5cm) thickness. Using a 3 inch (8cm) cookie cutter or rim of a glass, cut out rounds of dough. You can gently re-roll the dough one time to cut more circles, but refrain from working the dough too much or it will become too tough. You should get about 8-10 rounds of dough.
STEP #6: place the cut rounds on the dusted pan and cover with plastic film. Let rounds sit in a warm spot until they have puffed up slightly, about 1 hour.
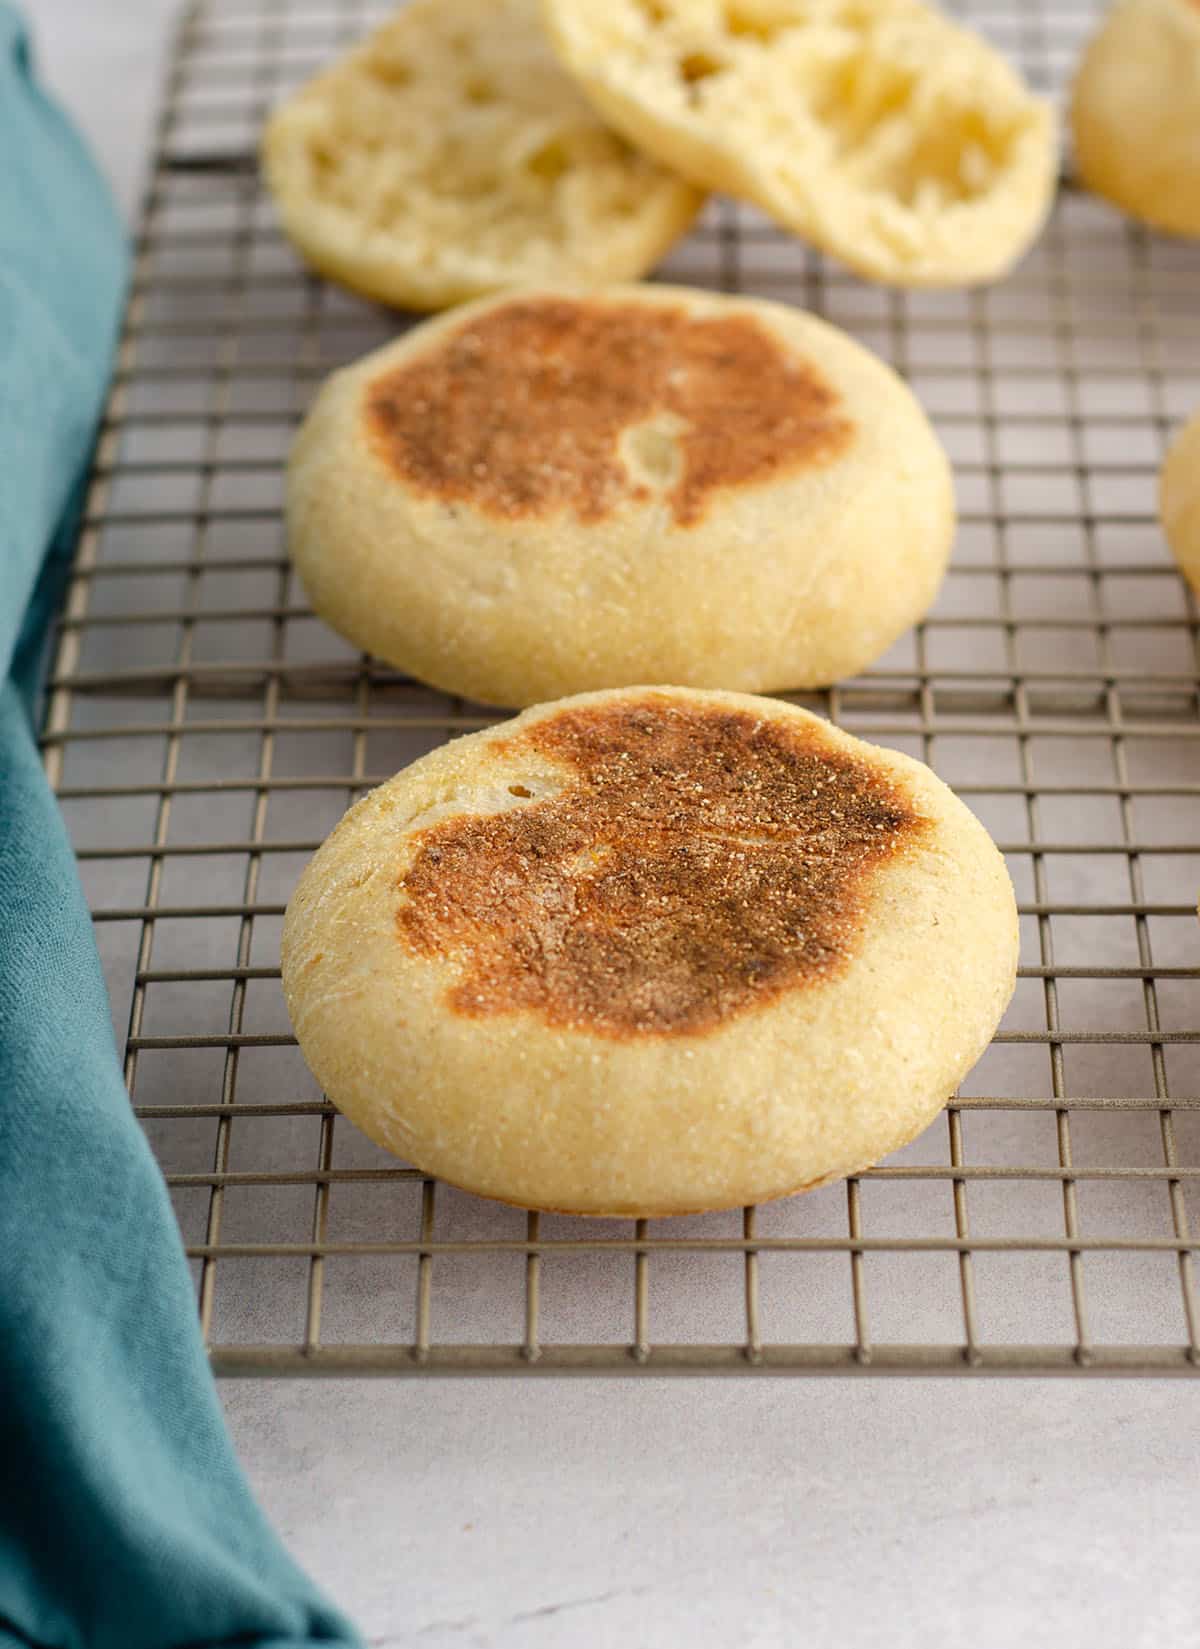
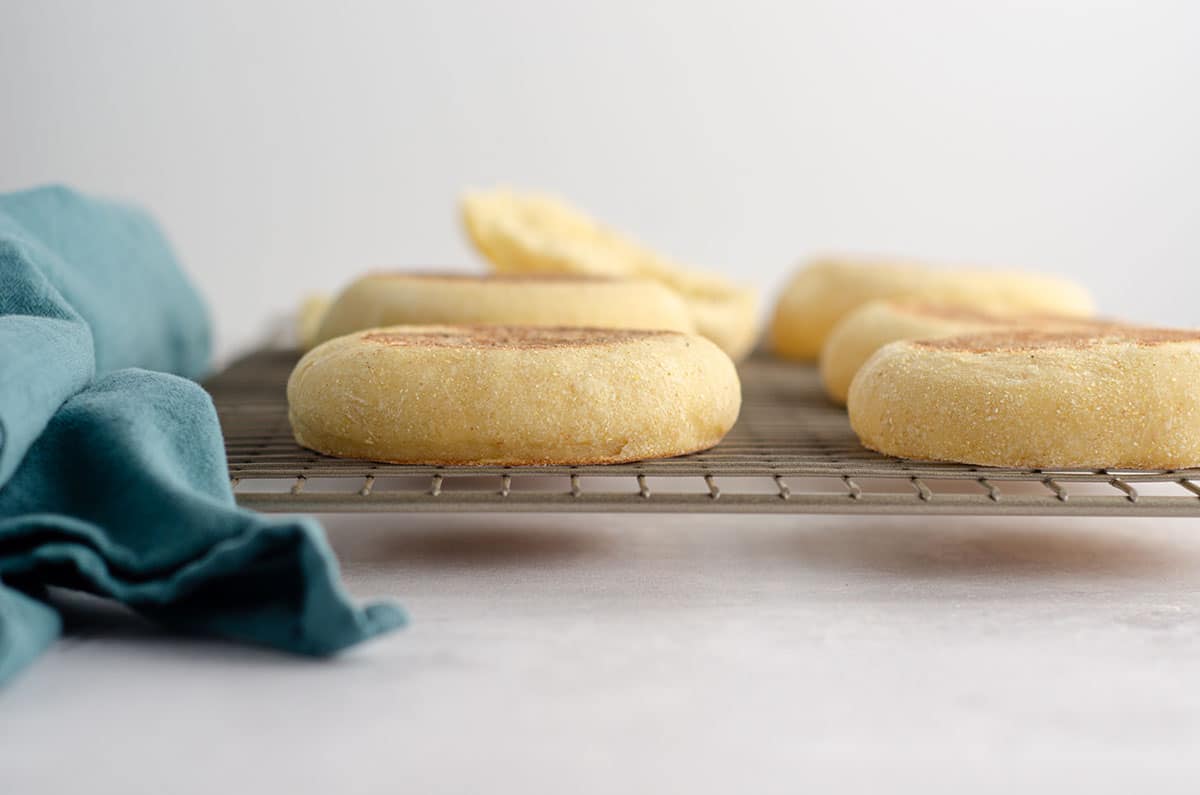
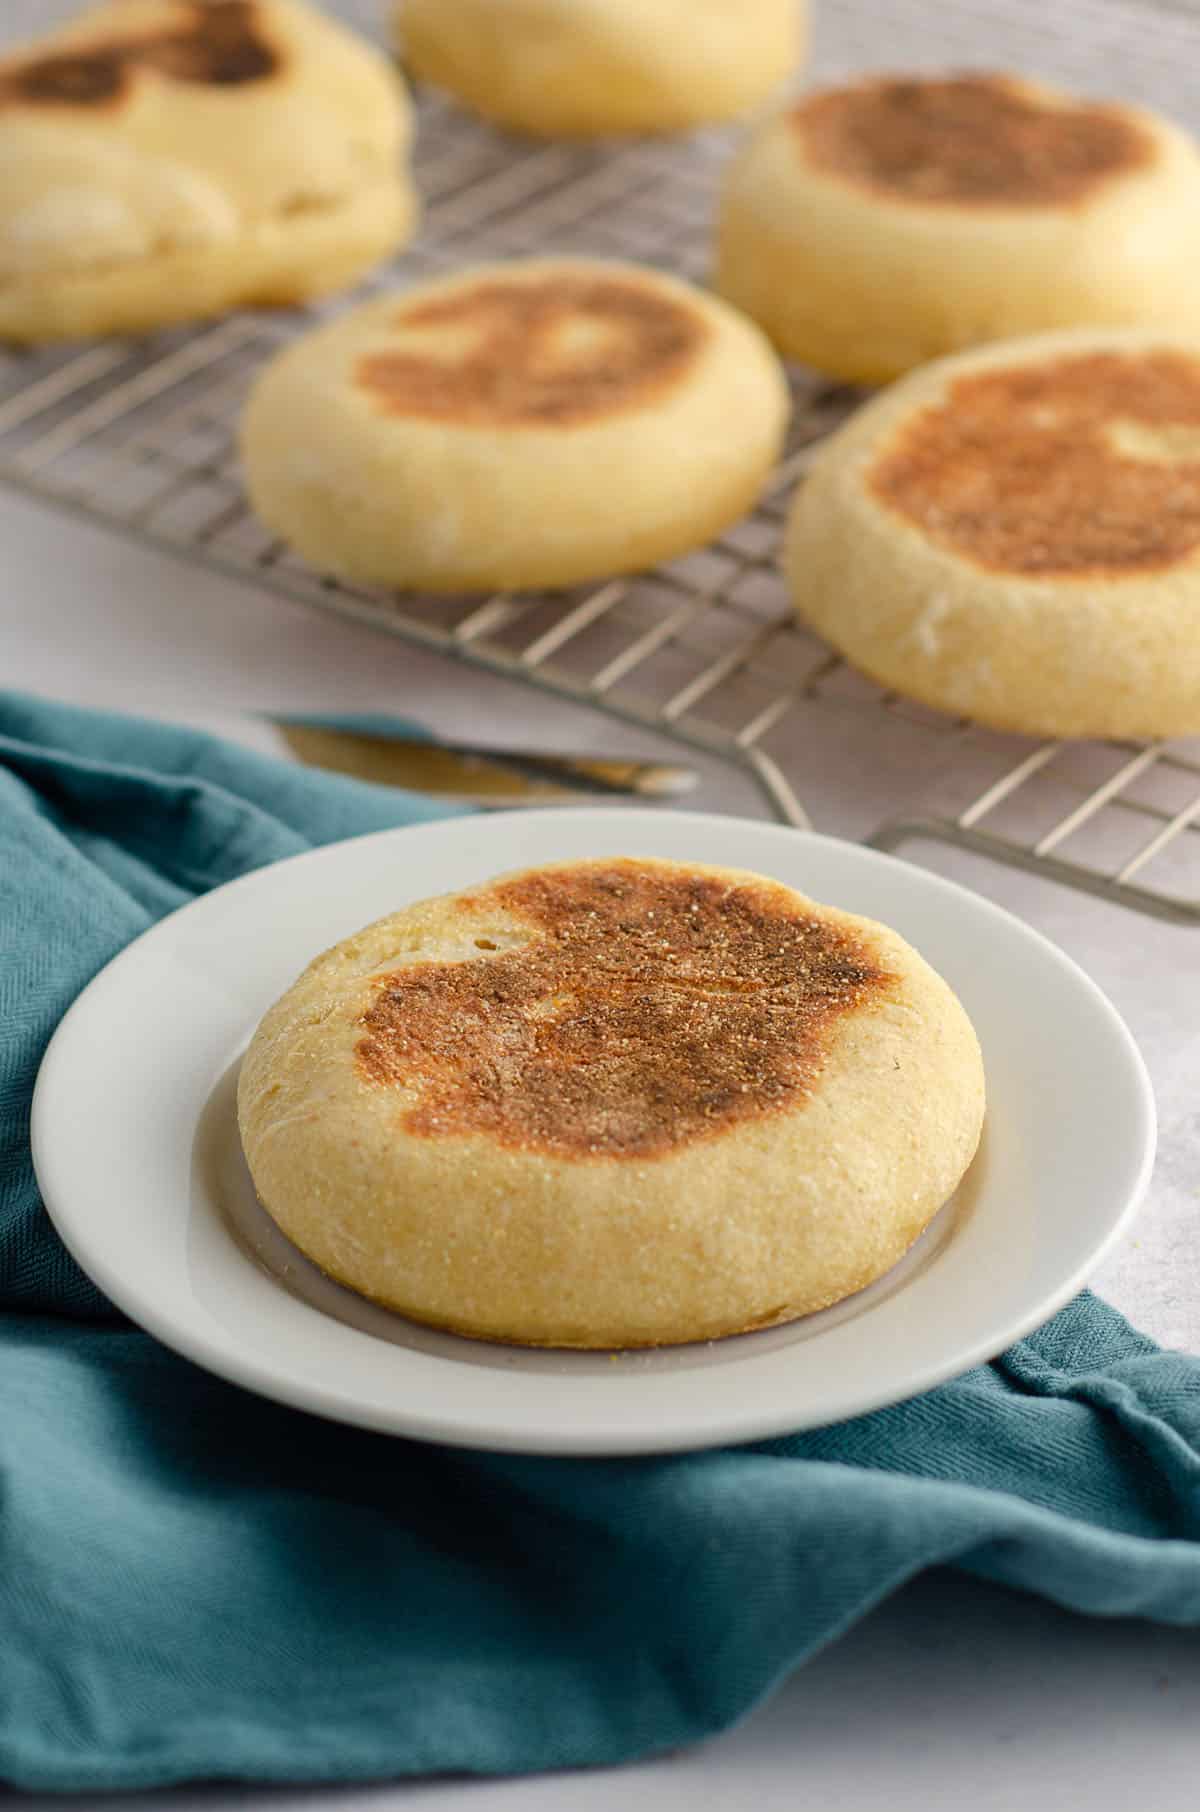
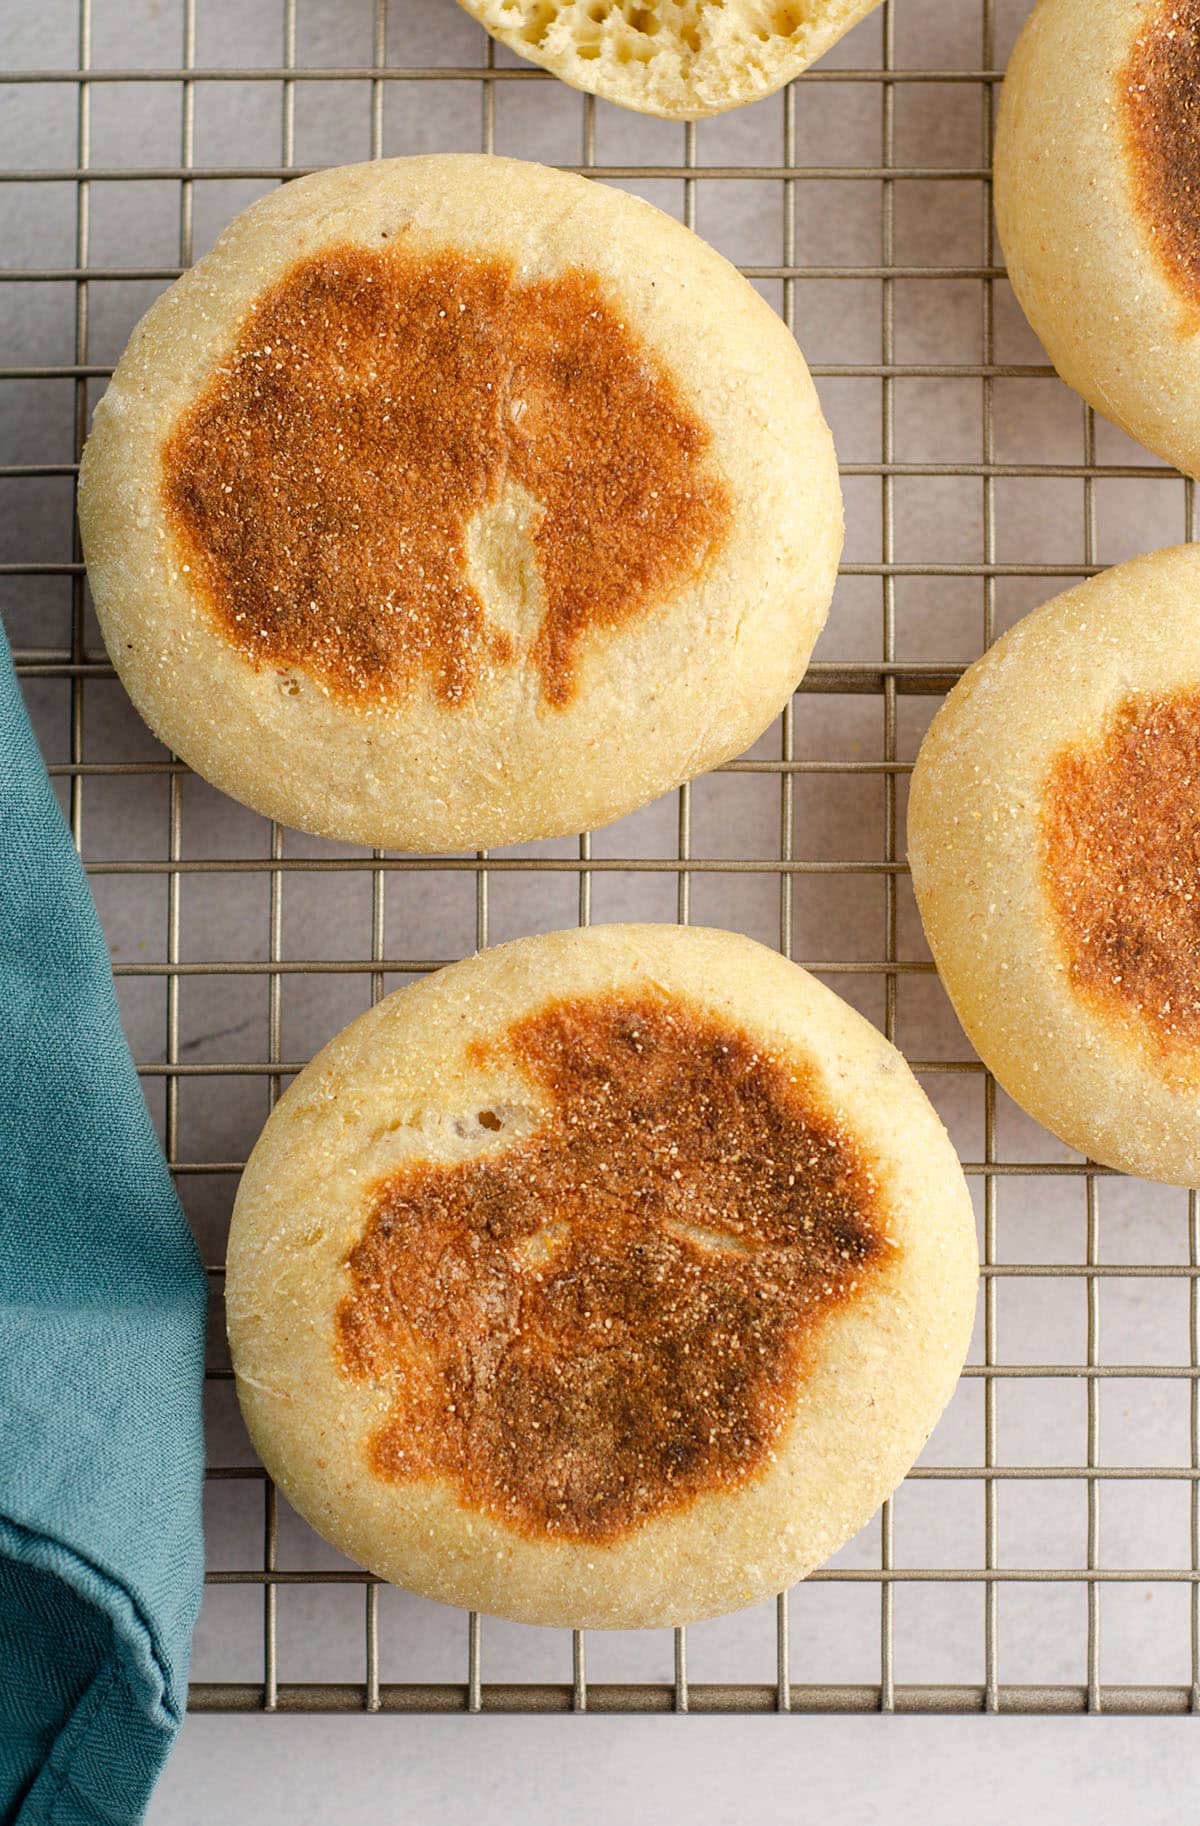
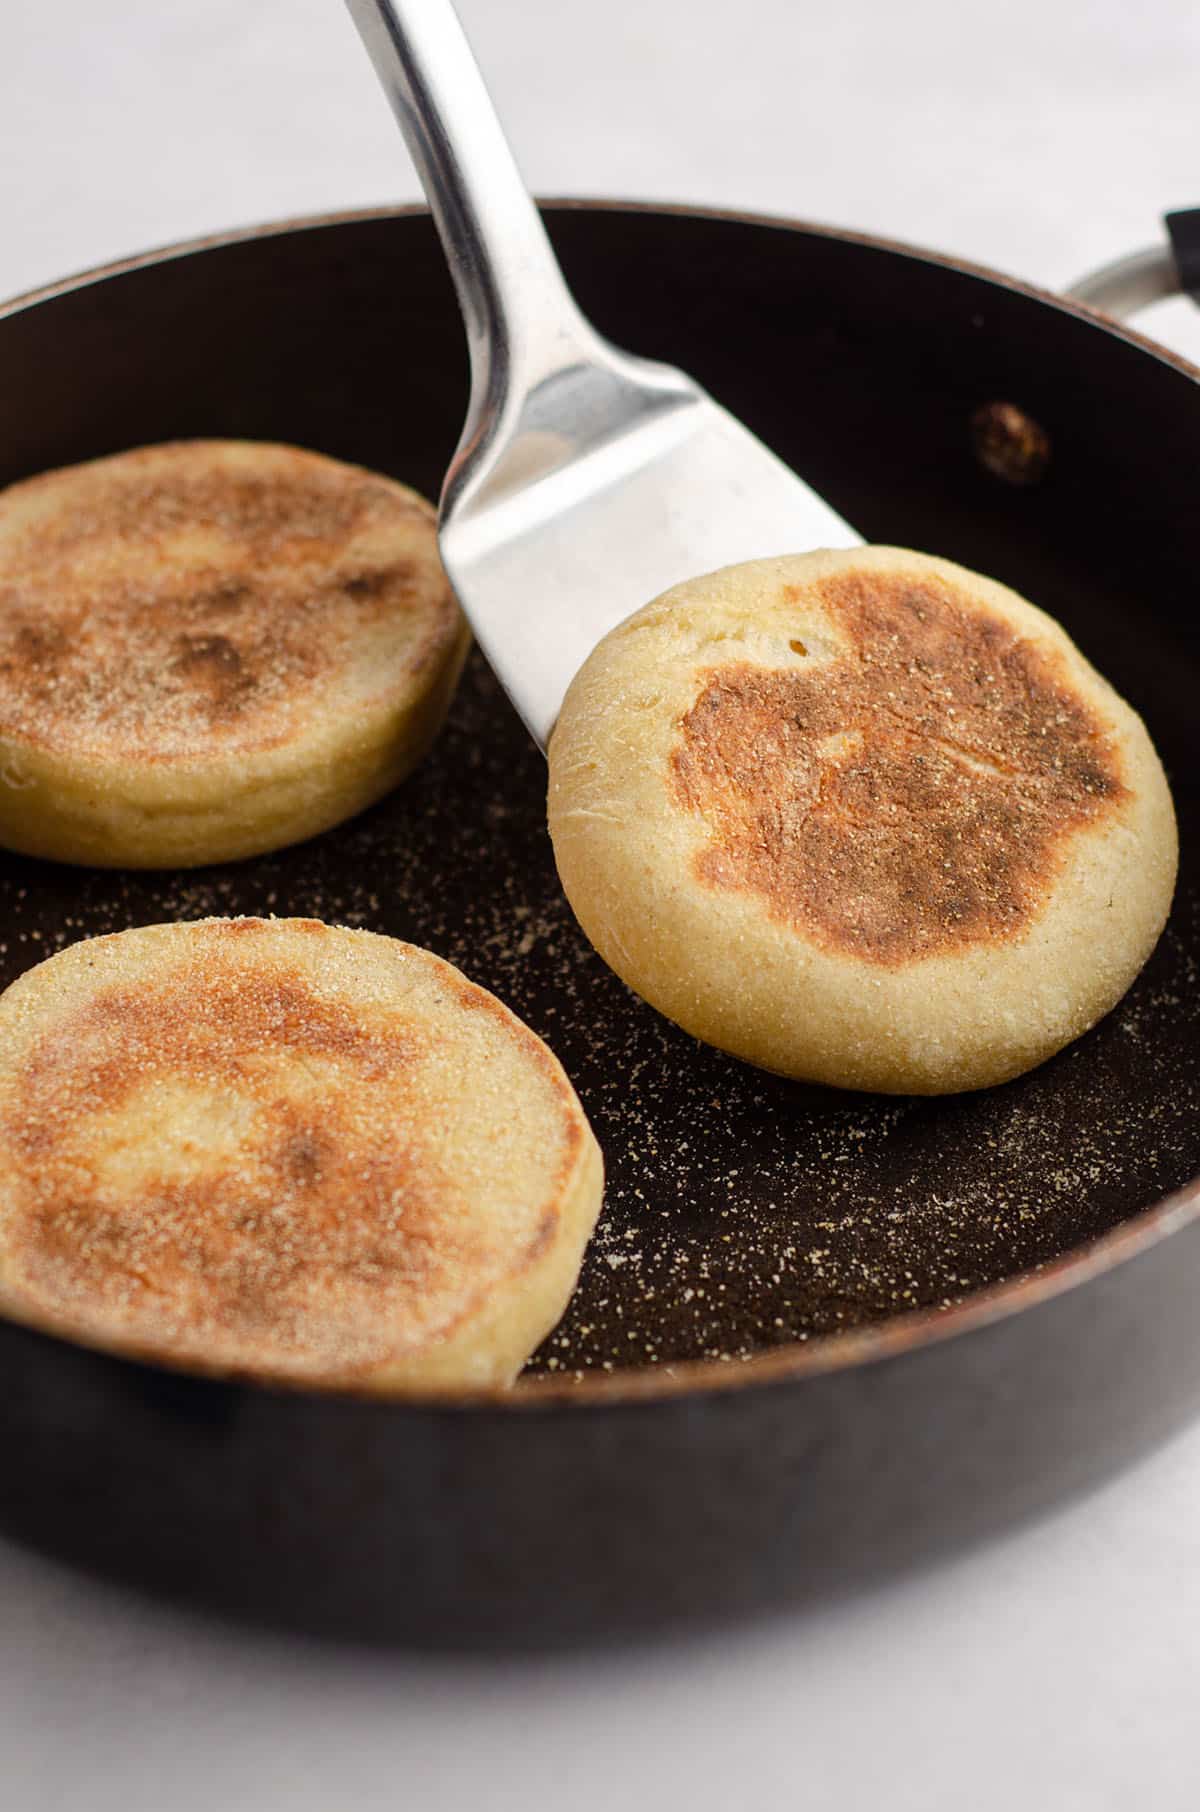
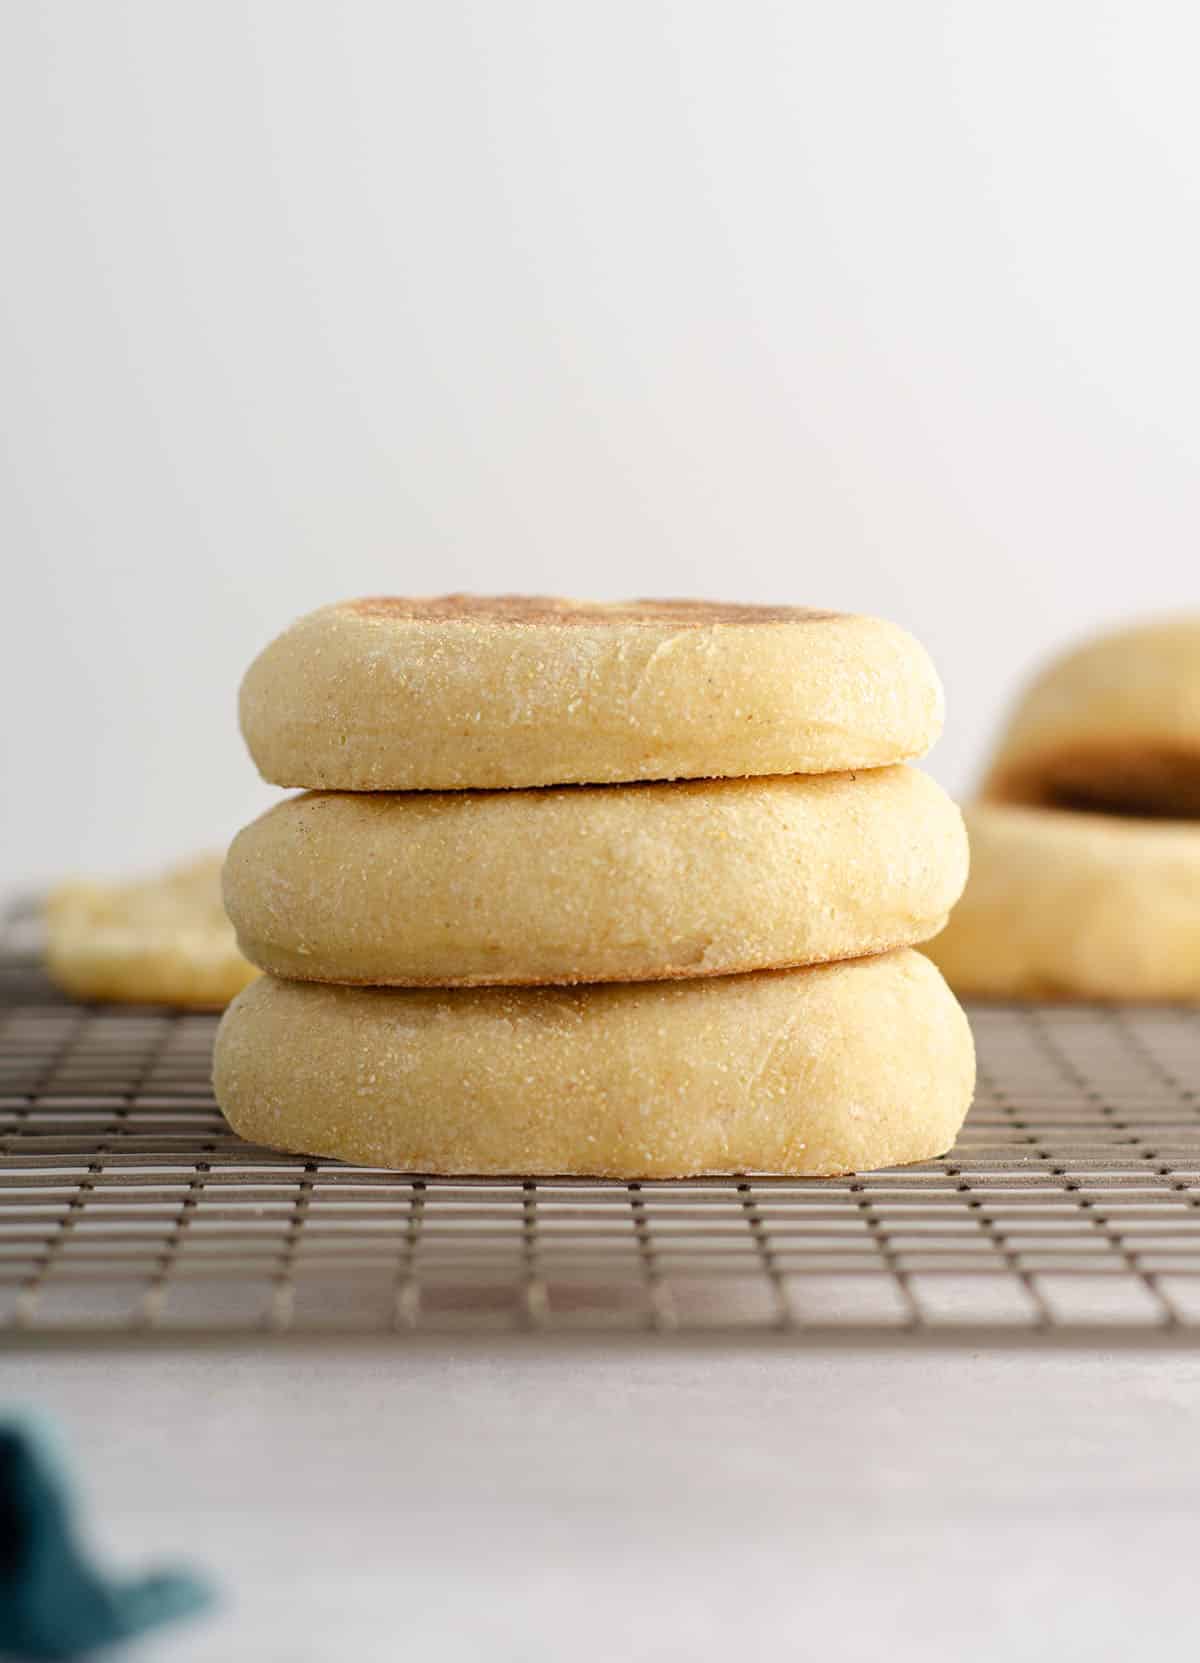
STEP #7: when you are ready to cook the muffins, pre-heat a heavy-bottom skillet over medium heat for about 5 minutes. Place 2-3 muffins in the pan and cook for about 3-4 minutes. Flip the muffins to cook the other side, about 3-4 additional minutes, or until an instant-read digital thermometer reads 190ºF (88ºC) inside each muffin. Transfer to a wire rack to cool, and continue with remaining muffins.
Crack ’em open with a fork, just like you would a classic English muffin, and you’re on your way to a delightful little piece of heaven straight from the sourdough gods.
Aren’t they so cute, too?
Sourdough English Muffin Recipe Tips
Be sure you’re using a fed starter. This is not a discard recipe. If you’re looking for discard recipes, check out my collection of 40+ sourdough discard recipes.
If your dough doesn’t seem to be rising, let it rise for another hour or so in a warmer spot or environment. Sourdough can be sluggish, especially in a cooler climate or kitchen.
Make sure your pan isn’t too warm when you go to cook the muffins. They can burn easily and you only want them browned, not burned, and to allow for the insides to cook fully.
We were in love with these sourdough English muffins. The slight tang was perfect for slathering with butter, jam, or almond butter, and we had a few sandwiches on them, too.
It was so fun to use my starter for something other than a traditional sourdough loaf, and I think this recipe has put a lightbulb in my head to experiment with more recipes that use starter in place of traditional yeast.
So tell me– will you be making your own sourdough English muffins? Sticking to your basic sourdough loaves? Have you been inspired to start a starter if you don’t already have one?

Don’t forget to tag me on Insta (@freshaprilflours / #freshaprilflours) so I can see your starters in use!

Sourdough English Muffins
Ingredients
- 80 grams fed sourdough starter (100% hydration) a little more than ⅓ cup
- ½ cup (120g) warm water
- 2 and ½ cups (300g) all-purpose flour be sure to measure properly
- 1 Tablespoon (15g) granulated sugar
- 1 Tablespoon (15g) unsalted butter softened to room temperature
- 1 large egg lightly beaten
- 1 and ¼ teaspoon salt
- corn meal for rolling/dusting pan
Instructions
- In a large bowl, whisk together the starter and the water until starter is dissipated. Add the flour, sugar, butter, egg, and salt and stir to combine. Once the dough becomes less sticky, use your hands to bring everything together to form a shaggy dough.80 grams fed sourdough starter (100% hydration), ½ cup (120g) warm water, 2 and ½ cups (300g) all-purpose flour, 1 Tablespoon (15g) granulated sugar, 1 Tablespoon (15g) unsalted butter, 1 large egg, 1 and ¼ teaspoon salt
- Turn the dough out onto a lightly floured surface and knead until dough becomes smooth (about 5-8 minutes).
- Coat the bowl with oil or nonstick spray, then place the dough back into the bowl, turning and flipping it to coat it. Cover bowl with a kitchen cloth and set in a warm spot until doubled in volume, approximately 3-4 hours.
- When you are ready to work with the dough again, dust a baking sheet generously with corn meal. Set aside.corn meal
- Dust your surface with more flour and a little corn meal. Gently roll the dough out to about ½ inch (1.5cm) thickness. Using a 3 inch (8cm) cookie cutter or rim of a glass, cut out rounds of dough. You can gently re-roll the dough one time to cut more circles, but refrain from working the dough too much or it will become too tough. You should get about 8-10 rounds of dough.
- Place the cut rounds on the dusted pan and cover with plastic film. Let rounds sit in a warm spot until they have puffed up slightly, about 1 hour.
- When you are ready to cook the muffins, pre-heat a heavy-bottom skillet over medium heat for about 5 minutes. Place 2-3 muffins in the pan and cook for about 3-4 minutes. Flip the muffins to cook the other side, about 3-4 additional minutes, or until an instant-read digital thermometer reads 190ºF (88ºC) inside each muffin. Transfer to a wire rack to cool, and continue with remaining muffins.
- When you are able to handle the muffins, they are ready to eat. Score around the perimeter with a fork to separate, or cut carefully with a serrated knife. Store muffins covered at room temperature up to 5 days. Muffins freeze well, up to 3 months. Thaw in refrigerator or at room temperature.
Nutrition Disclosure
All nutritional values are approximate and provided to the reader as a courtesy. Changing ingredients and/or quantities will alter the estimated nutritional calculations.
I have been so scared to try English Muffins for some reason- but when I saw your recipe- it felt like I could do it! So I jumped in today- and just taste tested the first one- and WOW!!! I’m so excited! From start to finish- the recipe was perfect- and the results were amazing!! No more fear- well maybe- that I might end up eating the triple batch of them I just made🤔🤔😂😂😍😍!! Thank so much!
Thank you so much, Karen! I’m so glad you gave it a try and that you are proud of you work 🙂
Hi! I’m wanting to try these today but I only have salted butter… would I be able to use that?
Hi, Madilynne– that would be totally fine. Halve the added salt to compensate. Enjoy!
At first I thought this might nit work, because the method was so different. They turned out wonderfully! I did have to let them rise double the amount of time.
Thanks so much for trusting the process, Jacqueline!
I’m love this recipe! This is a staple in my home kitchen!
Thank you so much, MaKenzie! 🙂
Hi. You say, near the bottom of the recipe description, that it is “not a discard recipe”, and link to the page for 40 discard recipes. This recipe is #17 in that list, where I got here from. So, what’s the real deal?
Hmm. Welp. I’m super confused because I do have a list of 40+ discard recipes but this recipe isn’t included on that list.
Oops. My bad. It was a page, with the same name, but from a different URL. Sorry about that! I’ve saved this one for future use, though!
So easy and so delicious! I was skeptical because they were not rising like I thought they would, but kept going and got 8 beautiful and delicious muffins! Will never buy them at the store again.
Thanks so much, Natalie! I’m so glad you trusted my recipe 🙂
Hello,
Do you use any oil in the bottom of your pan when you cook your muffins? I can’t wait to try these. 😋
Hi, Tonia– I do not. But if you’re having issues, you can!
Delicious! I didn’t get the books and crannies 🙁 any tips?
Hey, Ashley– sounds like maybe it didn’t get to rise enough? Are you in a a particularly cold climate? Whenever I make sourdough in the winter, I have to let it rise extra long. I’m glad it was still delicious, though!
Hi! I’m wanting to incorporate more whole grains in my diet. How would you recommend adding whole wheat flour to this recipe?
Hi, Maesey– you can use whole wheat flour to feed your starter, or you can just use whole wheat flour in place of the all-purpose in this recipe as written. Let me know if you try it!
I tried this recipe but subbed the all purpose flour for whole wheat. It was so good!! The dough was so easy to work with and after a couple practice tries with cooking the first few muffins, the rest was a breeze! I will definitely be making these regularly in my house.
Thanks so much, Maesey!
I enjoyed making this recipe for English muffins. They did not come out with the nooks and crannies but more like a biscuit inside. What do you think caused that? They do taste good though.
Hi, Bonnie– it sounds like you may not have let the dough rest enough to get a sufficient rise.
Everyone loved these! Can I make the dough and let it sit in the fridge over night?
Thanks, Theresa! Yes, you can stick it in the fridge during its covered rise, and think of the fridge as the pause button. When you bring them out of the fridge, let them come to room temperature AND look for the rise. Hope that helps!
I have made this recipe several times and it always turns out great! I love the way the muffins puff up in the pan while cooking.
Thank you so much, Carla!
Can I make this without cornmeal? I’m allergic to corn.
Hi, Bea– yes, you can. You can use coarsely ground polenta or semolina. Let me know if you try them!
I didn’t get one hole!!!! Is this common? They’re fluffy and perfect, but then you cut them. Looks like bread??? Help
Hi, Rachel– it’s likely you didn’t let the dough ferment enough. It would be impossible to tell you what happened without at least looking at the muffins but definitely not without watching you actually make them.
Currently waiting for dough to double in size it’s been almost 6 hours… any tips? My house is 68 degrees ??
Hi, April– how did this turn out? Sourdough can take quite some time to rise in cooler temperatures. I always make sure I have a slightly warmer environment for my sourdough doughs to rise since they can be so sensitive.
Hey! Can I use bread flour for this recipe?
Hi, Beth– you should be able to use that no problem. Enjoy!
Have you baked this recipe in a loaf pan???
Just curious….
Hi, Christine– no, I have not. But if you try it, I’d love to hear about it!