
Hard Boiled Eggs in Instant Pot
As an Amazon Associate, I earn from qualifying purchases. Read the full disclosure here.
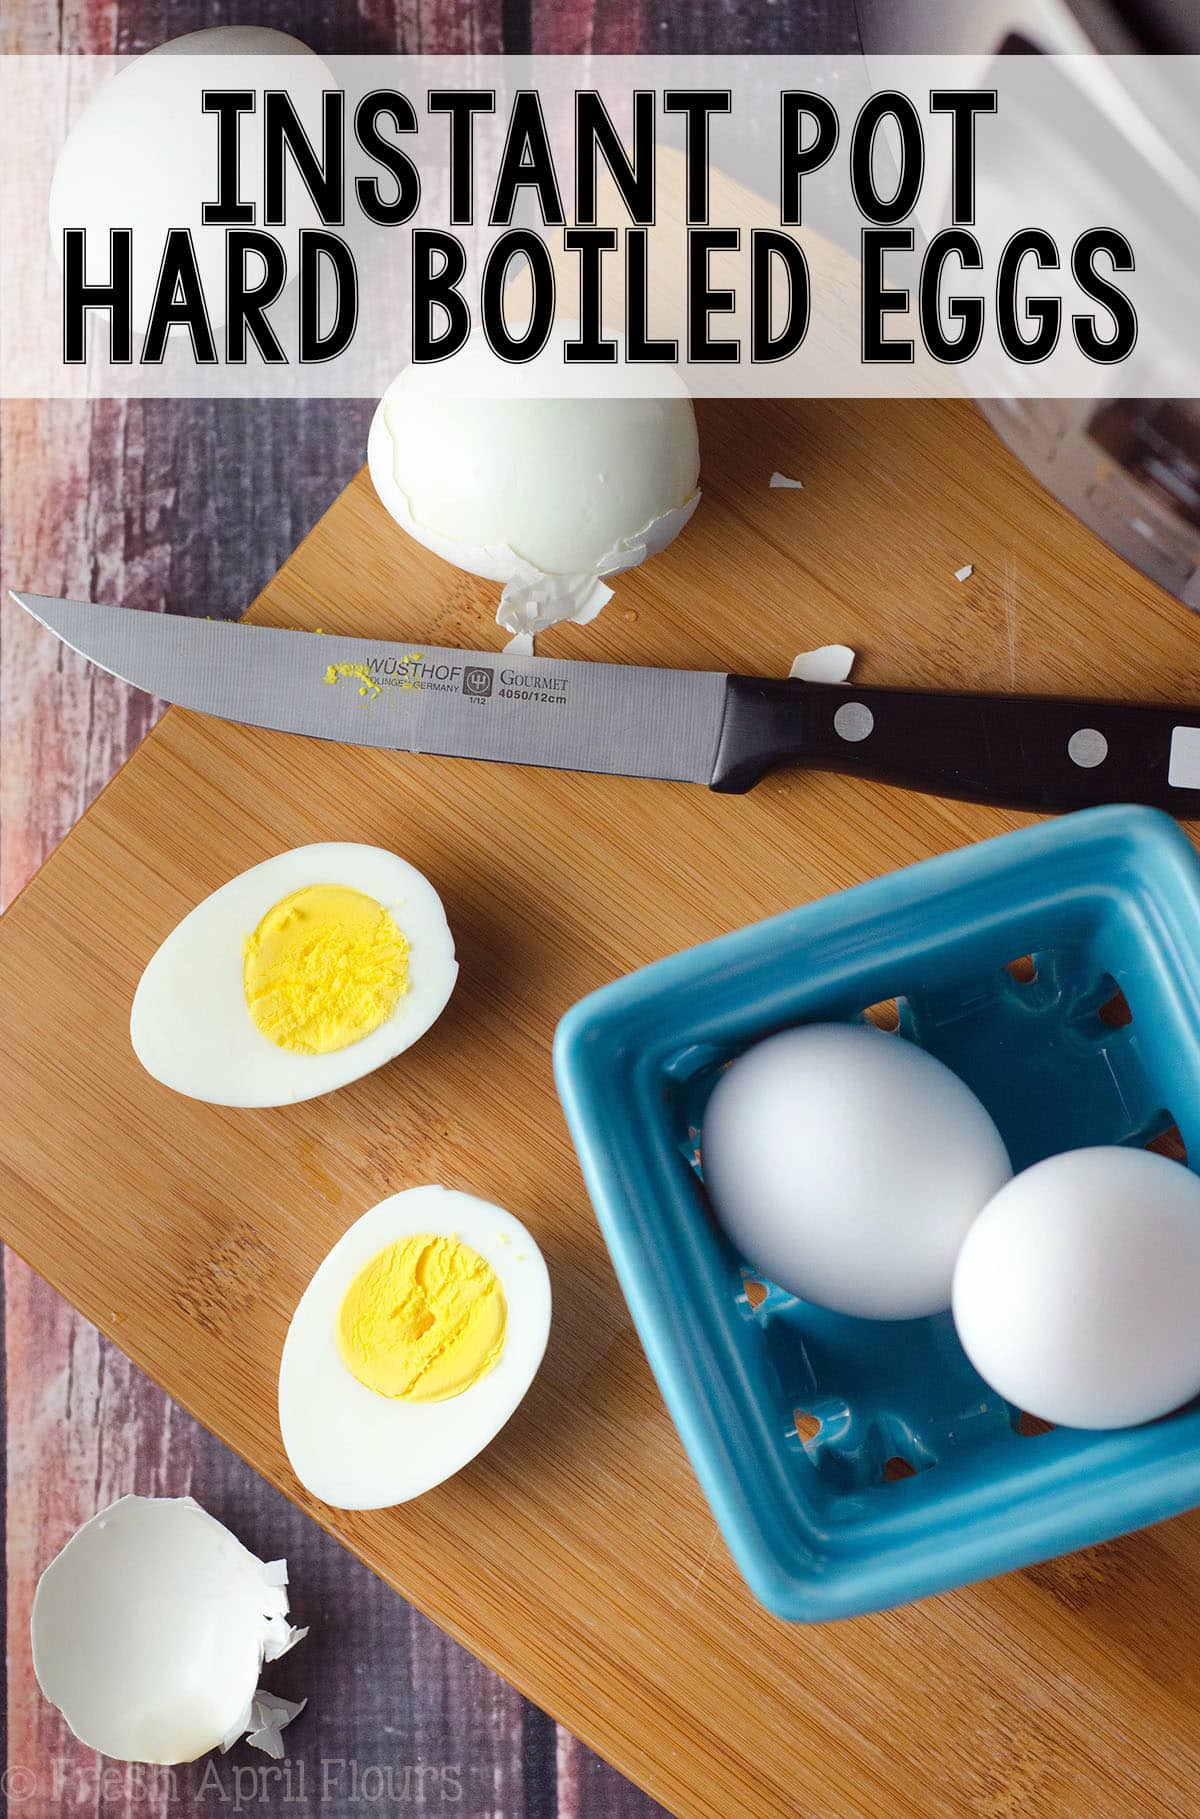
Make fool-proof hard boiled eggs in the Instant Pot with my tried-and-true 7-7-7 method. Using a pressure cooker is the best way to guarantee easy-to-peel eggs with the perfect texture every time!
Why we love Instant Pot Boiled Eggs
As a family that consumes 12-18 hard cooked eggs every single week, believe me when I say we have tried all the ways of cooking them! The Instant Pot is the only method we’ve found to produce reliable, repeatable results, and we’ve been relying on the same exact method for literally hundreds of dozens of eggs since our Instant Pot purchase in 2017.
By using a pressure cooker, you eliminate the need to stand over the stove to boil eggs in a giant pot of water or the need to preheat the oven just to have eggs burst all over a muffin tin. Aside from providing a super simple method, hard cooking eggs in the Instant Pot is the only method we’ve found that makes peeling an absolute dream.
7, 7, 7 Method for Making Boiled Eggs in Instant Pot
My tested and perfected technique for cooking hard boiled eggs in the pressure cooker is the 7-7-7 method (I like to call this the Monica Method… #IYKYK).
The steps in this method are:
• heat/allow to pressurize
• cook
• rest/warm/allow to release pressure naturally
• manually release remaining pressure
• ice bath
HOW TO MAKE INSTANT POT HARD BOILED EGGS
STEP #1
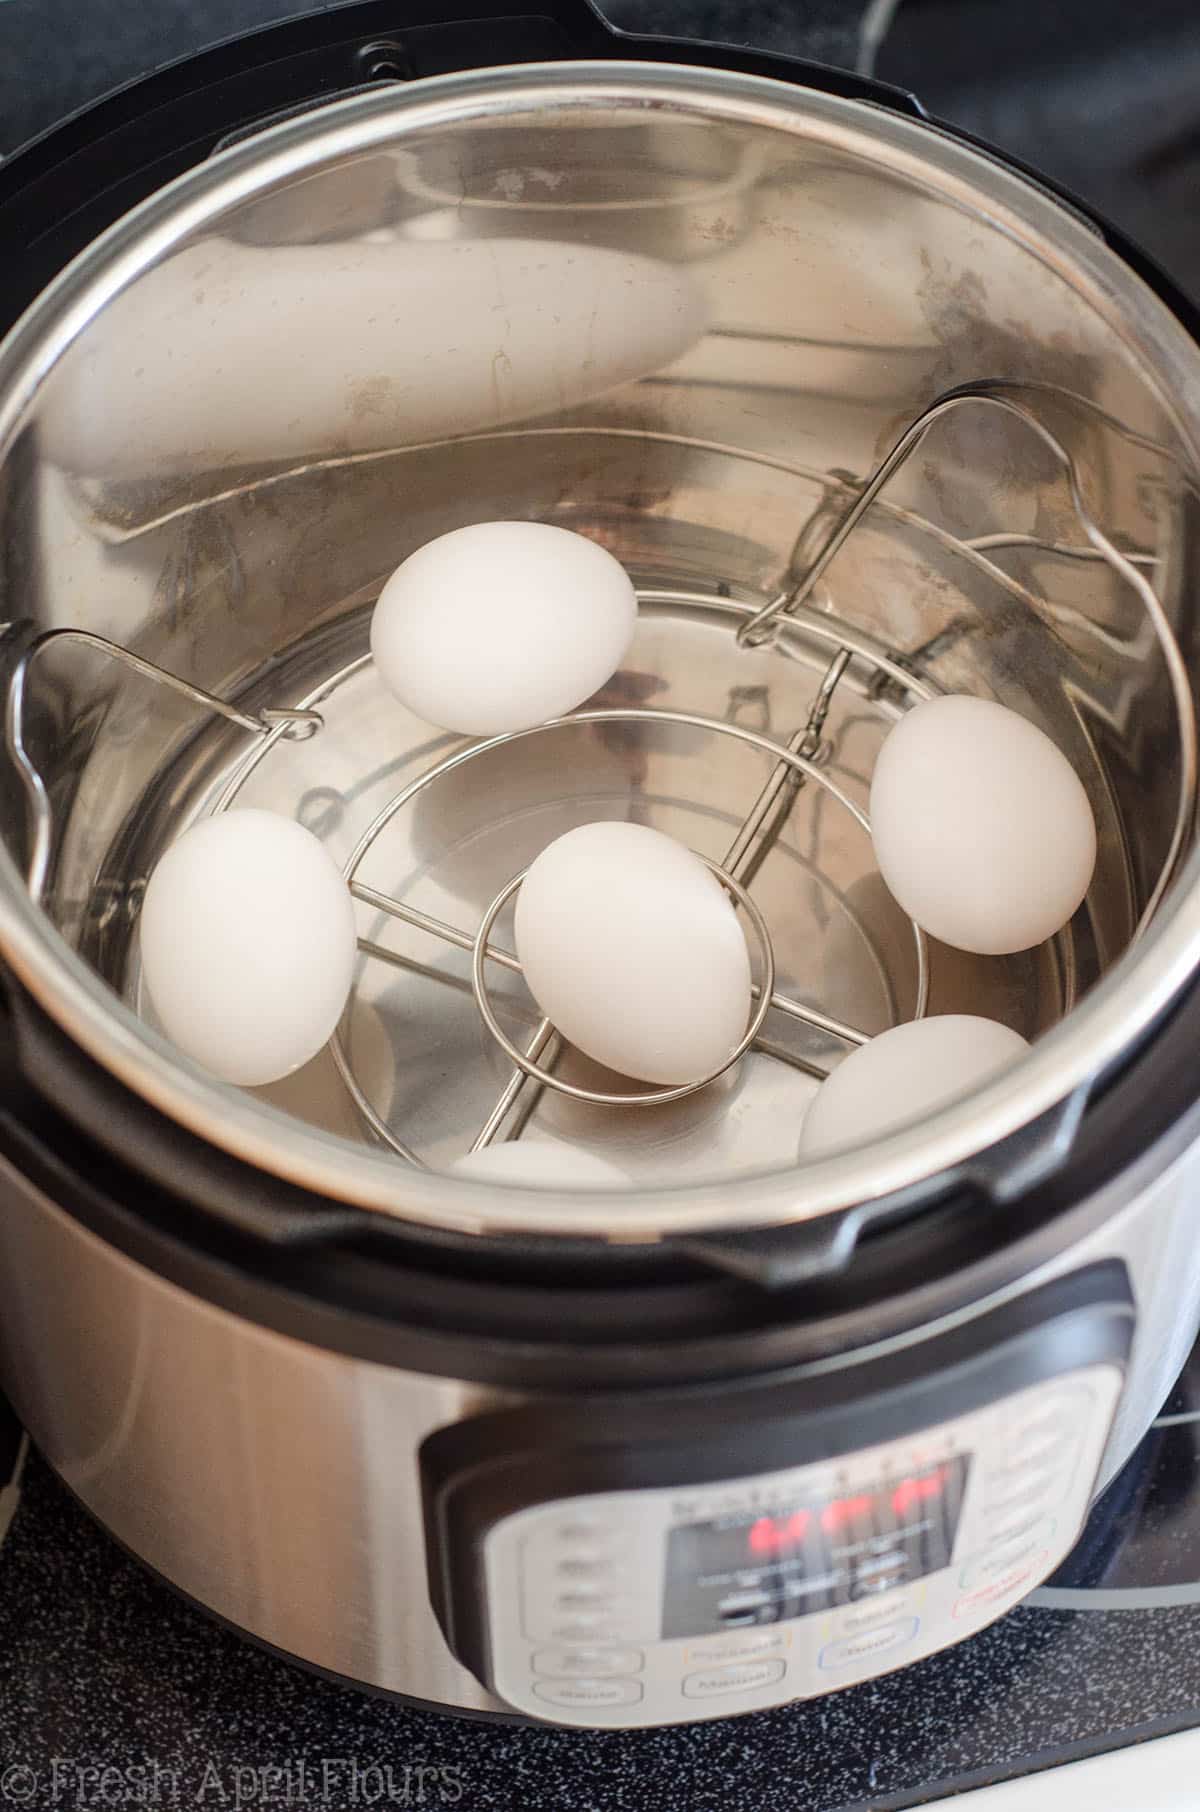
Add the cold water, the wire trivet, and the eggs to the pot.
STEP #2
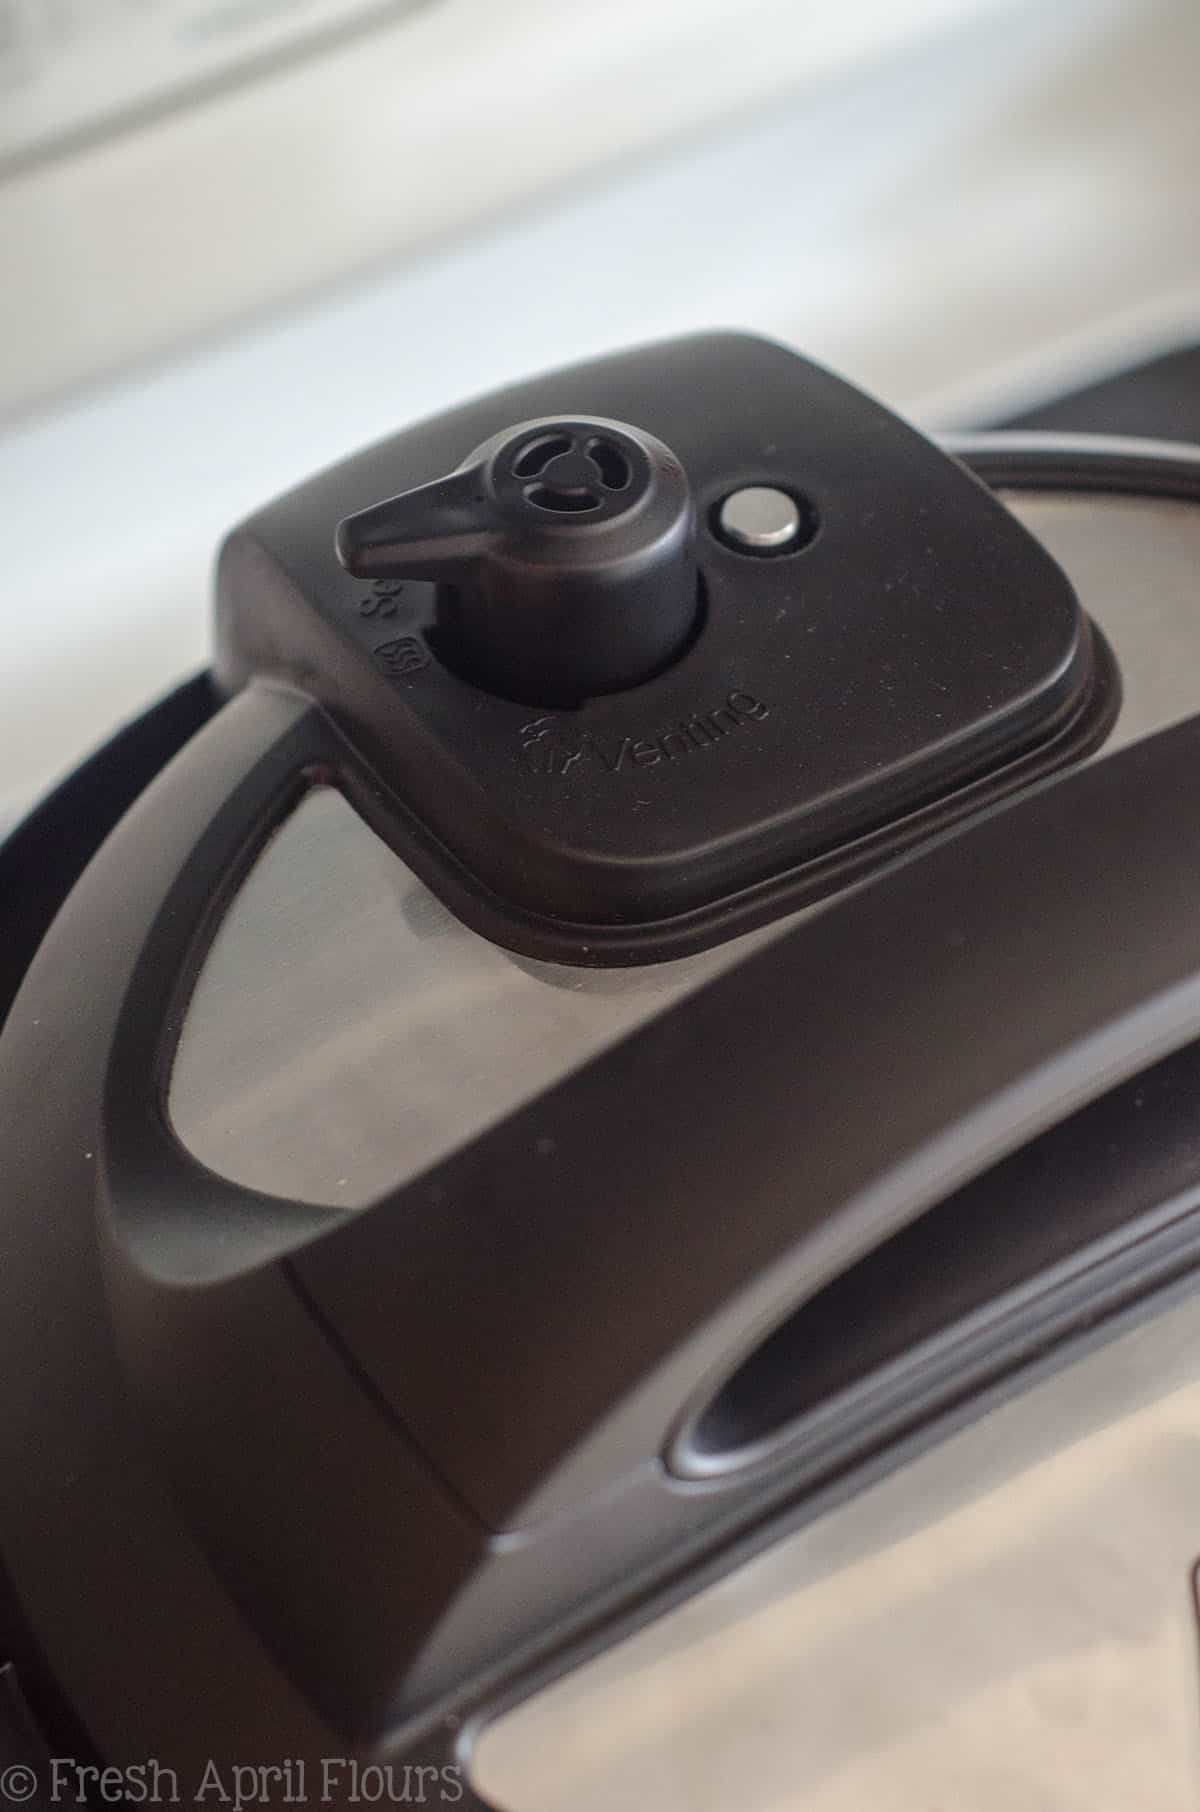
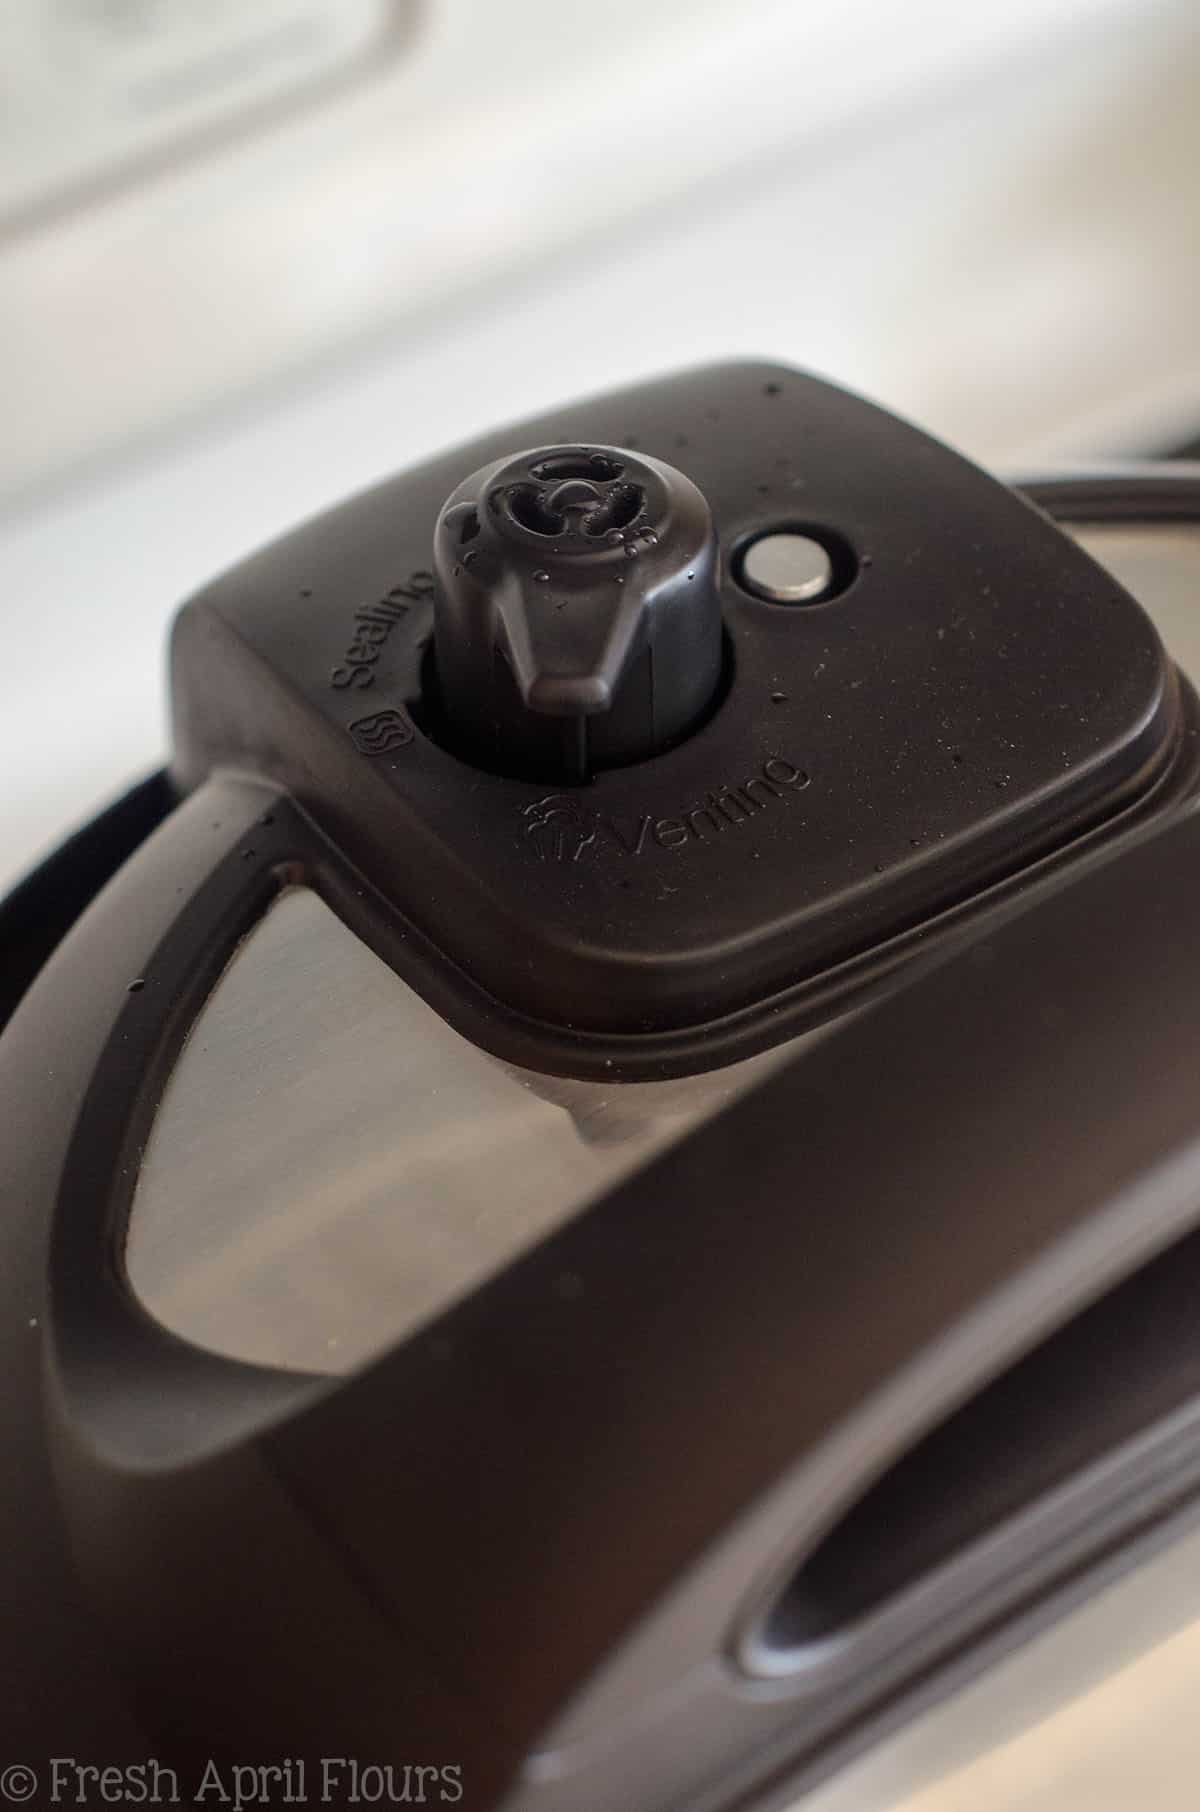
Place the lid on the Instant Pot and be sure the lever is pushed down and turned to “sealing.”
STEP #3
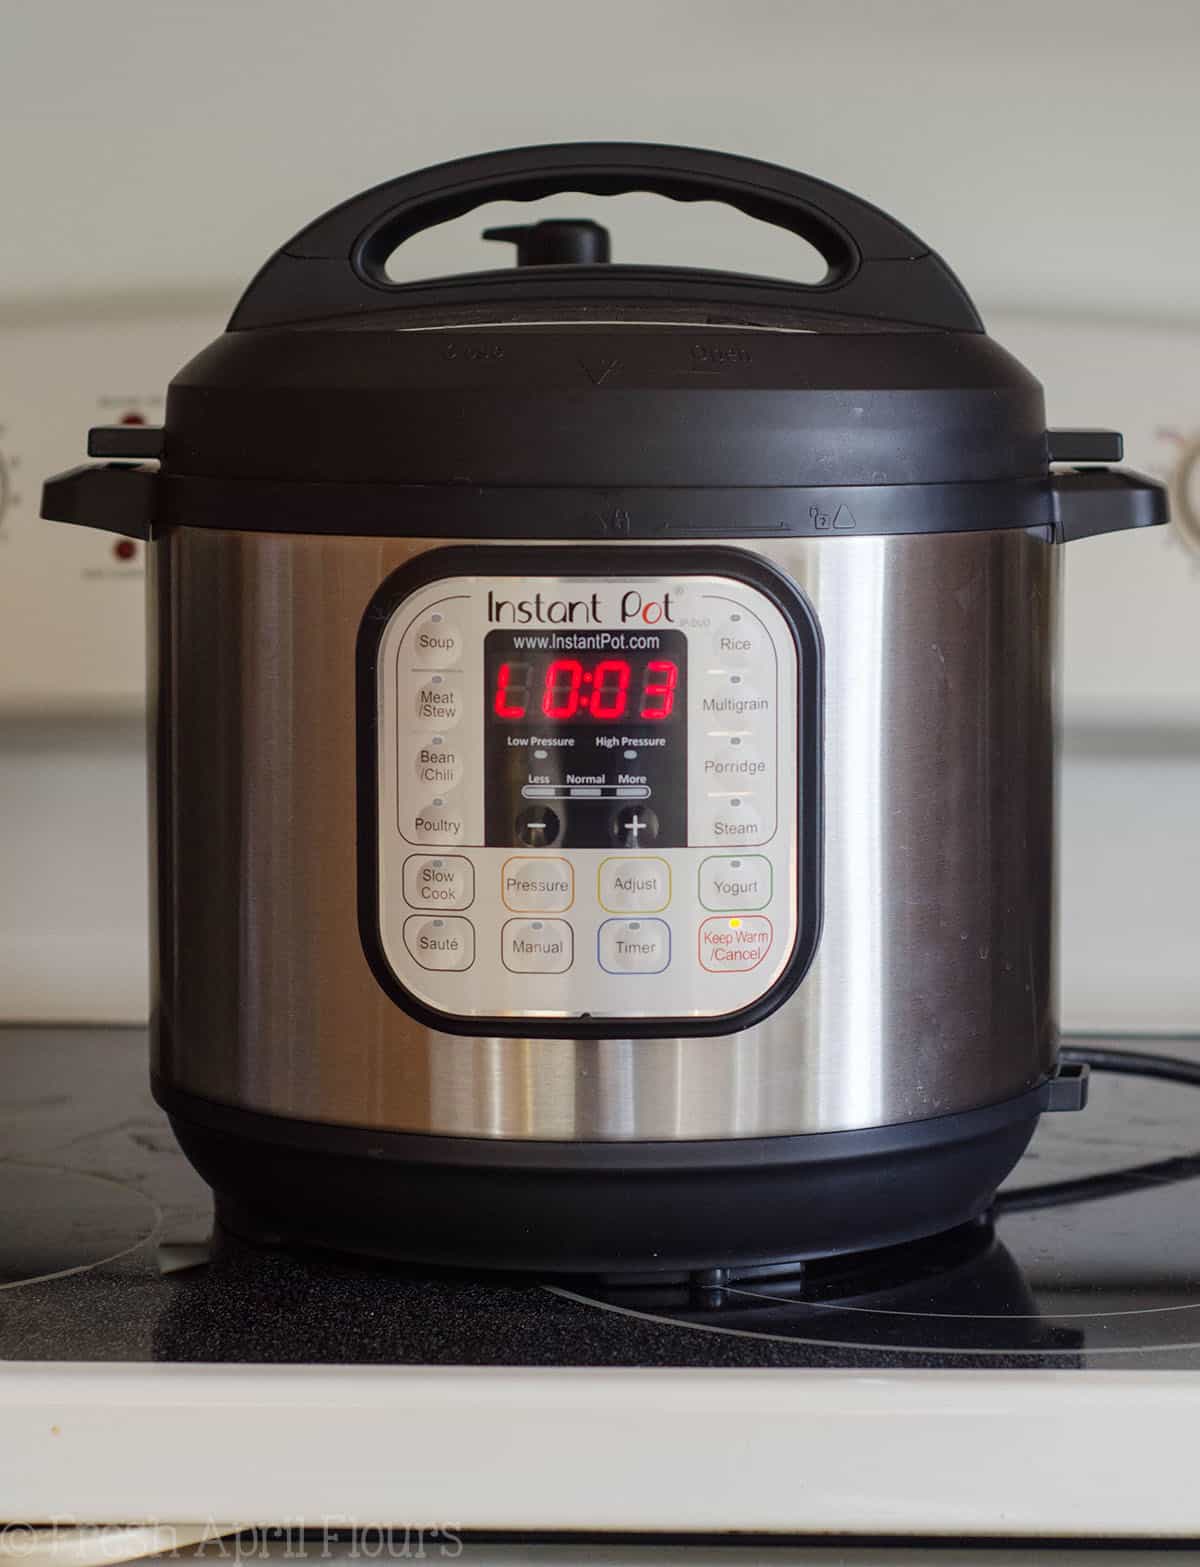
Press “manual.” A number will appear (the number you set to cook last time you used the Instant Pot). This is your cook time. Use the buttons to adjust the time to 7. You’ve now set your cook time to 7 minutes (this is the first part of the 7-7-7 method).
STEP #4
After a few seconds, your Instant Pot will accept 7 minutes as your cook time and then start heating and pressurizing. The display will say “On.” This process takes about 7-8 minutes, but is not part of the 7-7-7 method.
STEP #5
When your Instant Pot is ready to cook, the little metal knob will be completely raised, indicating pressure in the pot, and it will start counting down the 7 minutes of cooking time.
STEP #6
When your 7 minutes is up, it will BEEP and the display will read “L 0:00.” This is your “keep warm” setting and it will start counting up. You’ll want to count up to 7 minutes (this is the second part of the 7-7-7 method).
STEP #7
Since your pressure cooker will sit until you manually stop it and not beep to let you know your 7 minutes of resting/natural pressure release is up, you will either need to be able to watch it or set a separate timer for yourself to let you know when the 7 minutes has passed.
STEP #8
After the 7 minutes of resting, you will carefully move the knob to “venting,” at which point the Instant Pot will release the remaining steam and pressure. When it has finished hissing, remove the top and use tongs to retrieve the eggs for their ice bath.
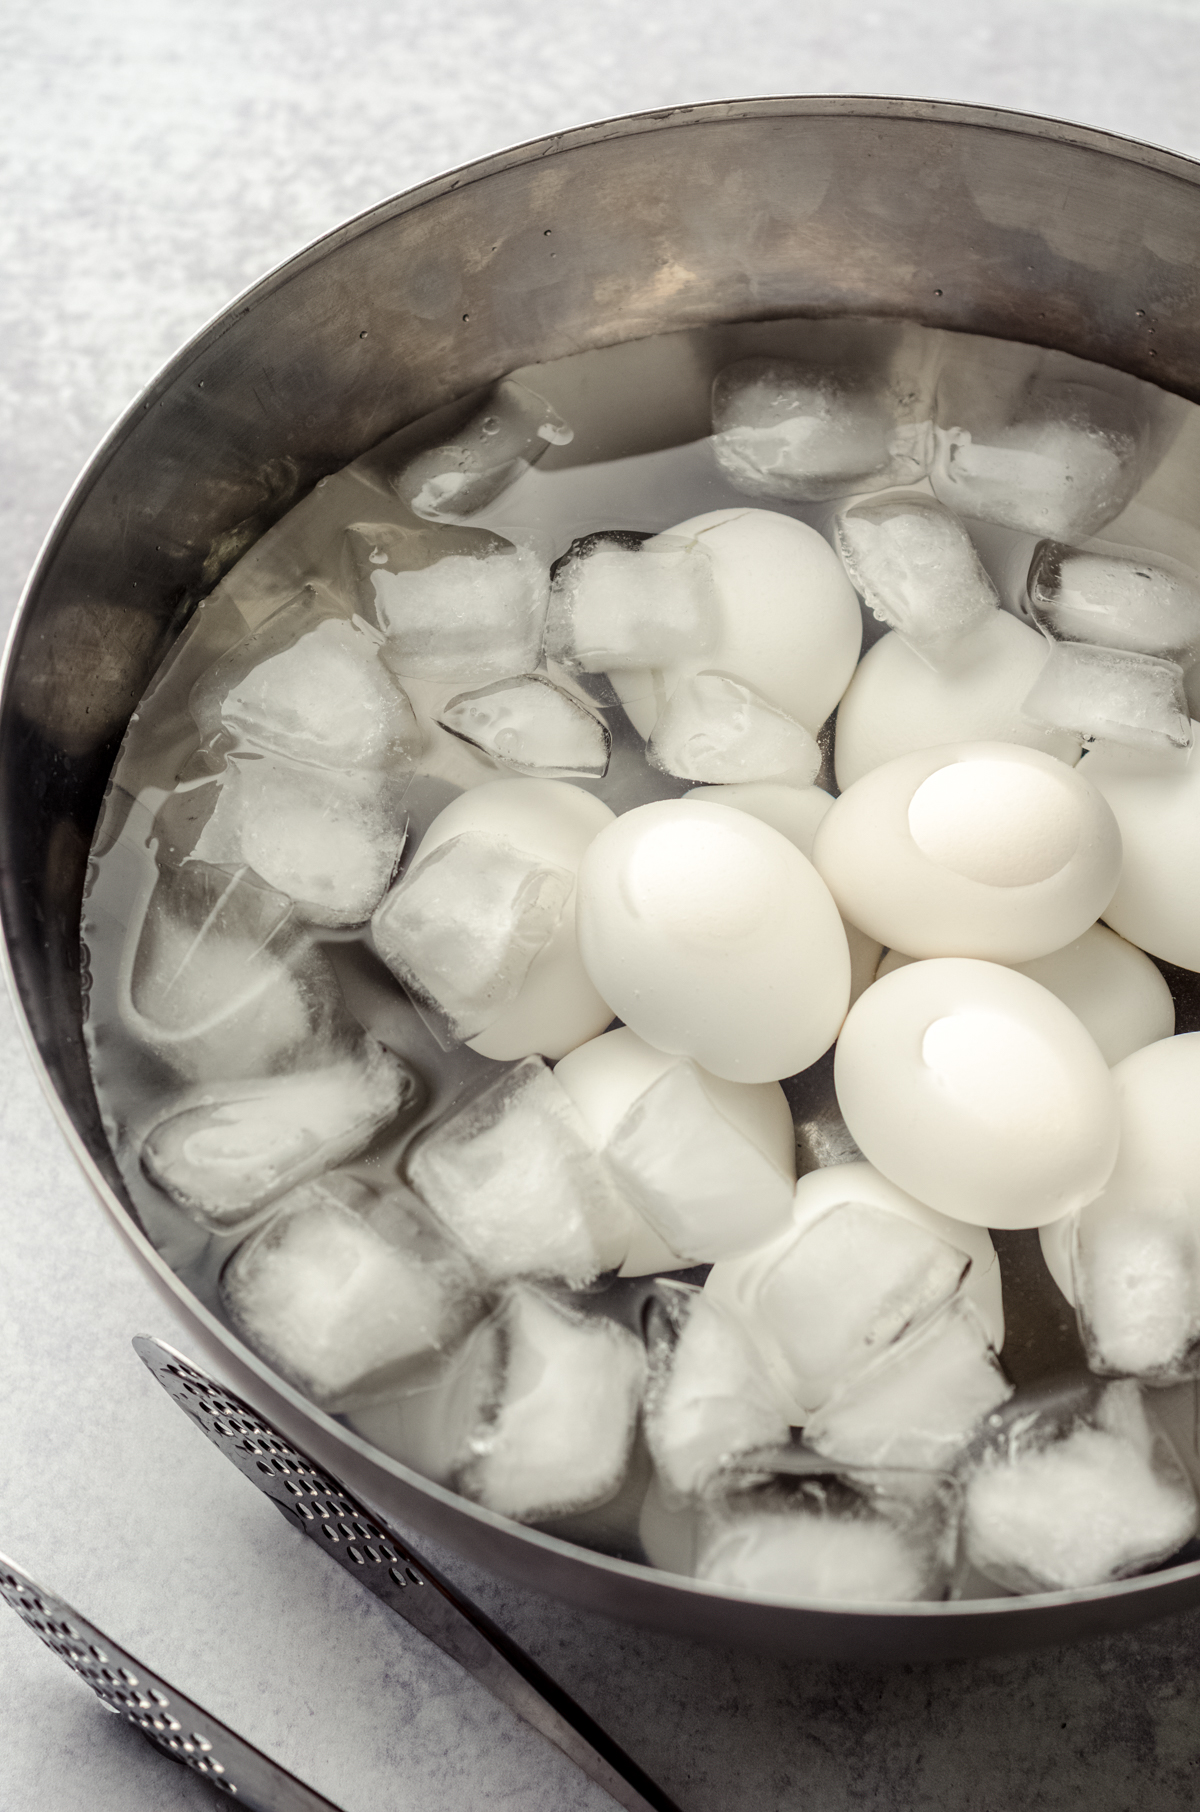
STEP #9
Your eggs will take their icy bath for (at least) 7 minutes, which is the last part of the 7-7-7 method.
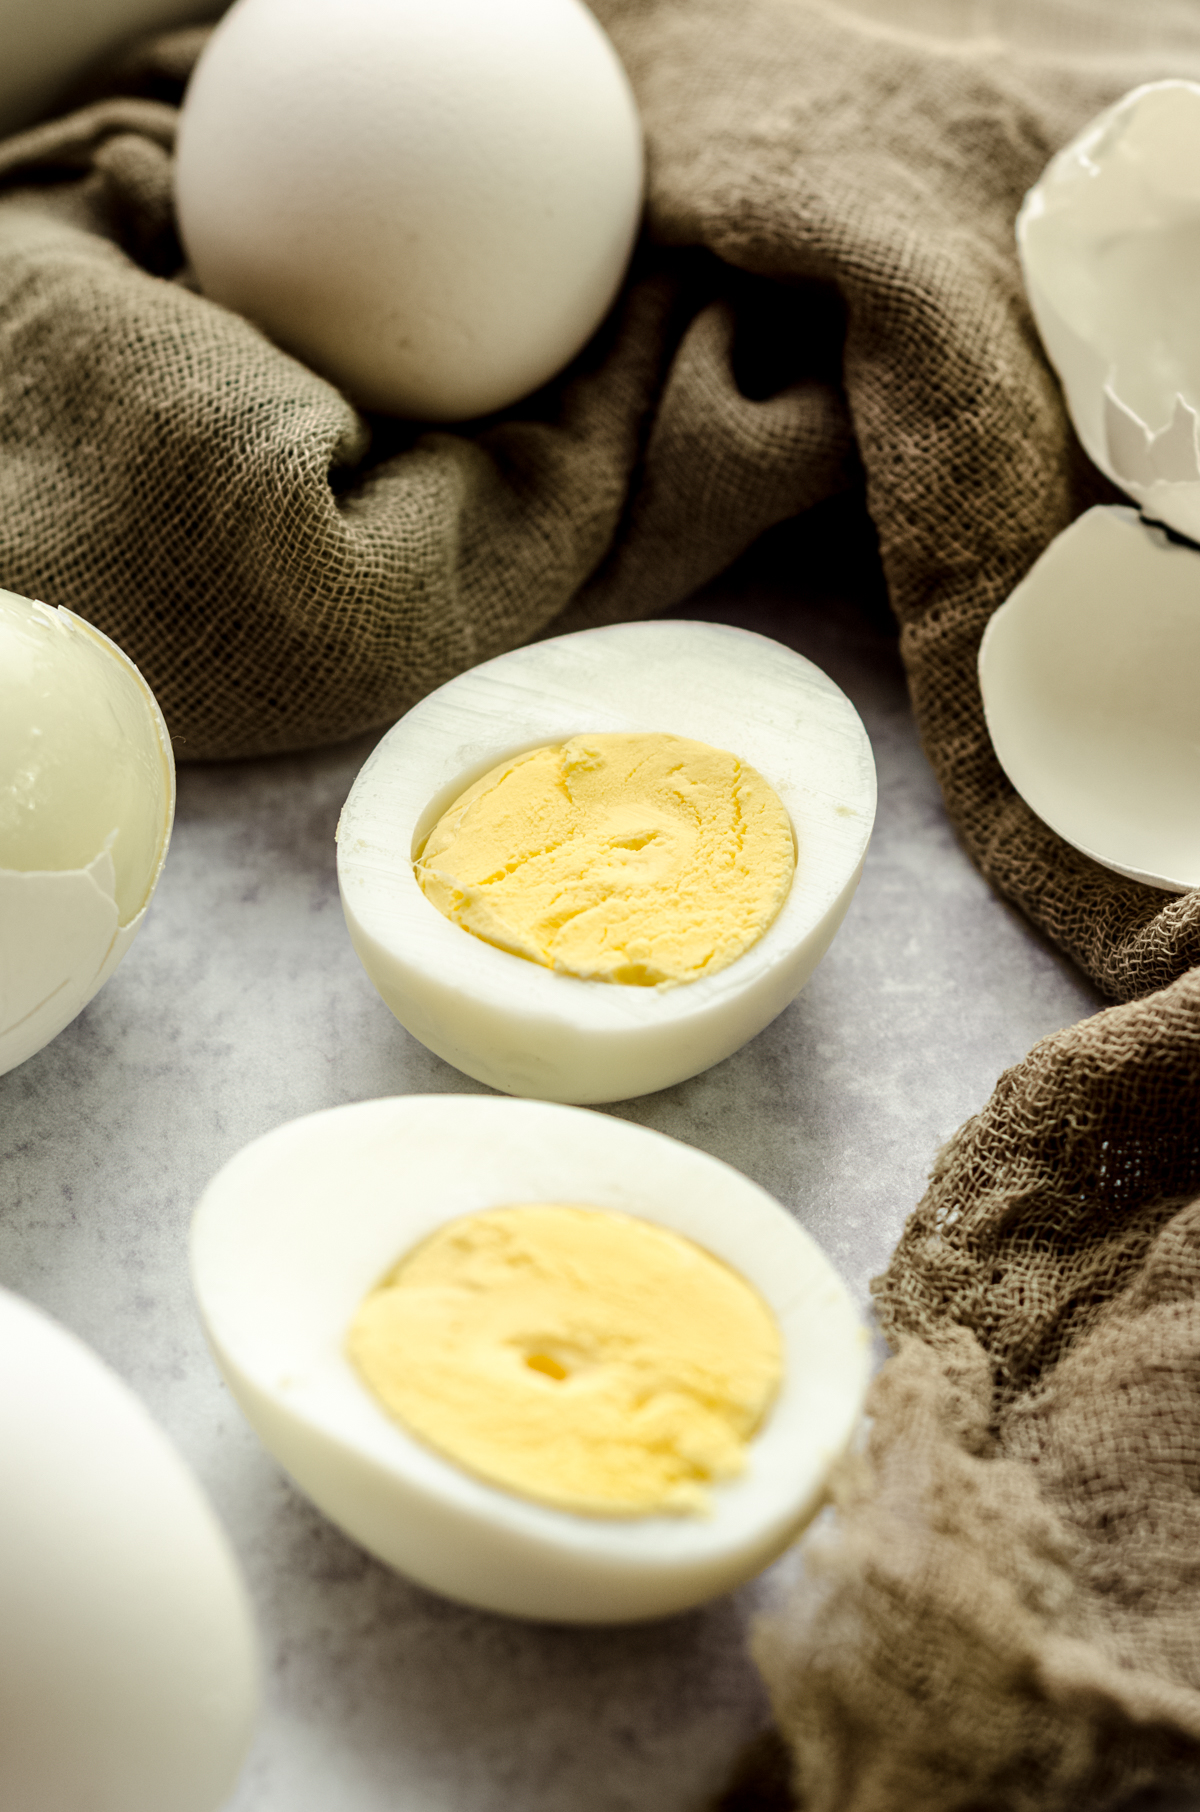
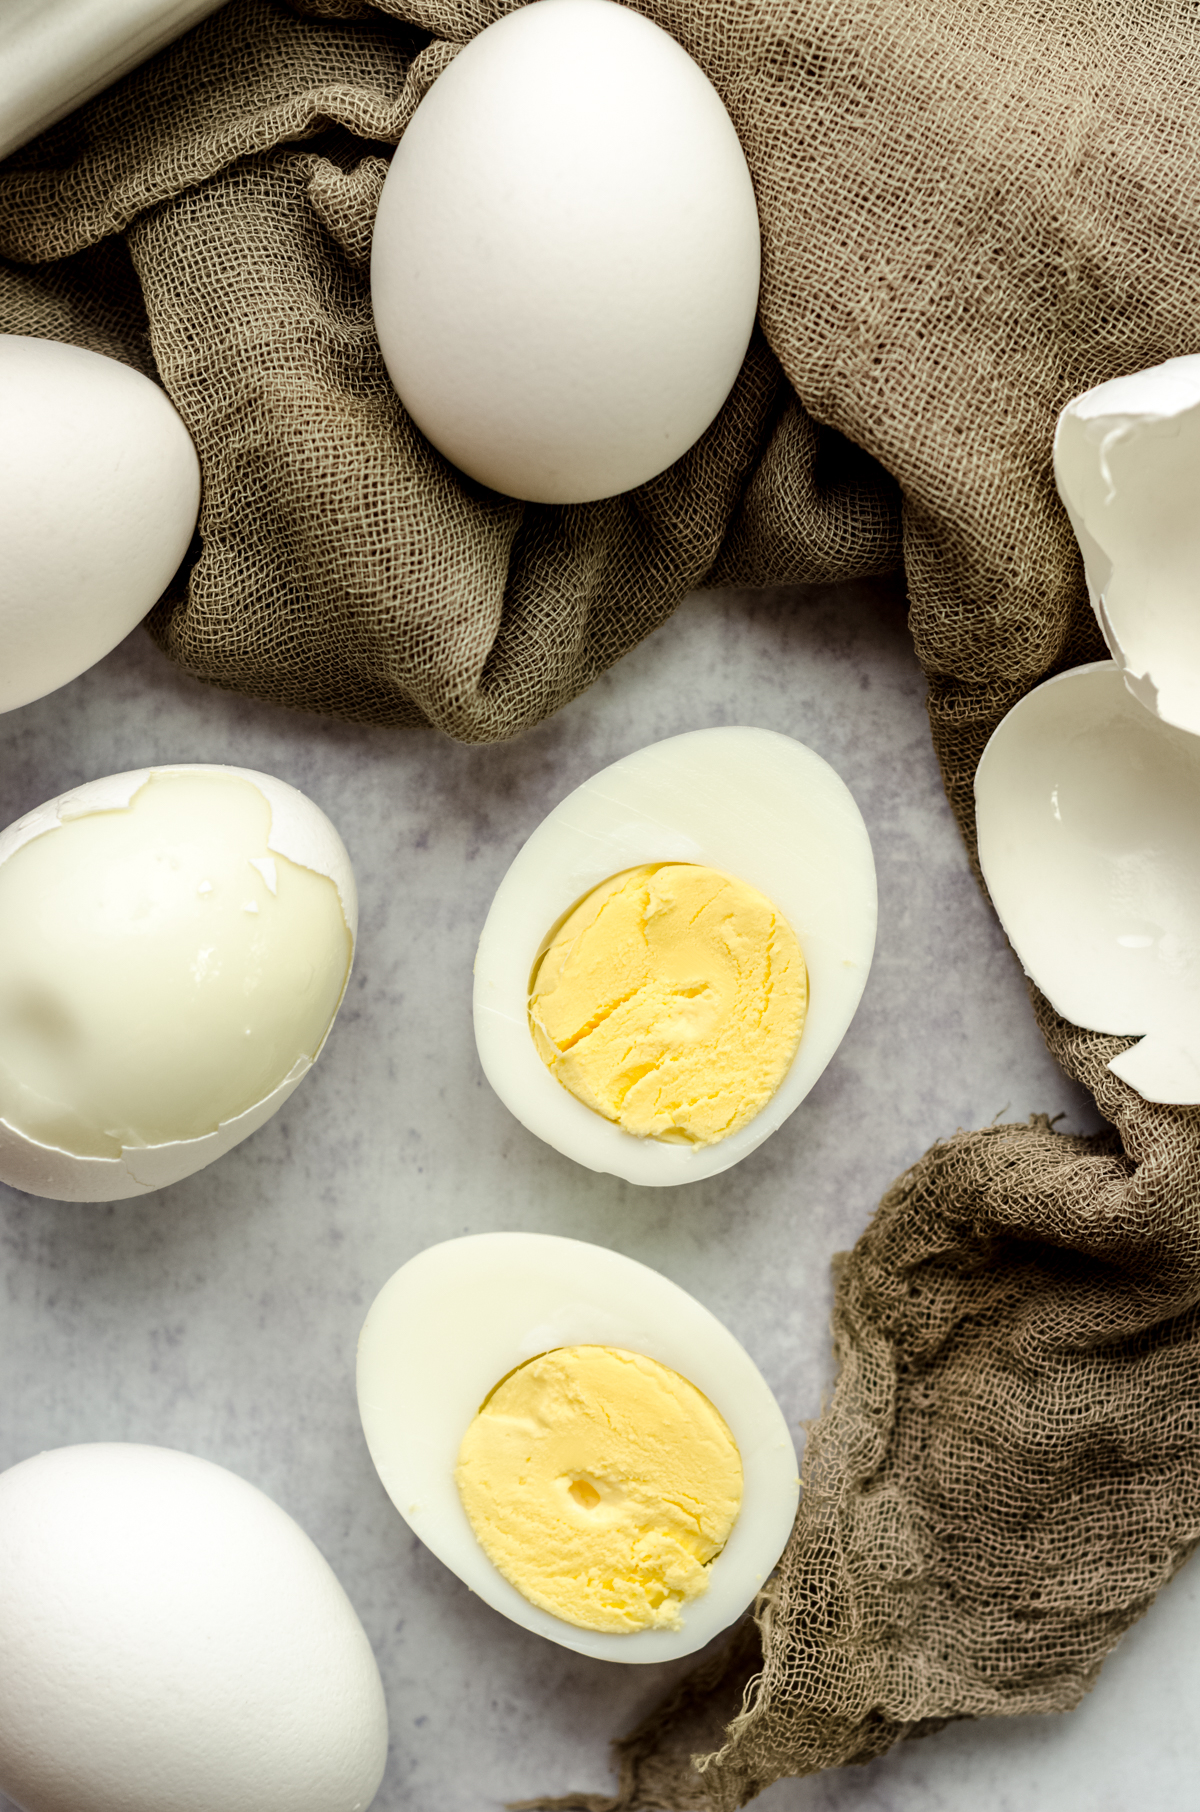
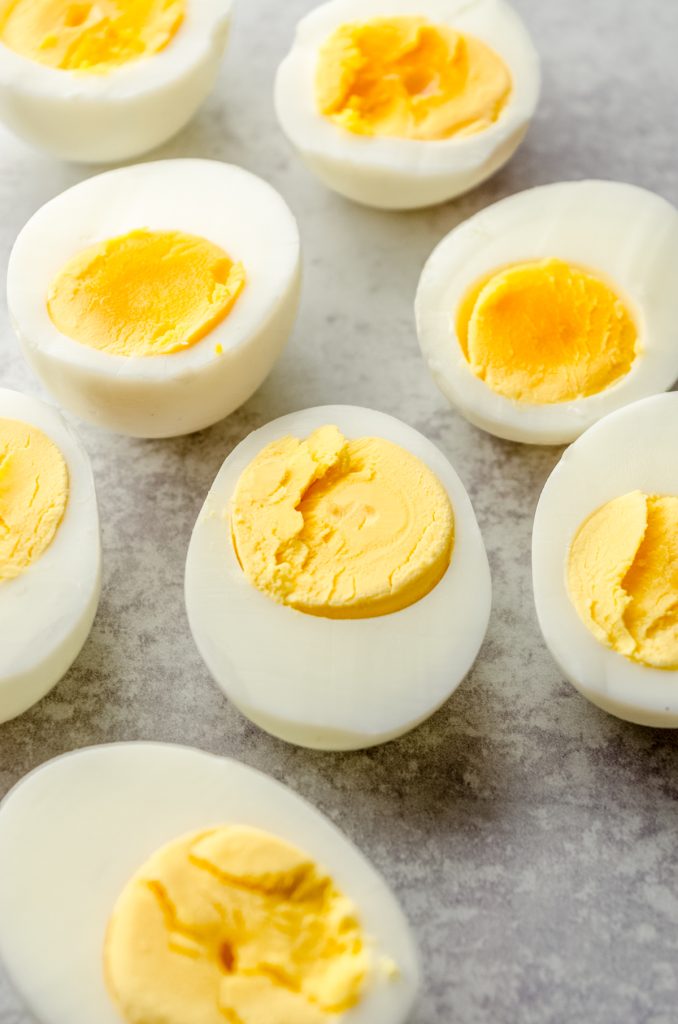
After the ice bath, you can store your eggs or peel them immediately. I’ve done both, and both ways yield easy-peel eggs that are perfectly cooked on the inside.
SERIOUSLY. Look at those fluffy, perfect eggs!
Instant Pot Boiled Eggs Cook Times
In our house, the 7-7-7 is how we prefer our eggs, but if you find that the doneness isn’t just right for you with this method, take a look at this chart to determine what texture might be the best for you. The only step that gets adjusted is the cook time. The natural release and ice bath times will remain the same.
Regardless of which time you pick for doneness… It is guaranteed to work perfectly every time.
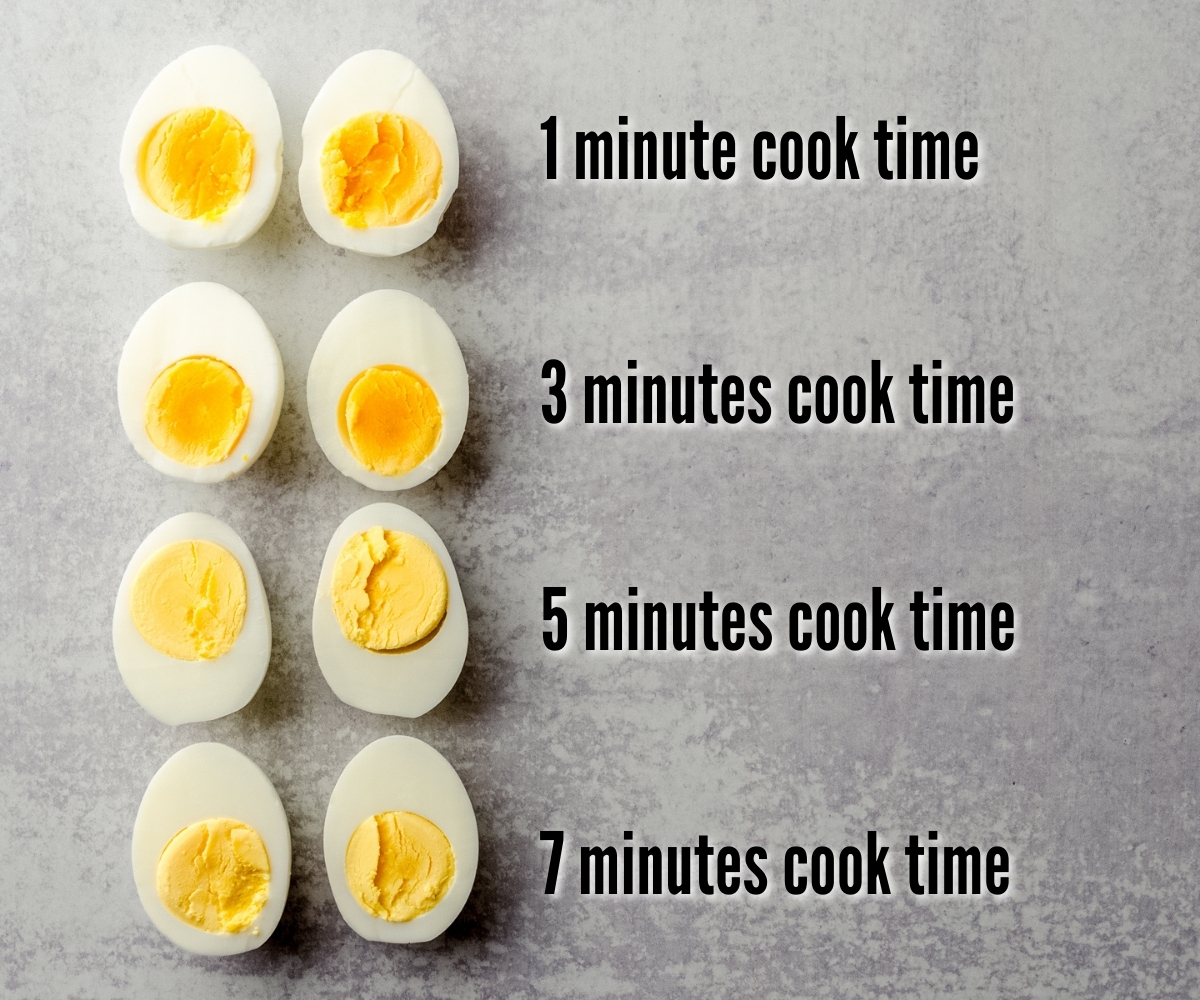
WHAT IS THE DIFFERENCE IN DONENESS WITH DIFFERENT TIMES?
ONE MINUTE: this yolk is not runny, but it is just cooked. There is a lot of moisture in this yolk and the white is also still soft.
THREE MINUTES: this yolk is a bit more done than the one cooked for 1 minute, but still moist, and the white is sturdier still.
FIVE MINUTES: there is still a bit of moisture, but the egg is fully cooked. I like this doneness for deviled eggs as the white is nice and sturdy and the yolk still has some moisture to work with for the filling.
SEVEN MINUTES: this is the most done you can get your eggs before they are unappealingly dry or get green rings. As I’ve mentioned, this is our preference for eating, but if you are not happy with your hard cooked eggs after this timing, your Instant Pot may cook warmer than ours, so reduce the cook time by 2 minutes and reassess.
Our favorite ways to use Pressure Cooker Hard Boiled Eggs
While we enjoy hard boiled eggs as is, there are so many uses for them! You can use them for egg salad, sliced or shredded on top of a salad, in tuna salad or potato salad, as a quick breakfast, for Easter, as deviled eggs… Endless opportunities for hard boiled eggs, and you did them beautifully in your Instant Pot. Pat on the back, friend!
Hard Boiled Eggs Instant Pot FAQs

Pressure Cooker Hard Boiled Eggs
Ingredients
- 1 cup (240mL) of cold water1
- 12 large eggs2
Instructions
- Add the cold water, the wire trivet that came with your Instant Pot, and cold eggs to the pot.1 cup (240mL) of cold water1, 12 large eggs2
- Put on the lid and turn the lever to “sealing.”
- Press "manual" and adjust the cook time to 7 minutes.
- When the Instant Pot beeps, the display will read "L 0:00." This is your "keep warm" setting and it will begin counting up.
- After the InstantPot has warmed for 7 minutes, carefully move the knob to "venting." When most of the noise has stopped, remove the lid.
- Using tongs, remove the eggs and place into a prepared ice bath for at least 7 minutes. After this point, you can stop and store your eggs or peel them immediately.
Notes
- Cold water: be sure you are using cold water. Hot or even warm water will change the cooking time. This means you’ll also need to start with a cold pressure cooker, so if you’re using it for more than one batch, you’ll want to let it cool completely before starting the next one.
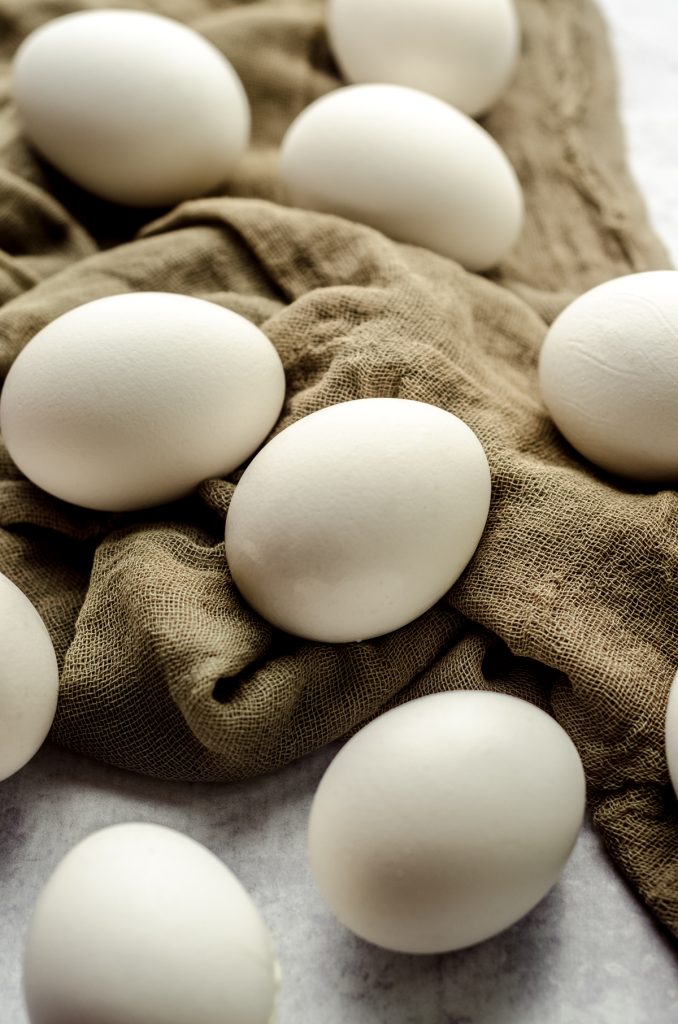
- Eggs: I find the best results with old eggs (at least 1 week post-purchase) as the membrane seems to separate better from the shell. If all you have are brand new eggs, be aware they could be a little more difficult to peel.
Nutrition Disclosure
All nutritional values are approximate and provided to the reader as a courtesy. Changing ingredients and/or quantities will alter the estimated nutritional calculations.
My eggs cracked when cooking them but still worked great!
That happens here sometimes, too. Glad you still liked them, Cyn!
PERFECT! Easy to peel and no green ring around the yolk. This will be my go-to way to make HB eggs
Thanks so much, Katherine!
Was so easy! #InstantPot #HardBoiledEggs #Instant #InstantPotRecipes #Easy
So simple!
These came out perfect. My go to method from now on!
Thanks so much, Michelle!
Worked like a charm!
Glad it worked out for you, Kristen!
Works like a charm !!!!!
Yes!
It worked fantastic!!!
Thanks so much, Martha!
They were amazing !!
I’m glad you liked them, Nikki!
Spot on. Thanks!
You’re welcome, Shelly!
Perfect method! Thanks Lynn!
You’re so welcome, Michelle!
I love doing eggs in the Instant pot! Working on my favorite method, definitely trying yours! Do you have advice on duck eggs?
Hey, Stacy– I have no advice! But I hope you give my method a try 🙂