
Rice Krispies Wreaths
As an Amazon Associate, I earn from qualifying purchases. Read the full disclosure here.
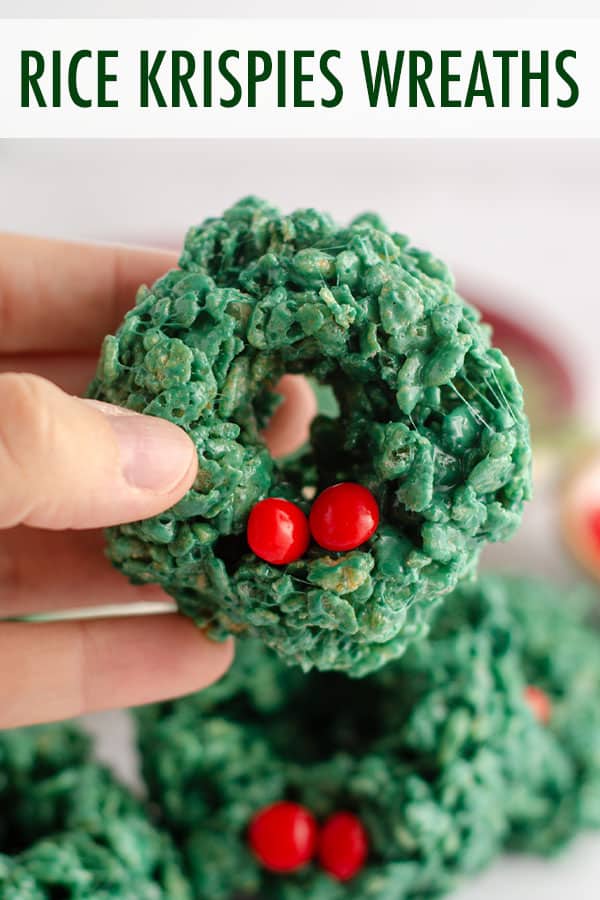
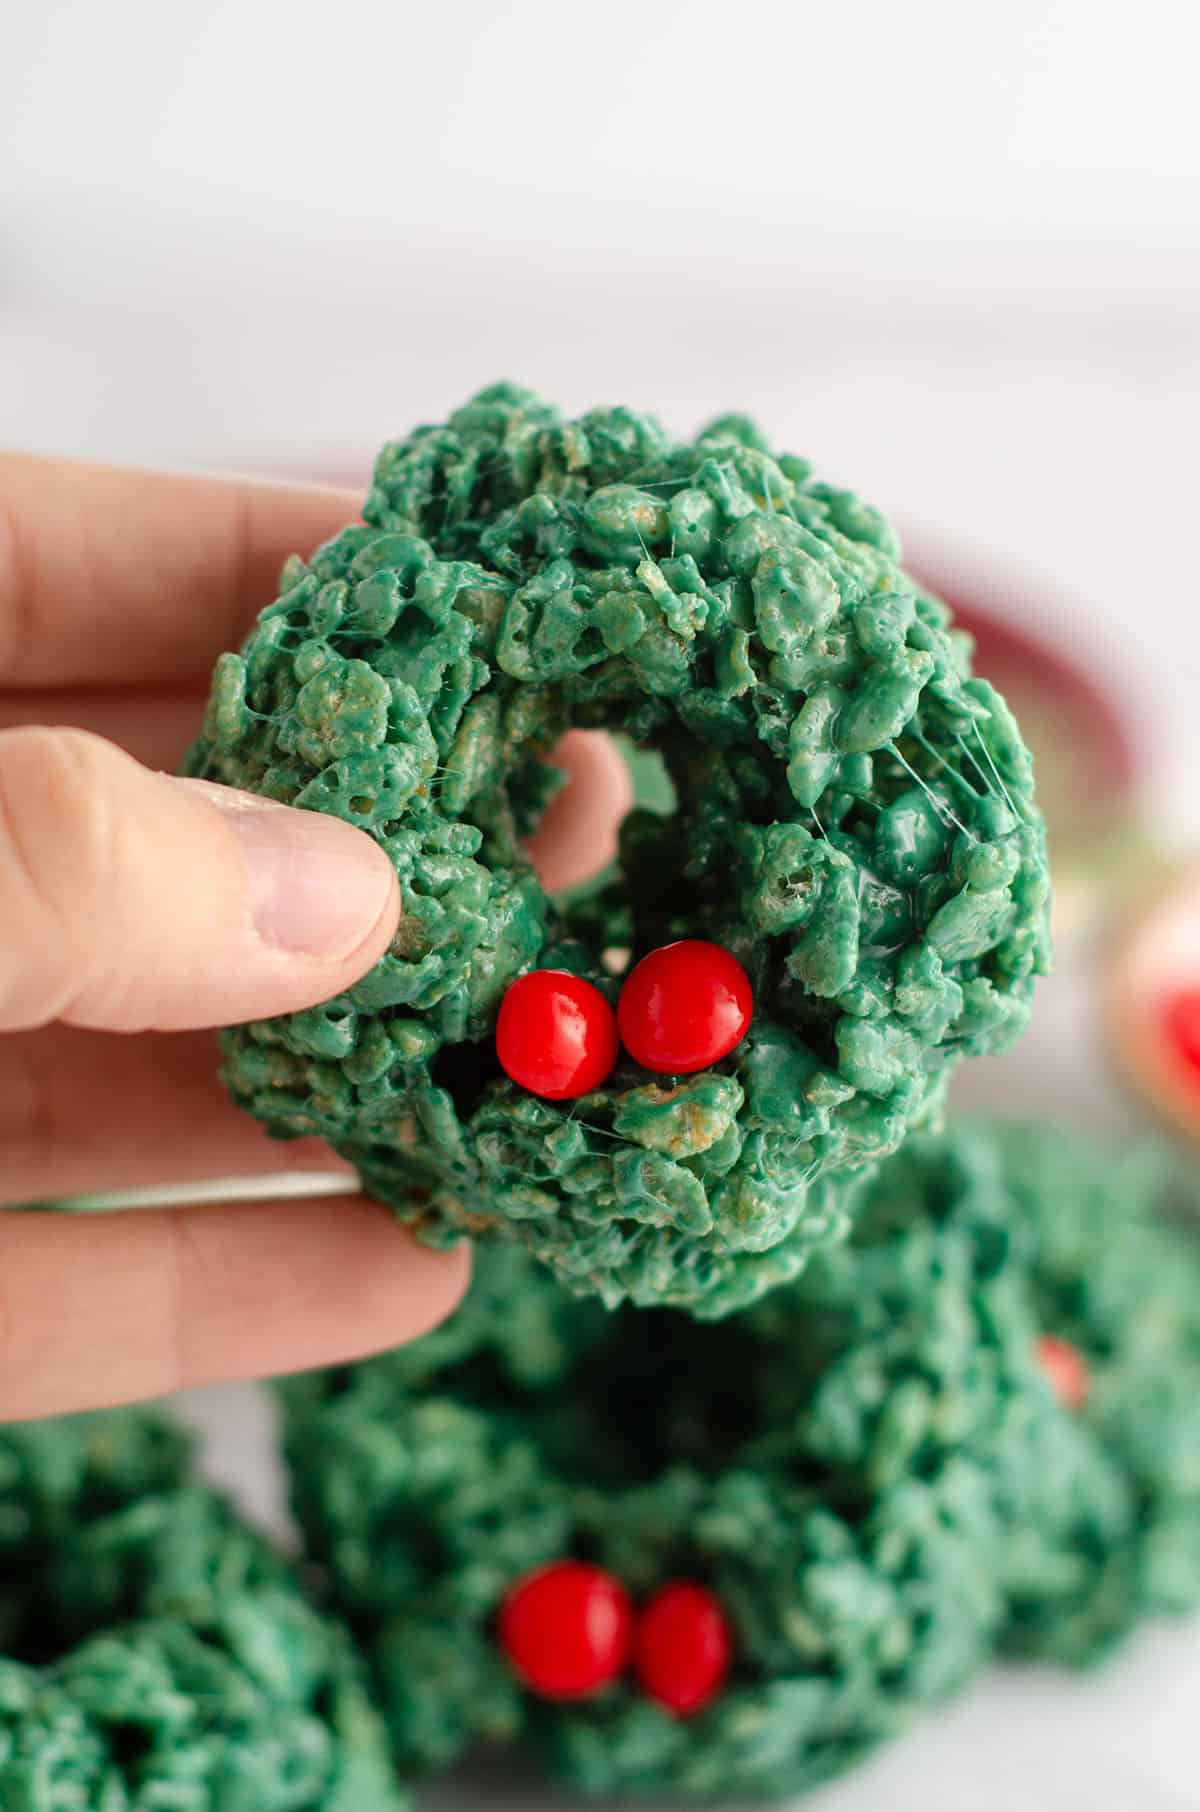
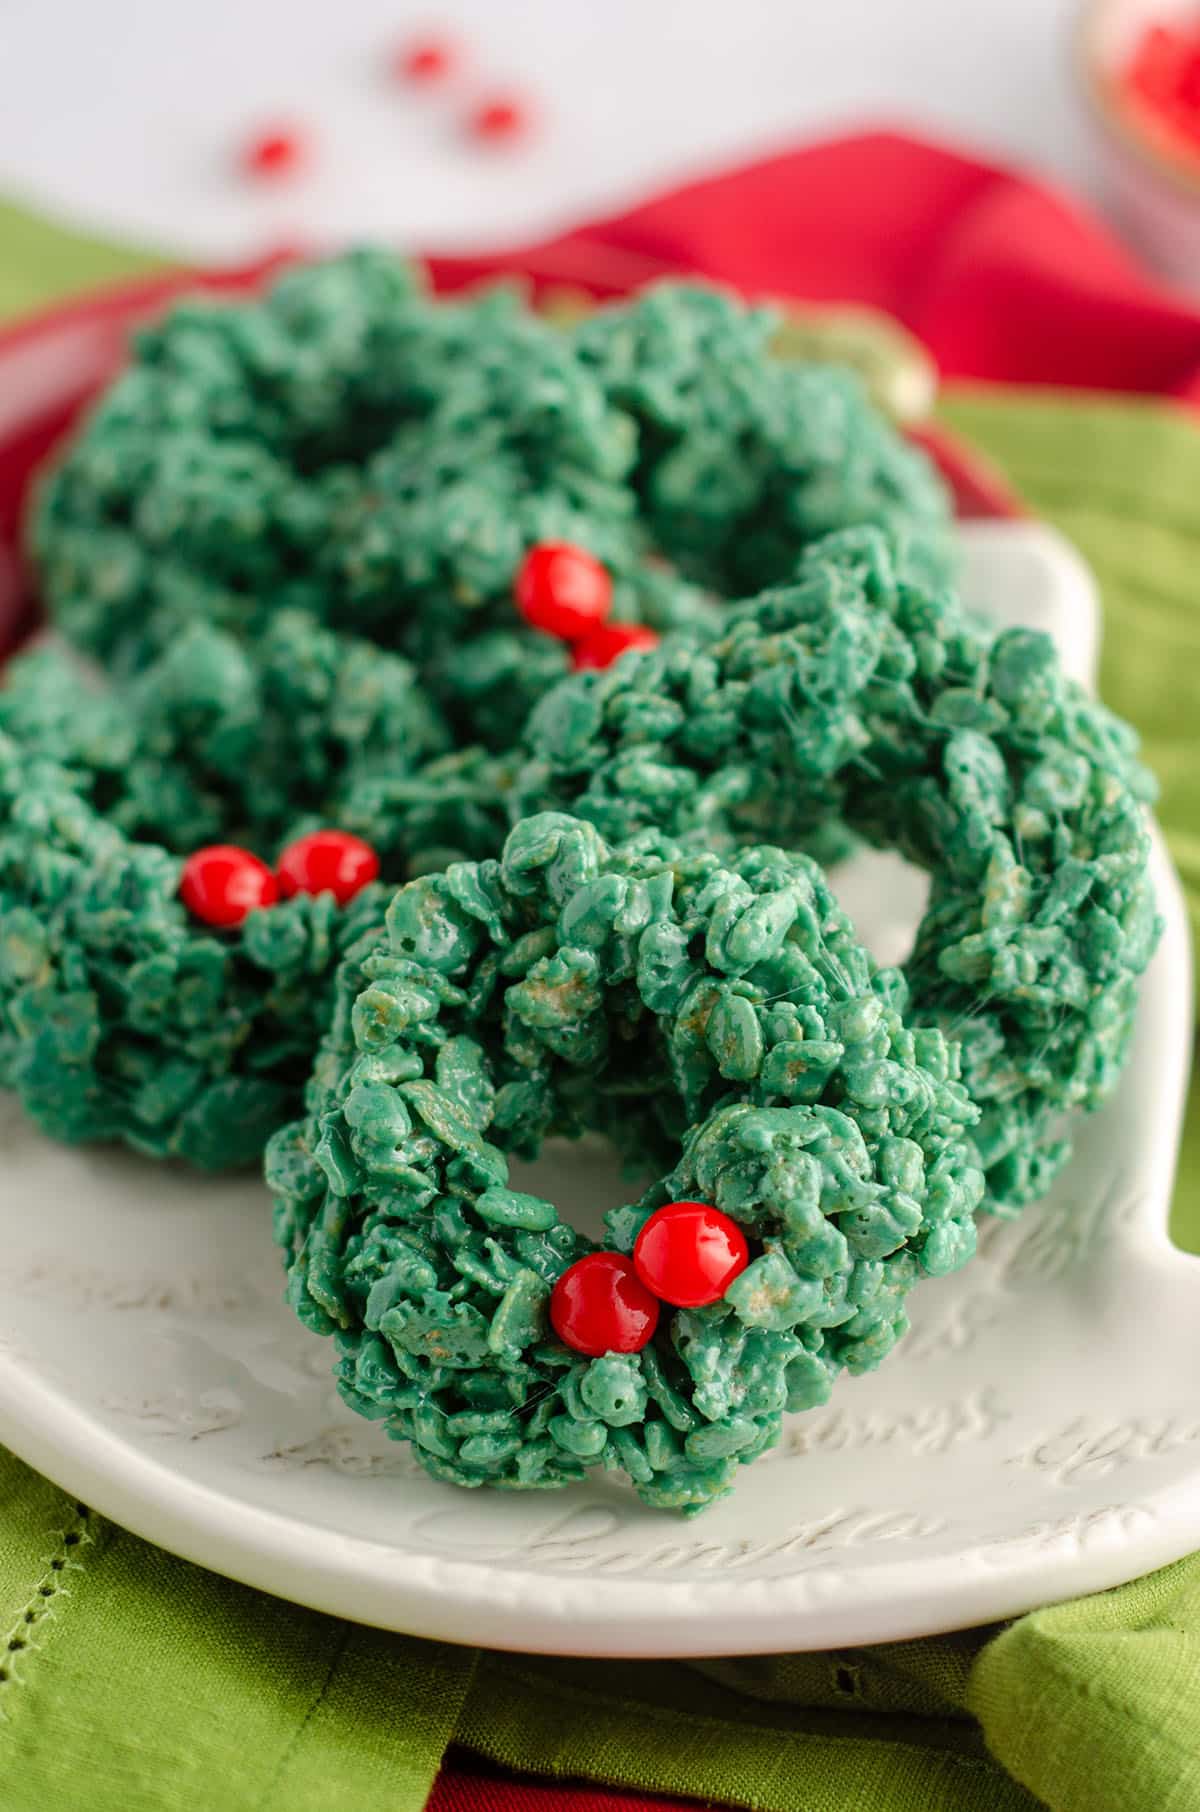
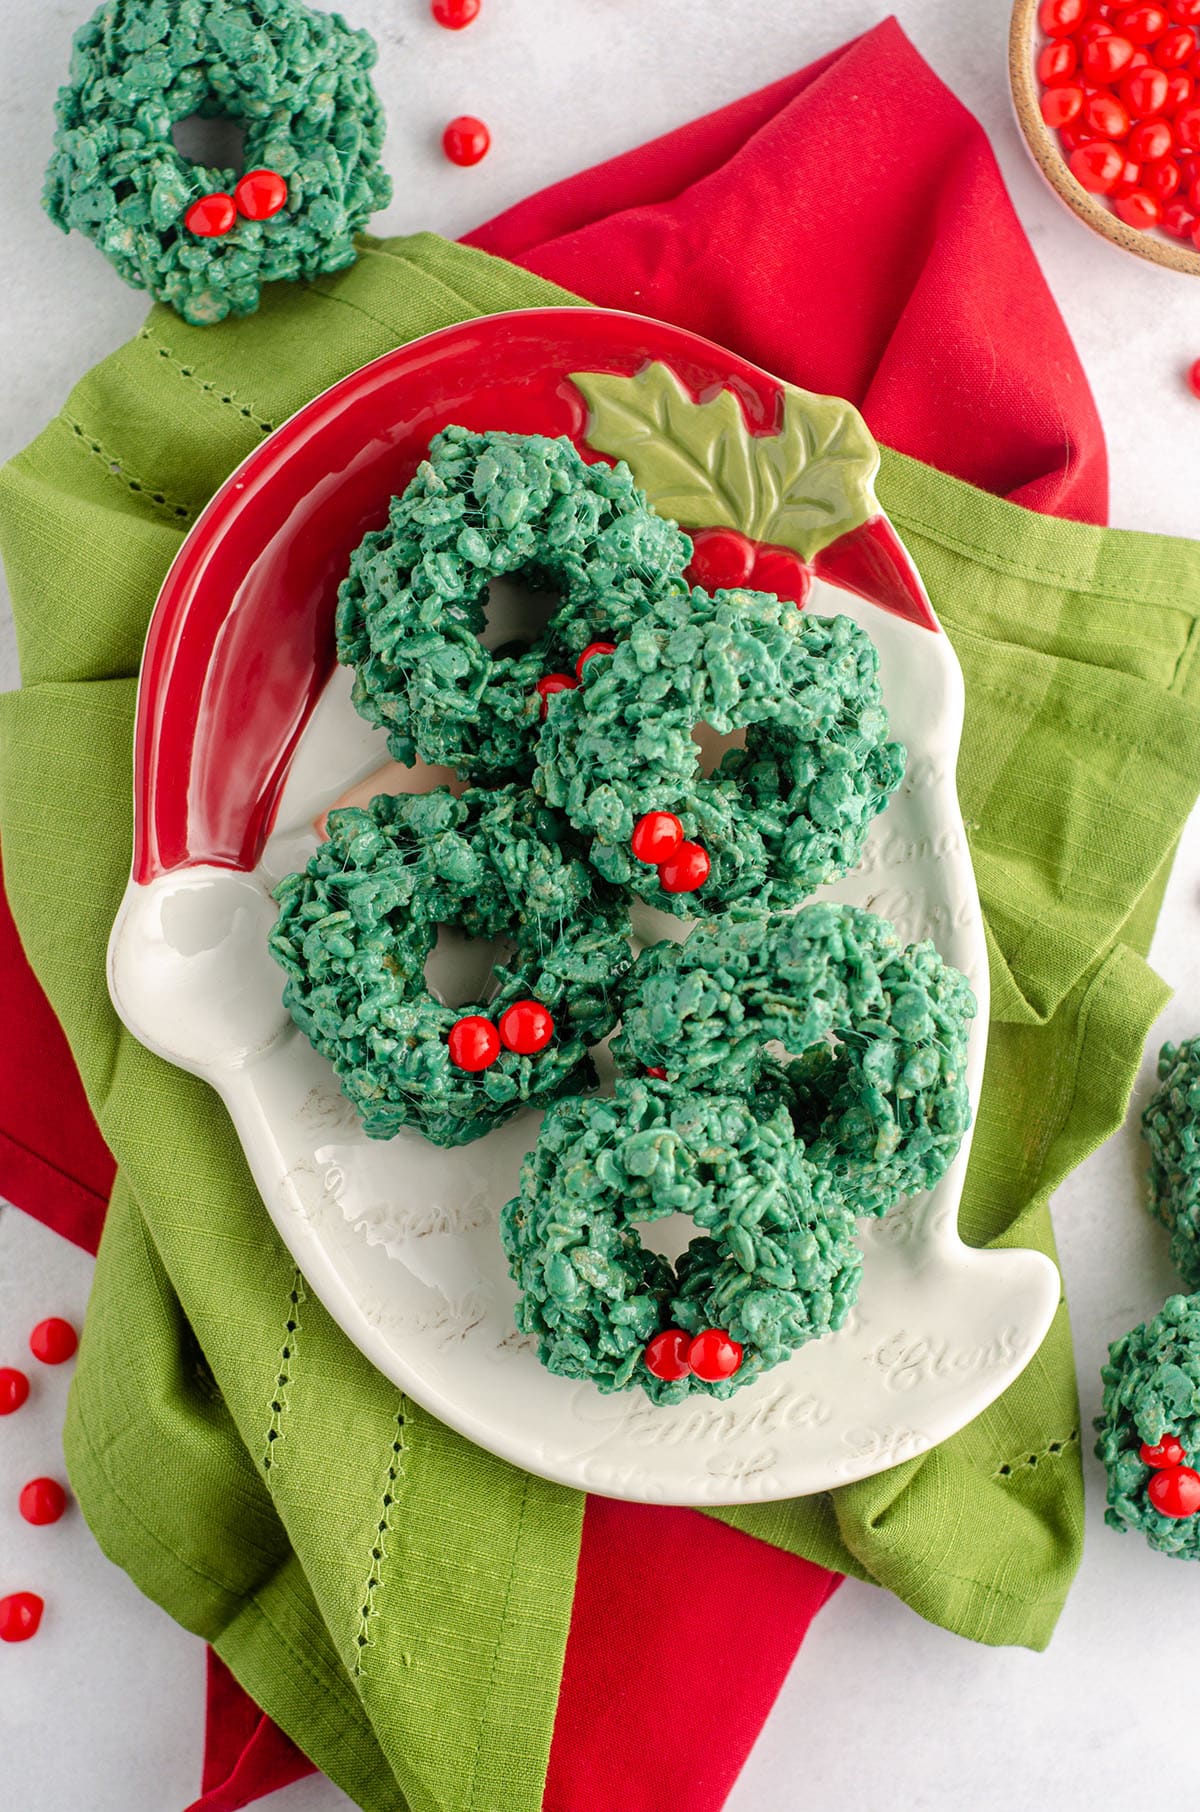
Everybody’s favorite Rice Krispies treats shaped into festive wreaths are perfect for filling spots on cookie trays and make a merry no-bake treat.
Because WHAT is a cookie celebration without some sort of non-cookie that goes really well with large amounts of cookies… Right?
We’re more than halfway through our 12 Days of Christmas Cookies, and I always like to throw some non-cookie or no bake treat into the mix because having something like this on a cookie tray or in your baking day lineup breaks up the cookies and gives you a different kind of treat to enjoy.
Plus, this one is so fun to include the kiddos on, and they think the green Rice Krispies cereal is a hoot (at least ours did)!
Now, my general assumption is that you’ve probably made Rice Krispies treats before, and the fact that they’re so simple hardly requires me to talk about ingredients and whatnot.
But I do want to point out a few things to keep in mind when you’re planning your Rice Krispie Christmas wreaths.
First, the color you’re going for here is green, but if you’re like me and have a ton of green gel colors to choose from because you have the 50 pack of AmeriColor, you might be wondering which color to use.
Honestly, it’s totally up to you. I went with forest green, but leaf green or even electric green would be good choices here.
Or get fancy and split your Rice Krispie treat wreaths batter (what even am I saying?!) into two batches and color one a darker green than the other and then mash them together?
That’s totally next level Rice Krispie wreaths territory, but if you go for it… I’m going to need to see this!
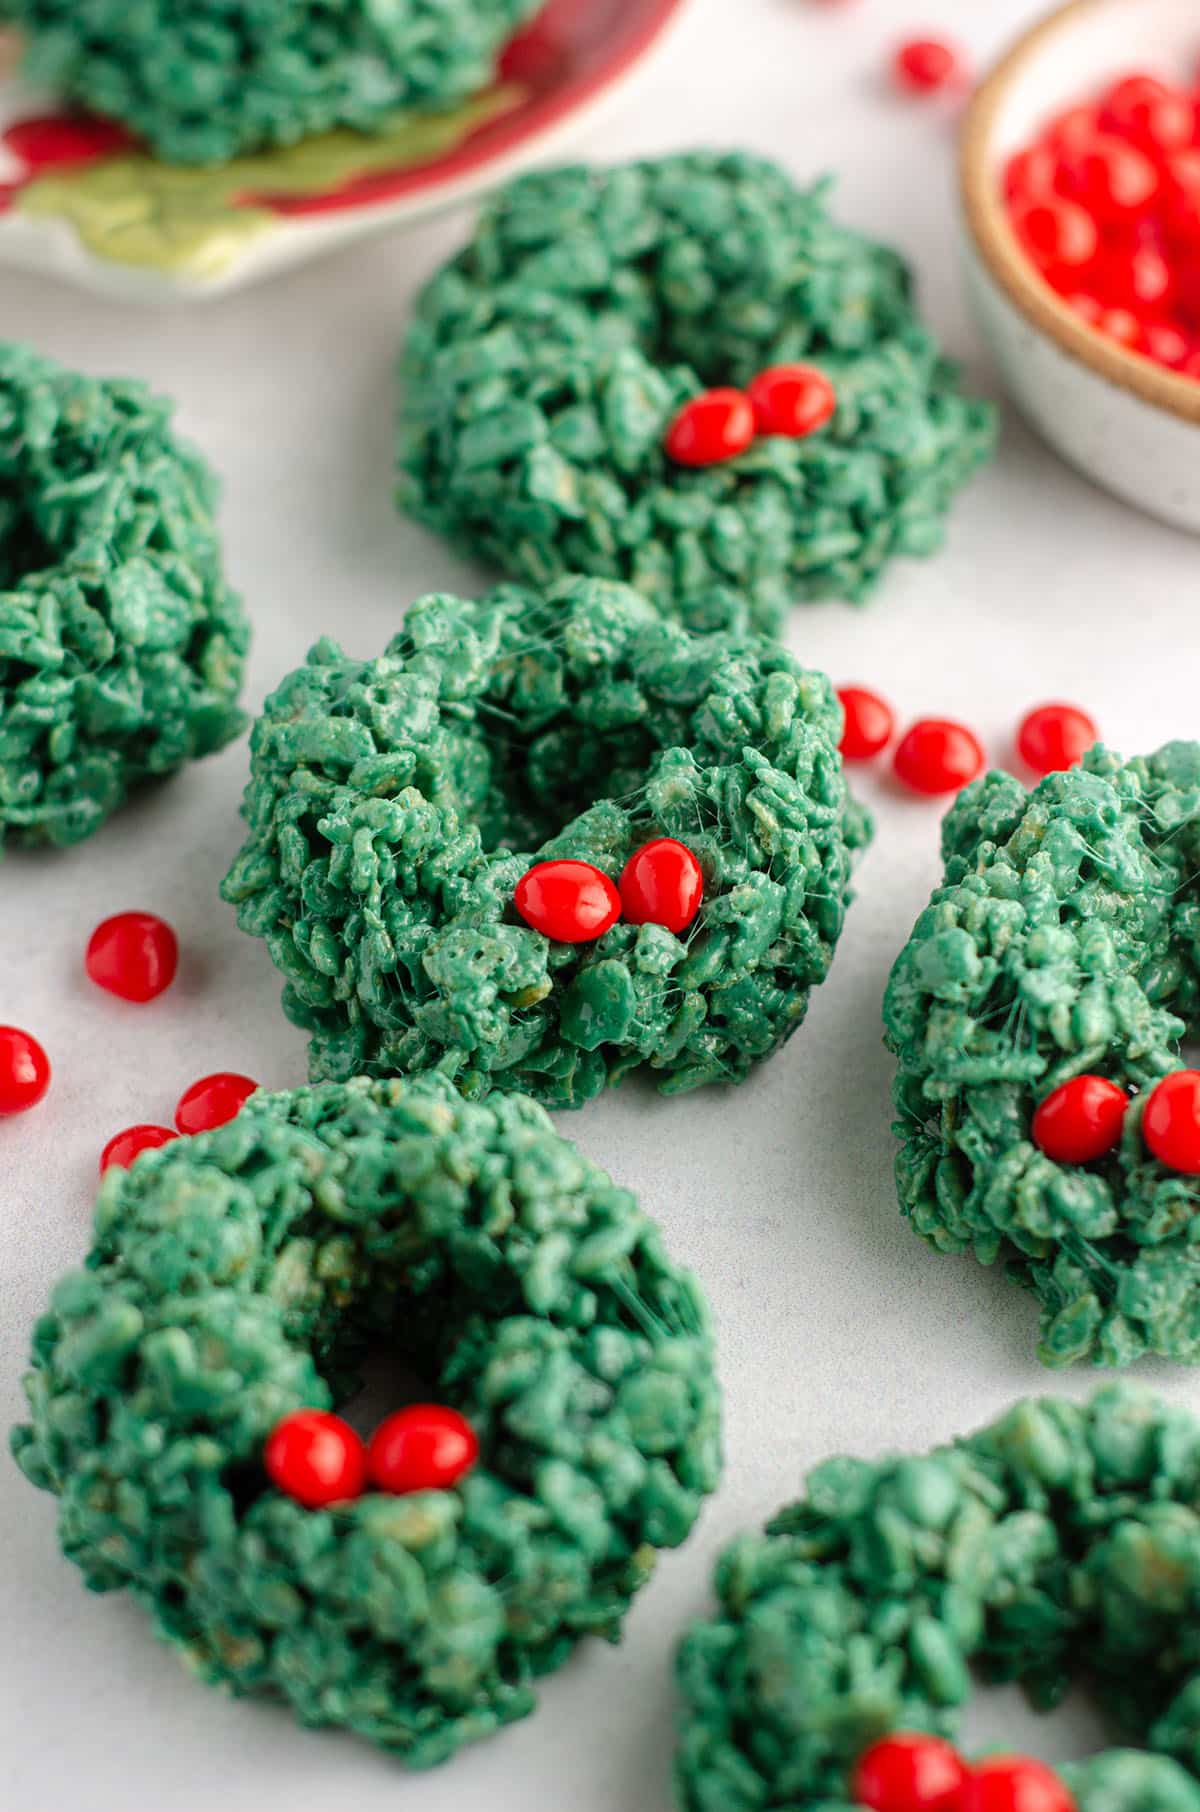
As far as shaping them goes, I envisioned using a cookie cutter to make it happen, but it was truly easiest just to use an ice cream scoop and form the wreaths with my hand.
Do this all gently, because otherwise, the Rice Krispie wreaths get hard and crunchy.
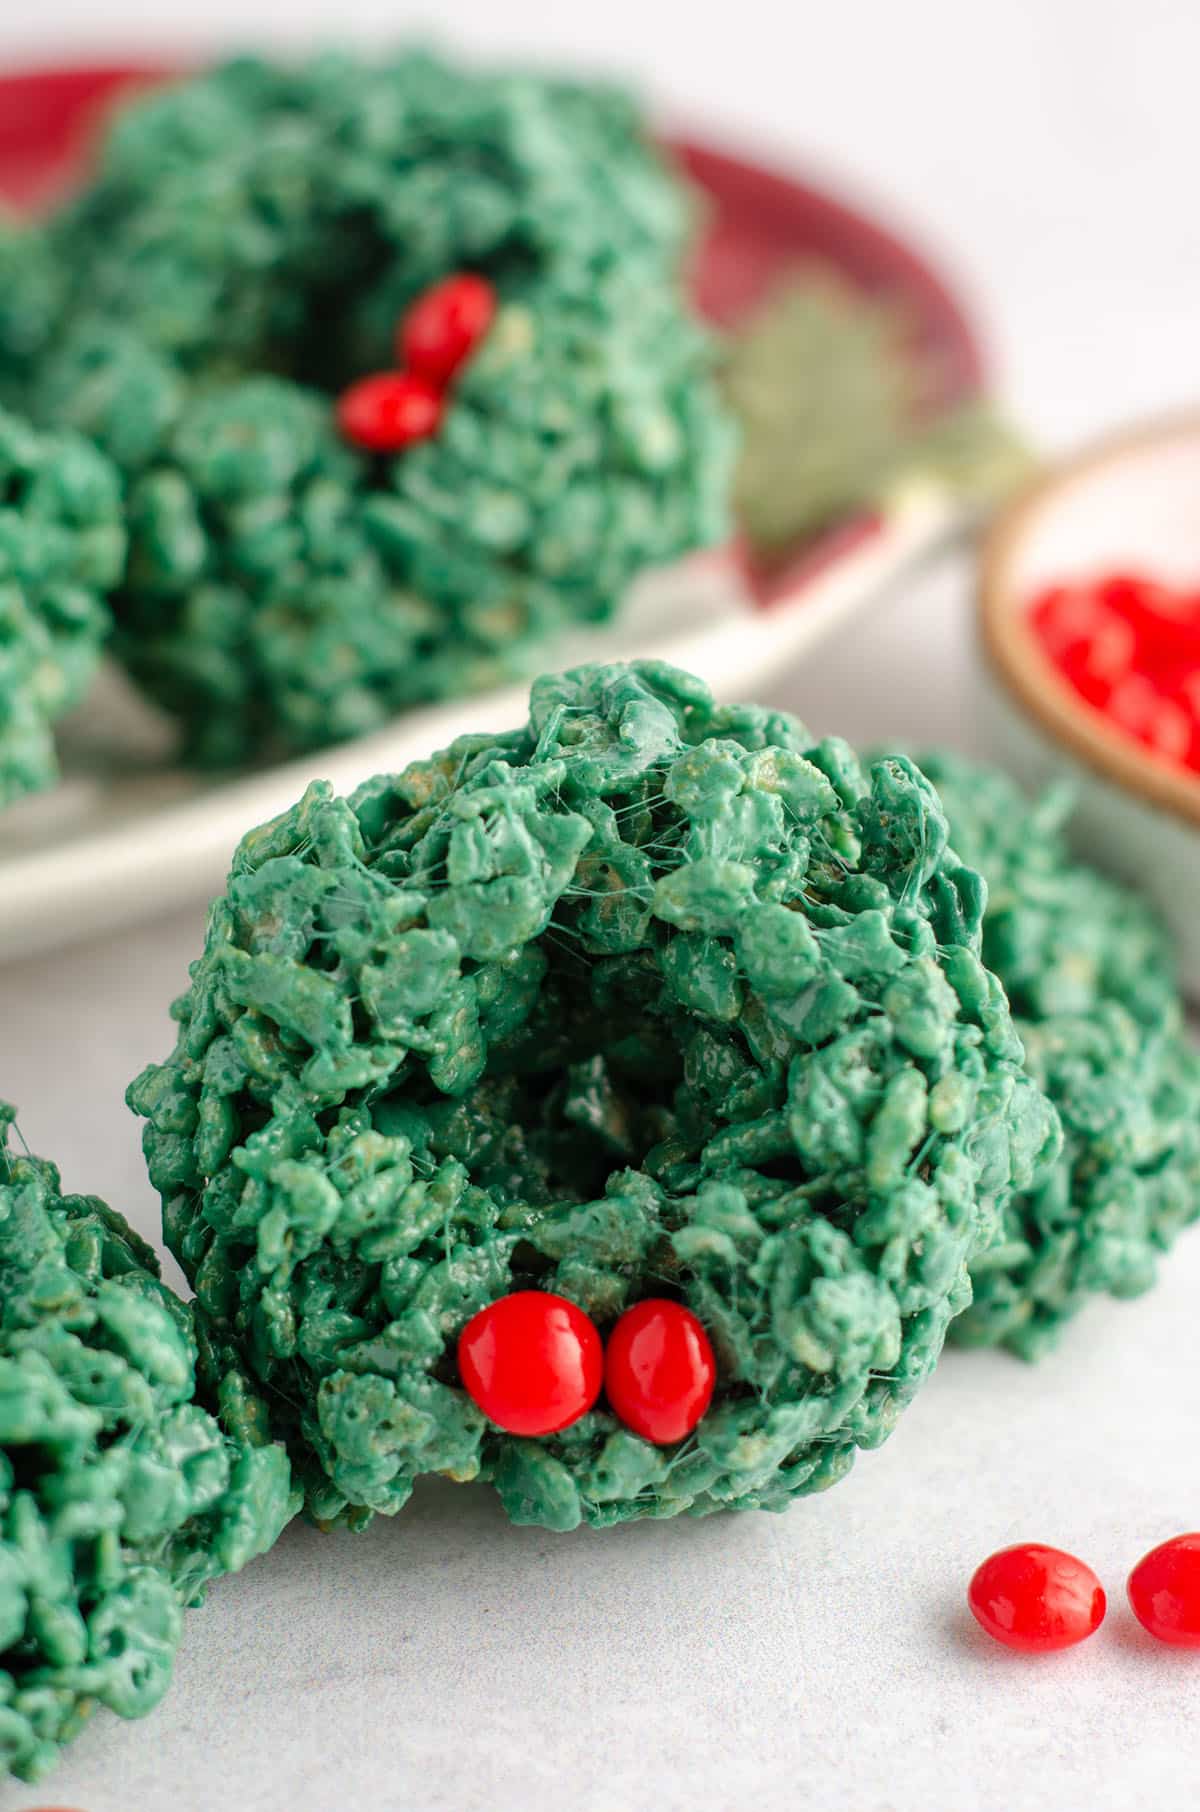
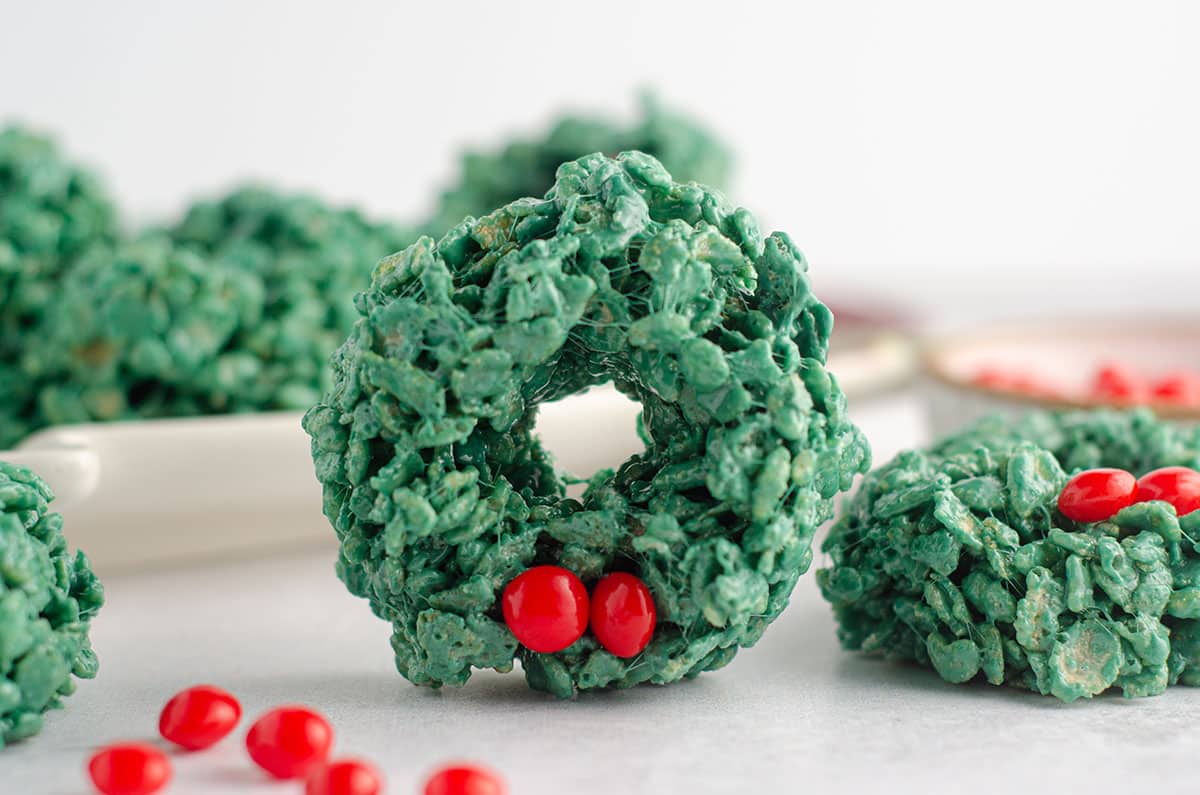
Once it’s in a disc shape, make the hole in the center and press back together the parts that came apart from the separation.
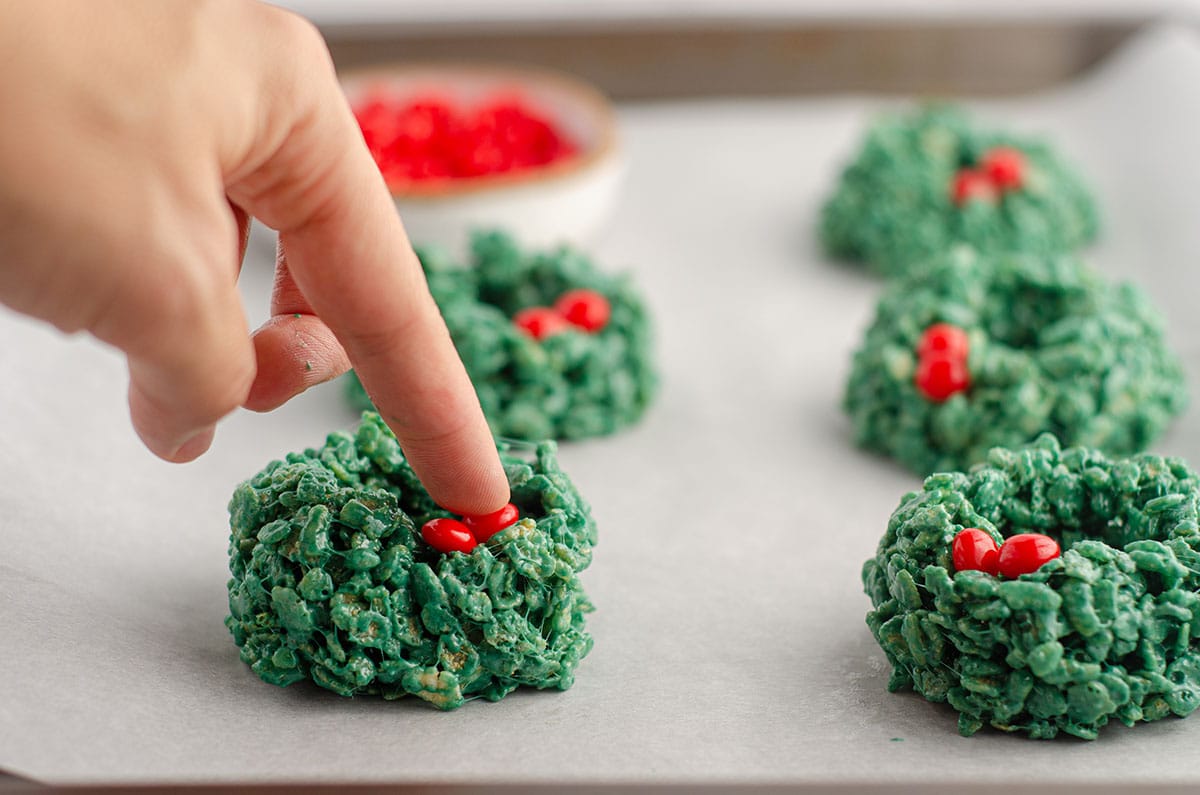
And then, while they’re still setting, add in the little candies. I did each one right after it was formed, so make sure your candies are out and ready to go so you’re not trying to dig them out with greased hands!
And truly, do not worry about the shapes being perfect. Just like real Christmas wreaths, they’re all jaggy and misshapen and once they have holly berries on them, they get the point across juuuuuust fine!
I loved adding these Rice Krispies wreaths to our cookie boxes this year– cookies aren’t typically too colorful (unless we’re working with sprinkles or sugar cookie bars), so it’s nice to break up the browns and yellows with some green and red!
I’ve also seen these made with little Twizzler Pull-N-Peels tied into a bow (SO EXTRA), so get creative with your festive touches!
I know you’ll enjoy adding these no bake cuties to your trays this year, and to be honest, I bet Santa would appreciate switching it up, too!

Rice Krispies Wreaths
Ingredients
- 5 cups (132g) Rice Krispies or any kind of crispy rice cereal
- ¼ cup (57g) unsalted butter
- 1 10-oz bag (283g) mini marshmallows about 8 cups
- green food coloring1
- red candies2
Instructions
- Line a large baking sheet with parchment paper or a silicone baking mat. Set aside.
- Place the Rice Krispies in a large bowl. Set aside.
- In a large saucepan, melt the butter over low heat. Add the marshmallows and stir until marshmallows are completely melted. Once melted, add coloring to the shade of your choice, keeping in mind the color will look lighter once mixed with the cereal.¼ cup (57g) unsalted butter, 1 10-oz bag (283g) mini marshmallows, green food coloring1
- Remove saucepan from heat, add Rice Krispies cereal, and stir until well-coated.5 cups (132g) Rice Krispies
- Using an ice cream scoop or ¼ cup measure sprayed with non-stick spray, gently press a portion of Rice Krispies into a circular shape with your hands. Place on the prepared baking sheet, then create a hole in the middle with your fingers. Add red candies before wreath sets. Allow to cool completely before serving. Store treats in an airtight container up to one week.red candies2
Notes
- Food coloring: I prefer gel coloring. My favorite is AmeriColor.
- Red candies: I used cinnamon hard candies, but you can also use red m&ms (mini or regular) or something like Sixlets.
Nutrition Disclosure
All nutritional values are approximate and provided to the reader as a courtesy. Changing ingredients and/or quantities will alter the estimated nutritional calculations.
This was such a cute recipe and a huge hit in my house! They were gone in just a few hours! So easy and delicious and turned out so cute! Forming them was the hardest part but the recipe was clear and easy to understand. I found that spraying my hands with oil helped in forming the wreaths so it didn’t stick to my hand as much!
YES– I always spray my hands, otherwise it’s a giant mess, haha. Thanks for your review, Andrea!