Red Velvet Crinkle Cookies
As an Amazon Associate, I earn from qualifying purchases. Read the full disclosure here.
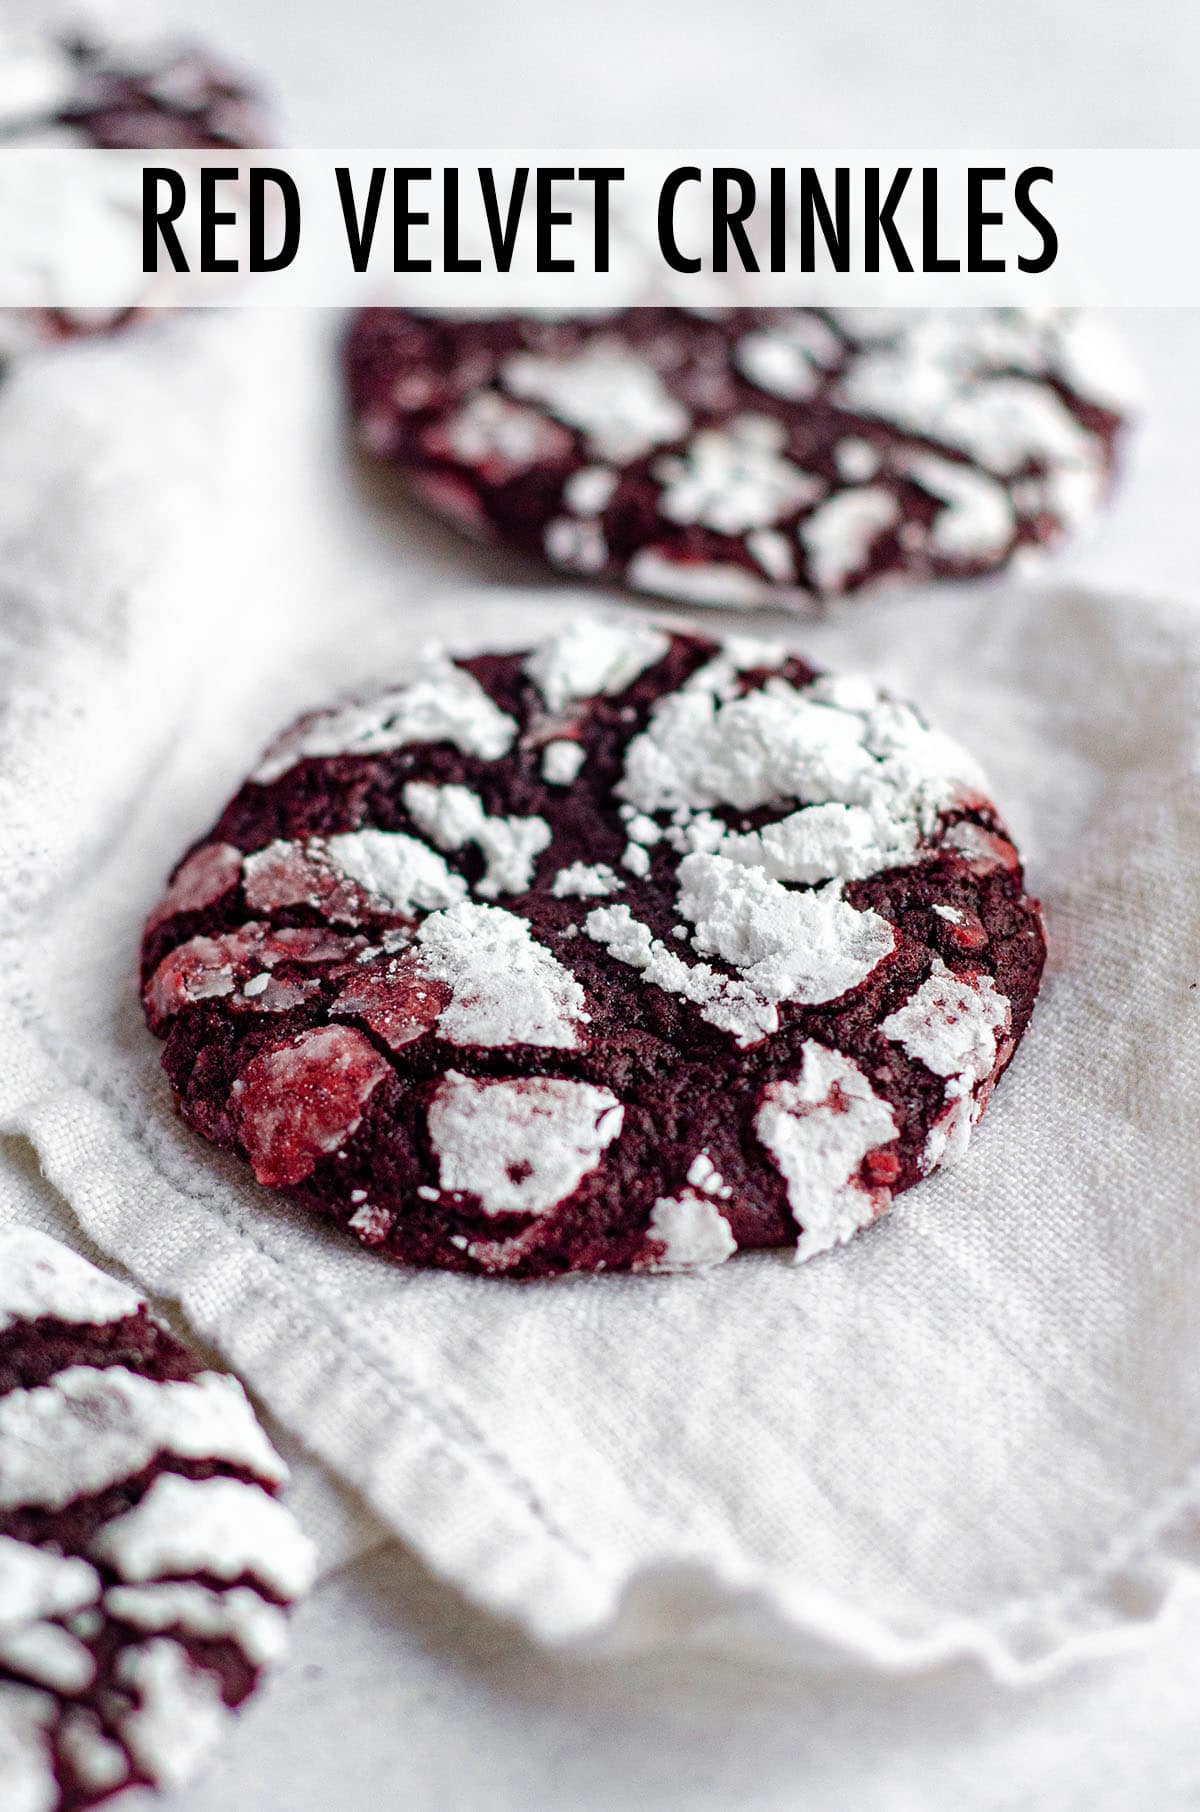
Soft and chewy red velvet cookies covered in crackled powdered sugar. No box mix required– they’re made completely from scratch!
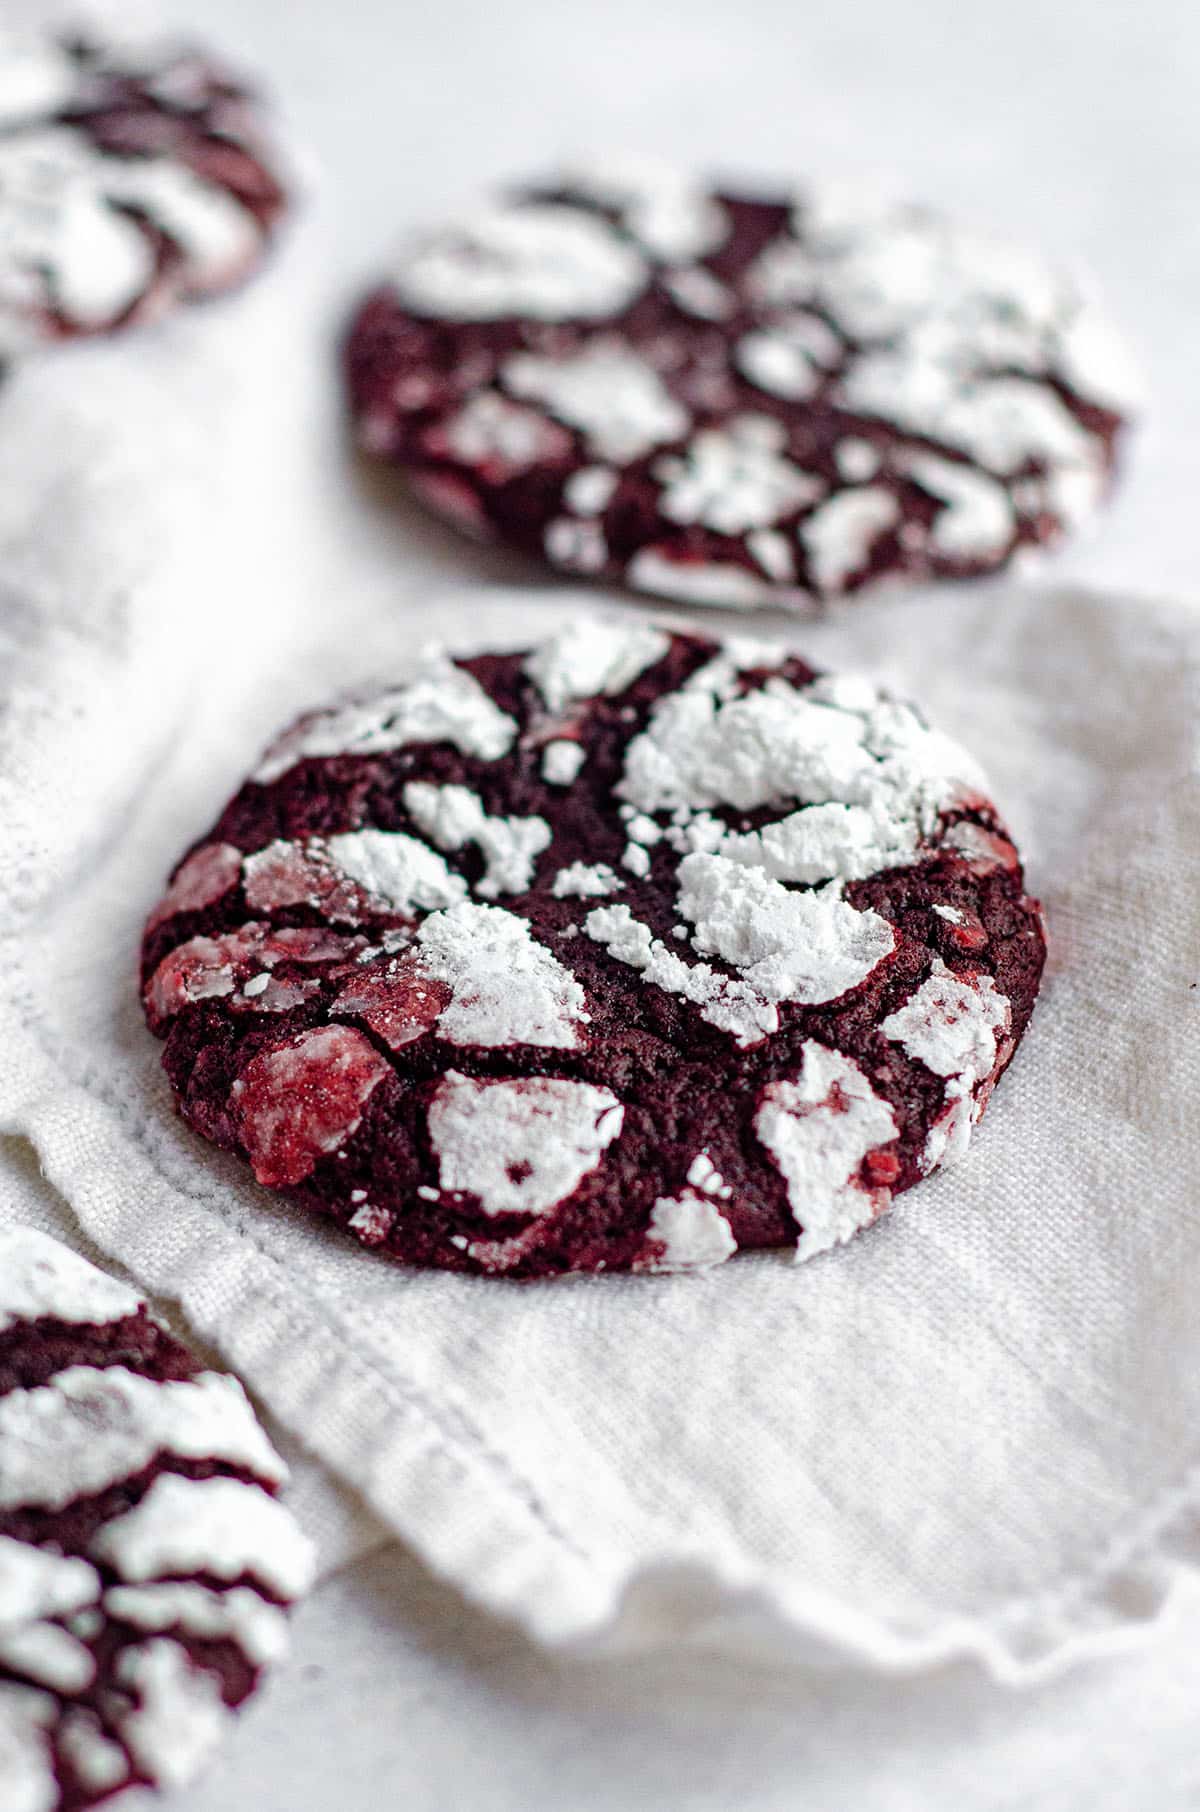
It’s crinkle time!
…which, if you’re wondering, is like Hammer time, but a whole lot sweeter.
And covered(ddddd) in powdered sugar.
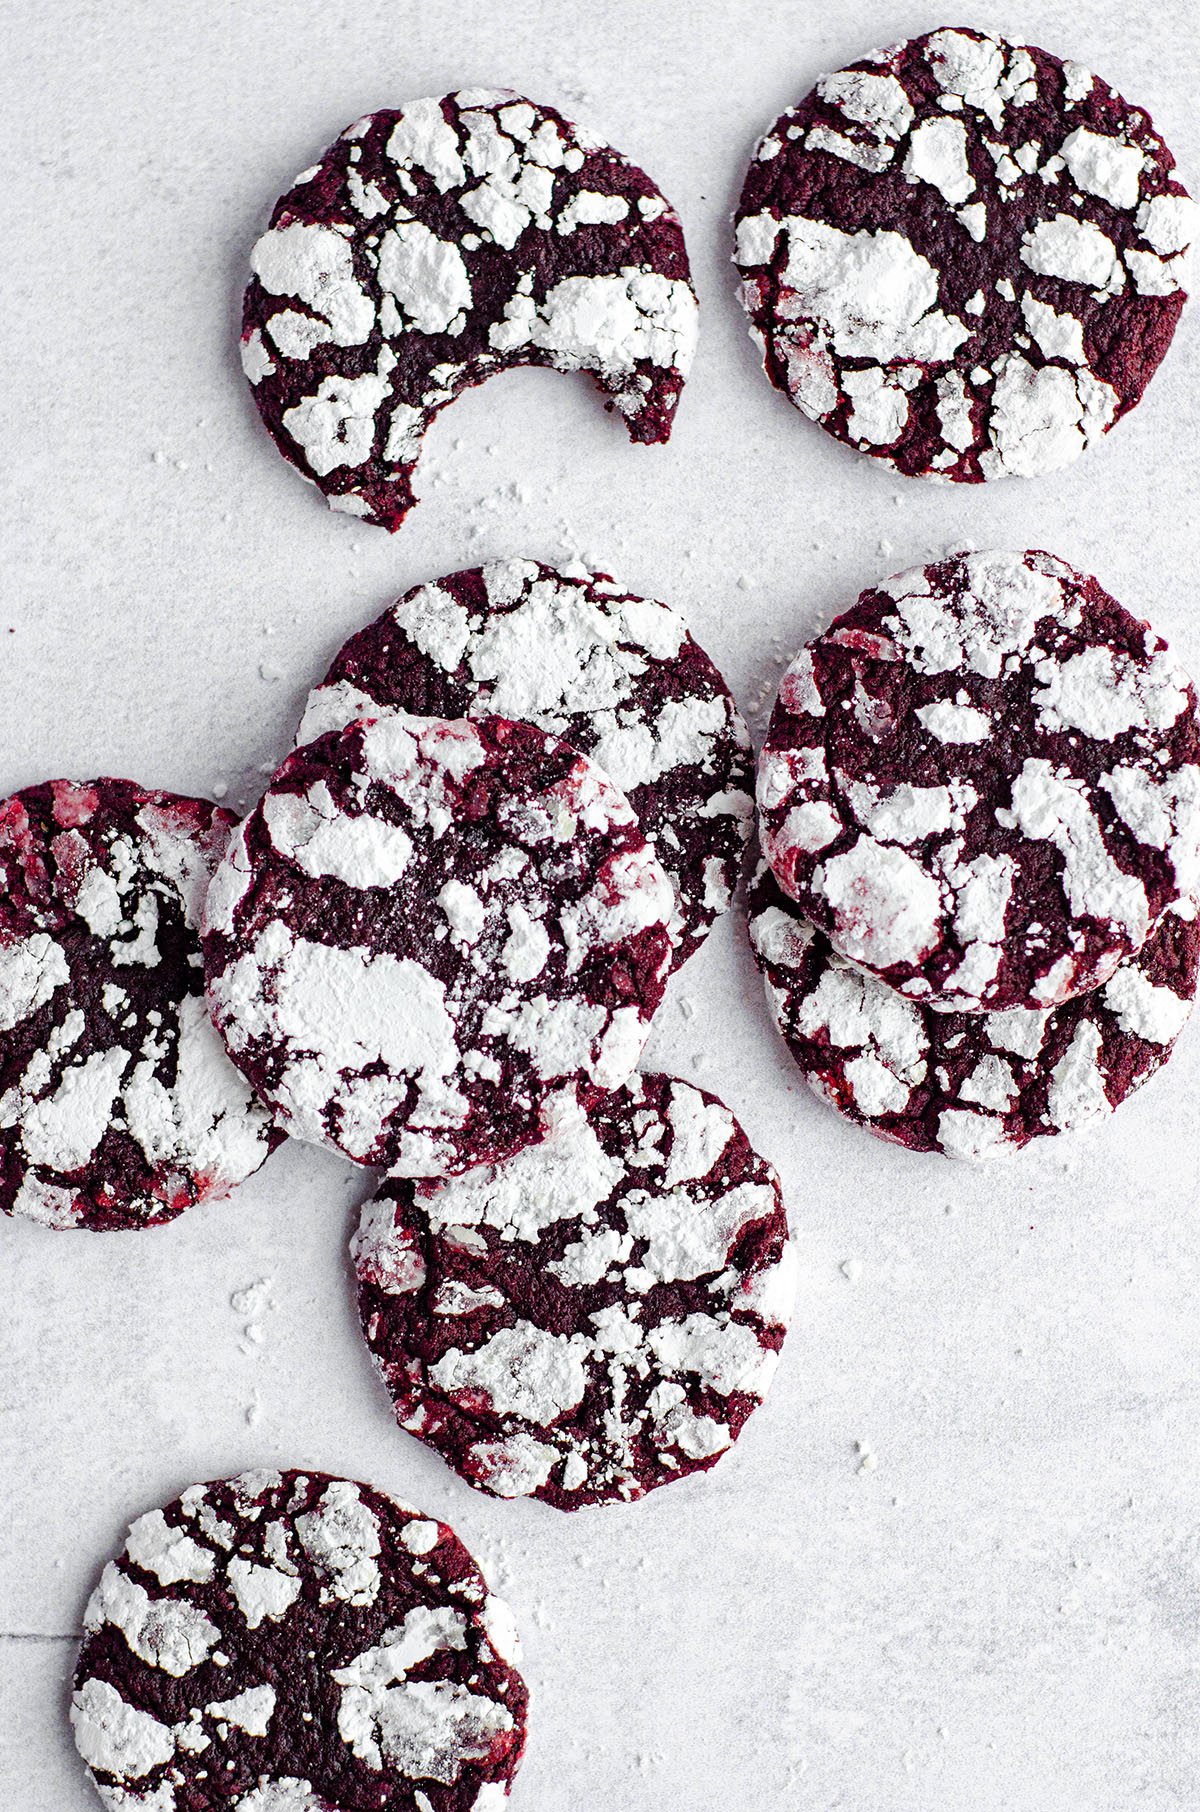
Are you with me? You’re with me. I know it. Because crinkles are here and if there’s anything that can make a red velvet cookie better, it’s a heavy coat of powdered sugar. Right?
So let’s get right down to it. The third installment in our red velvet week brings us irresistibly soft and chewy red velvet crinkle cookies. And I think you’re gonna love ’em.
You might recall when I posted my red velvet blossom cookies a couple day ago, I mentioned that that cookie and this cookie used to exist in the same recipe and post. I called the cookies as a pairing “crinkle blossoms,” and it always bugged me that they were in the same spot.
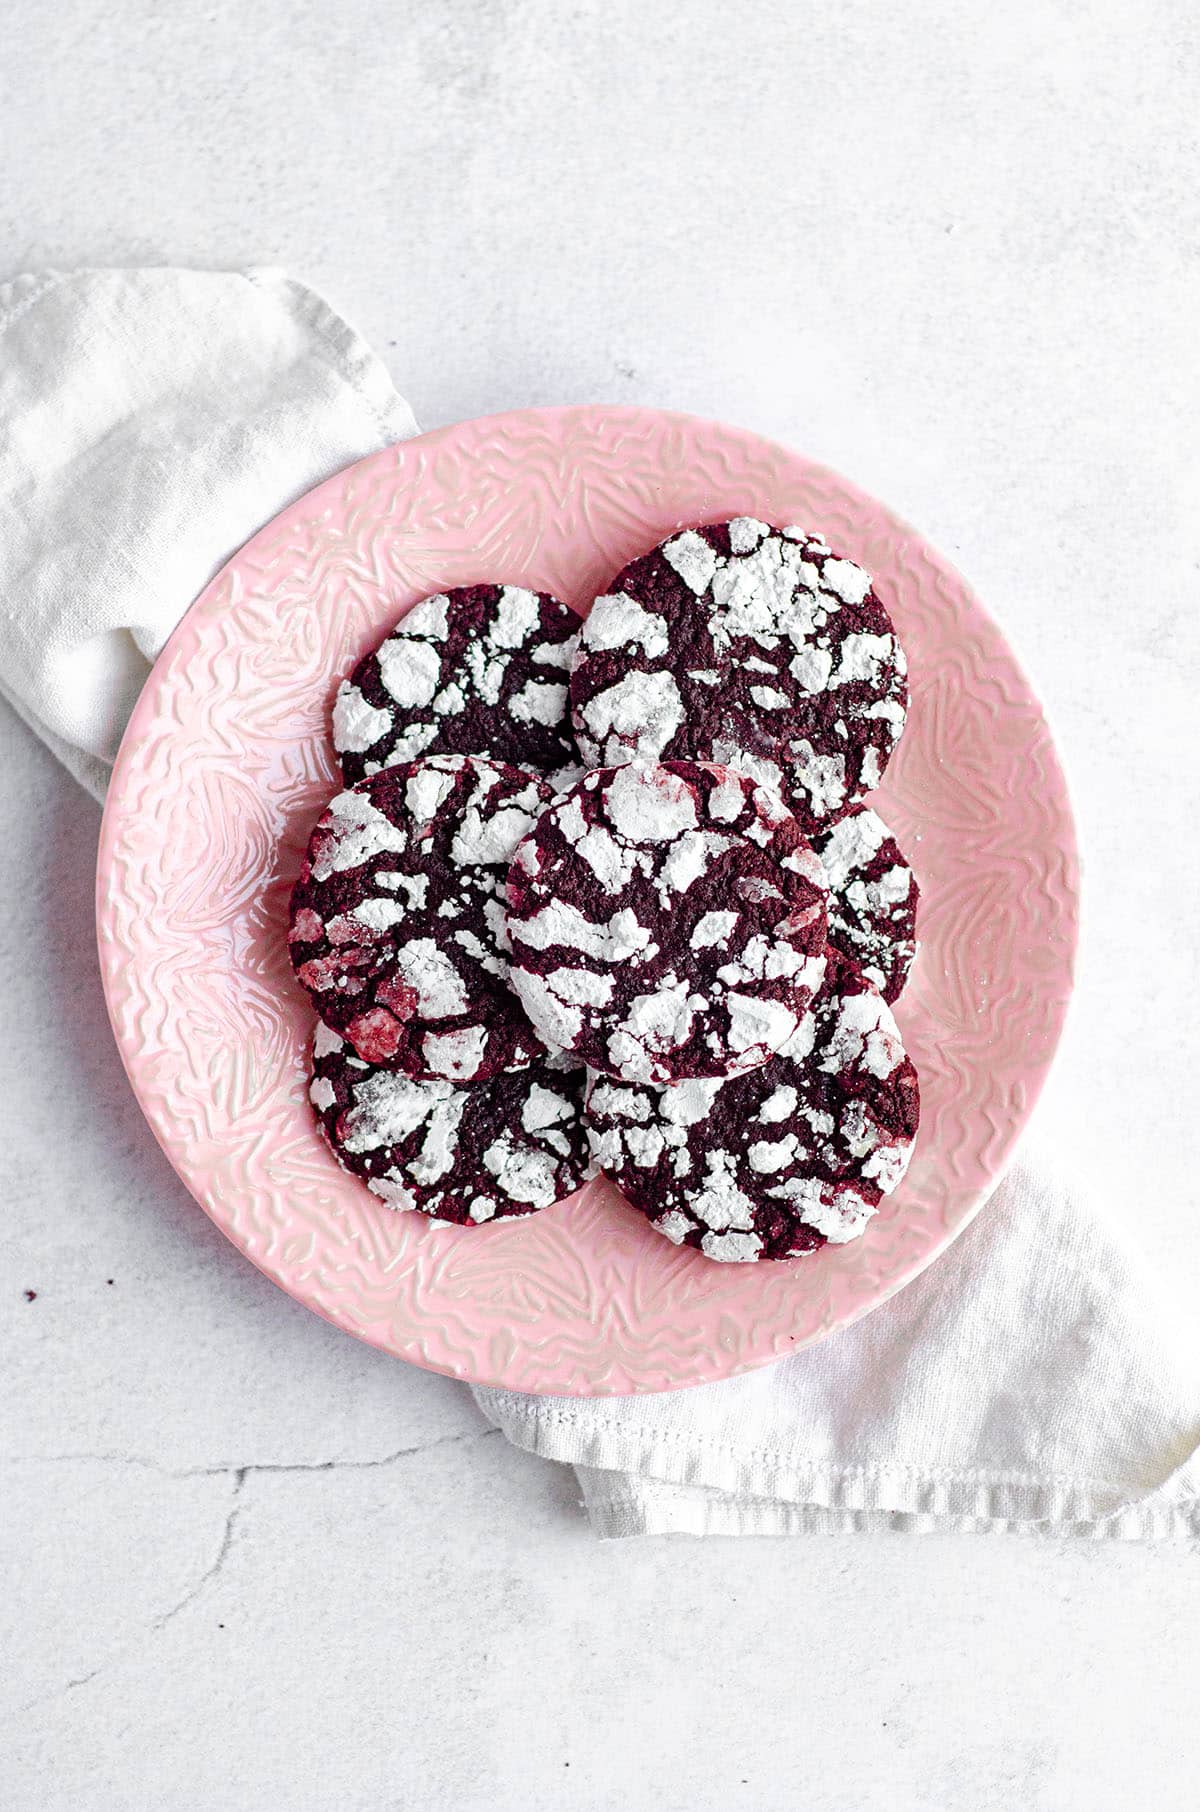
Present/future Lynn is not happy with some of the blogging decisions beginner Lynn made. But HEY. We learn.
I broke that original two-fer down into two separate cookies, because they’re both so different and both so necessary in your kitchen.
WHAT IS A CRINKLE COOKIE?
If you’re not familiar with crinkle cookies, they’re cookies that have been rolled in powdered sugar before baking (see my lemon crinkle cookies, orange creamsicle crinkle cookies, and gingerbread crinkle cookies).
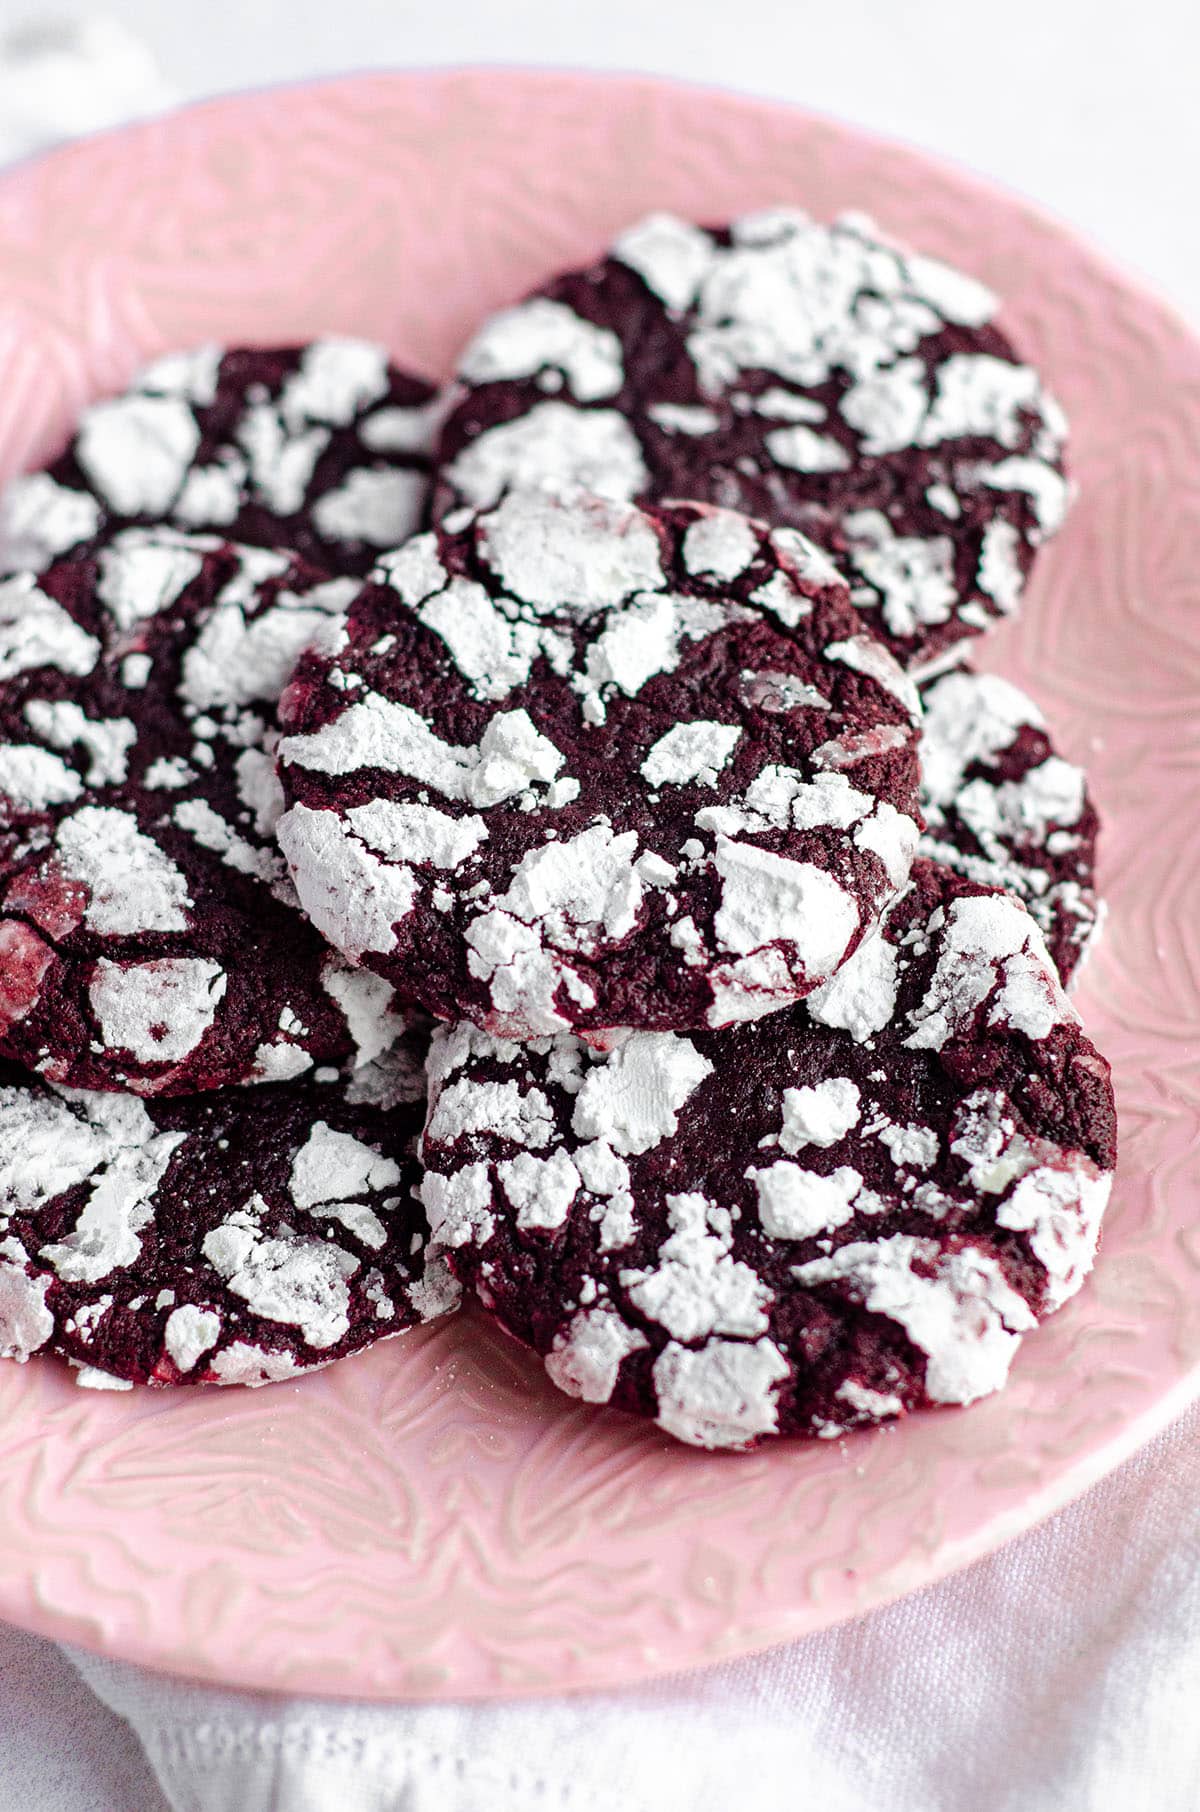
As they bake, the cookie spreads a bit and forms cracks on the surface. I suppose whomever named them “crinkle cookies” thought it was a cuter, more appealing name than “crack cookies.” Yeesh.
Anyway, similar to Russian tea cakes (snowballs), the outer powdered sugar layer is just the beginning of a deliciously tasty cookie, and all that coating leads way to (in this case) a soft and chewy interior that is just bursting with red velvet and chocolate flavor.
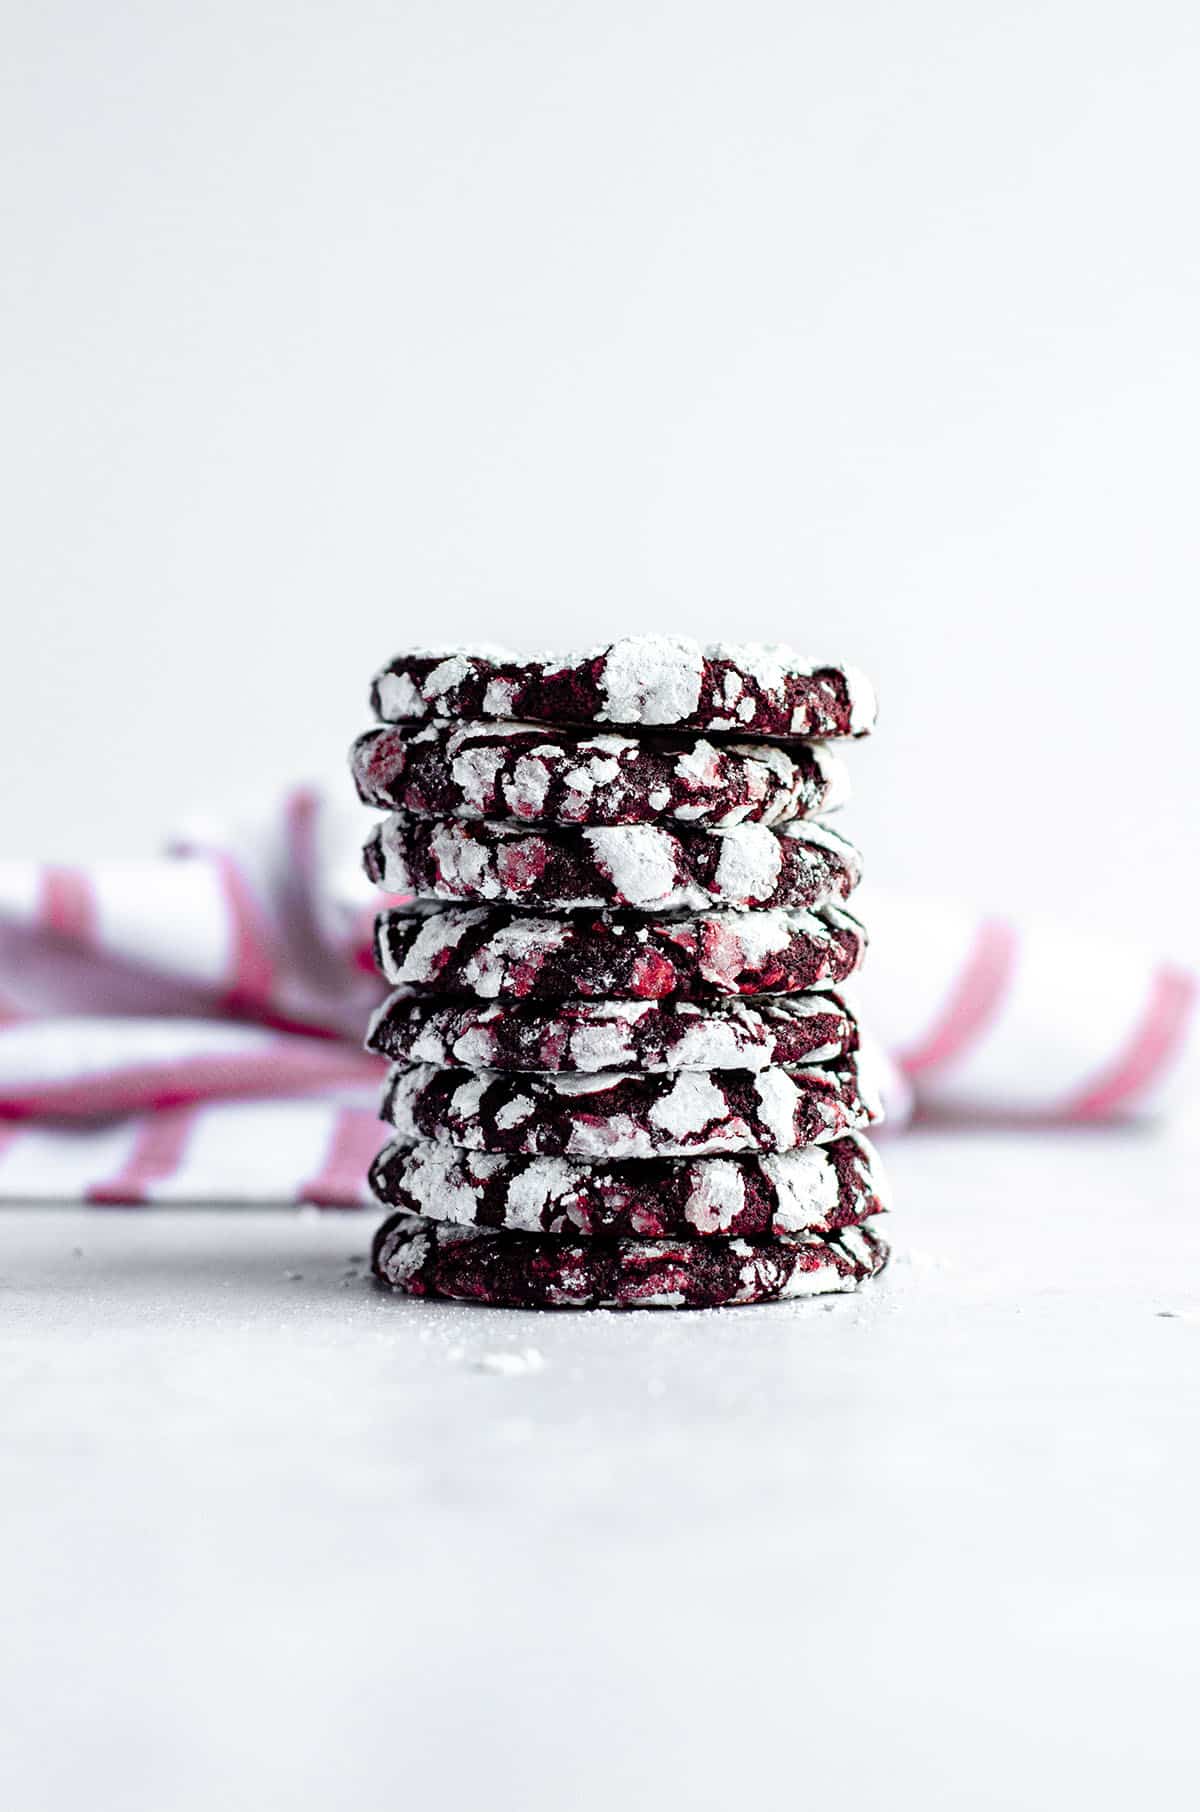
I’ve had readers in the past say that the powdered sugar on their cookies sort of disappeared into the cookie during baking.
Yes, this will happen if you don’t load them up with powdered sugar. So when I say “roll in powdered sugar,” I mean ROLLLLLLL in powdered sugar. I even leave a small pile of powdered sugar on the top of the ball of dough before putting it onto the baking sheet.
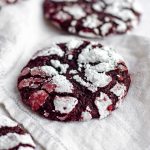
Excess powdered sugar will insure that your cookie really develops those crinkles and your stark white exterior will let that deep red interior peek through the cracks.
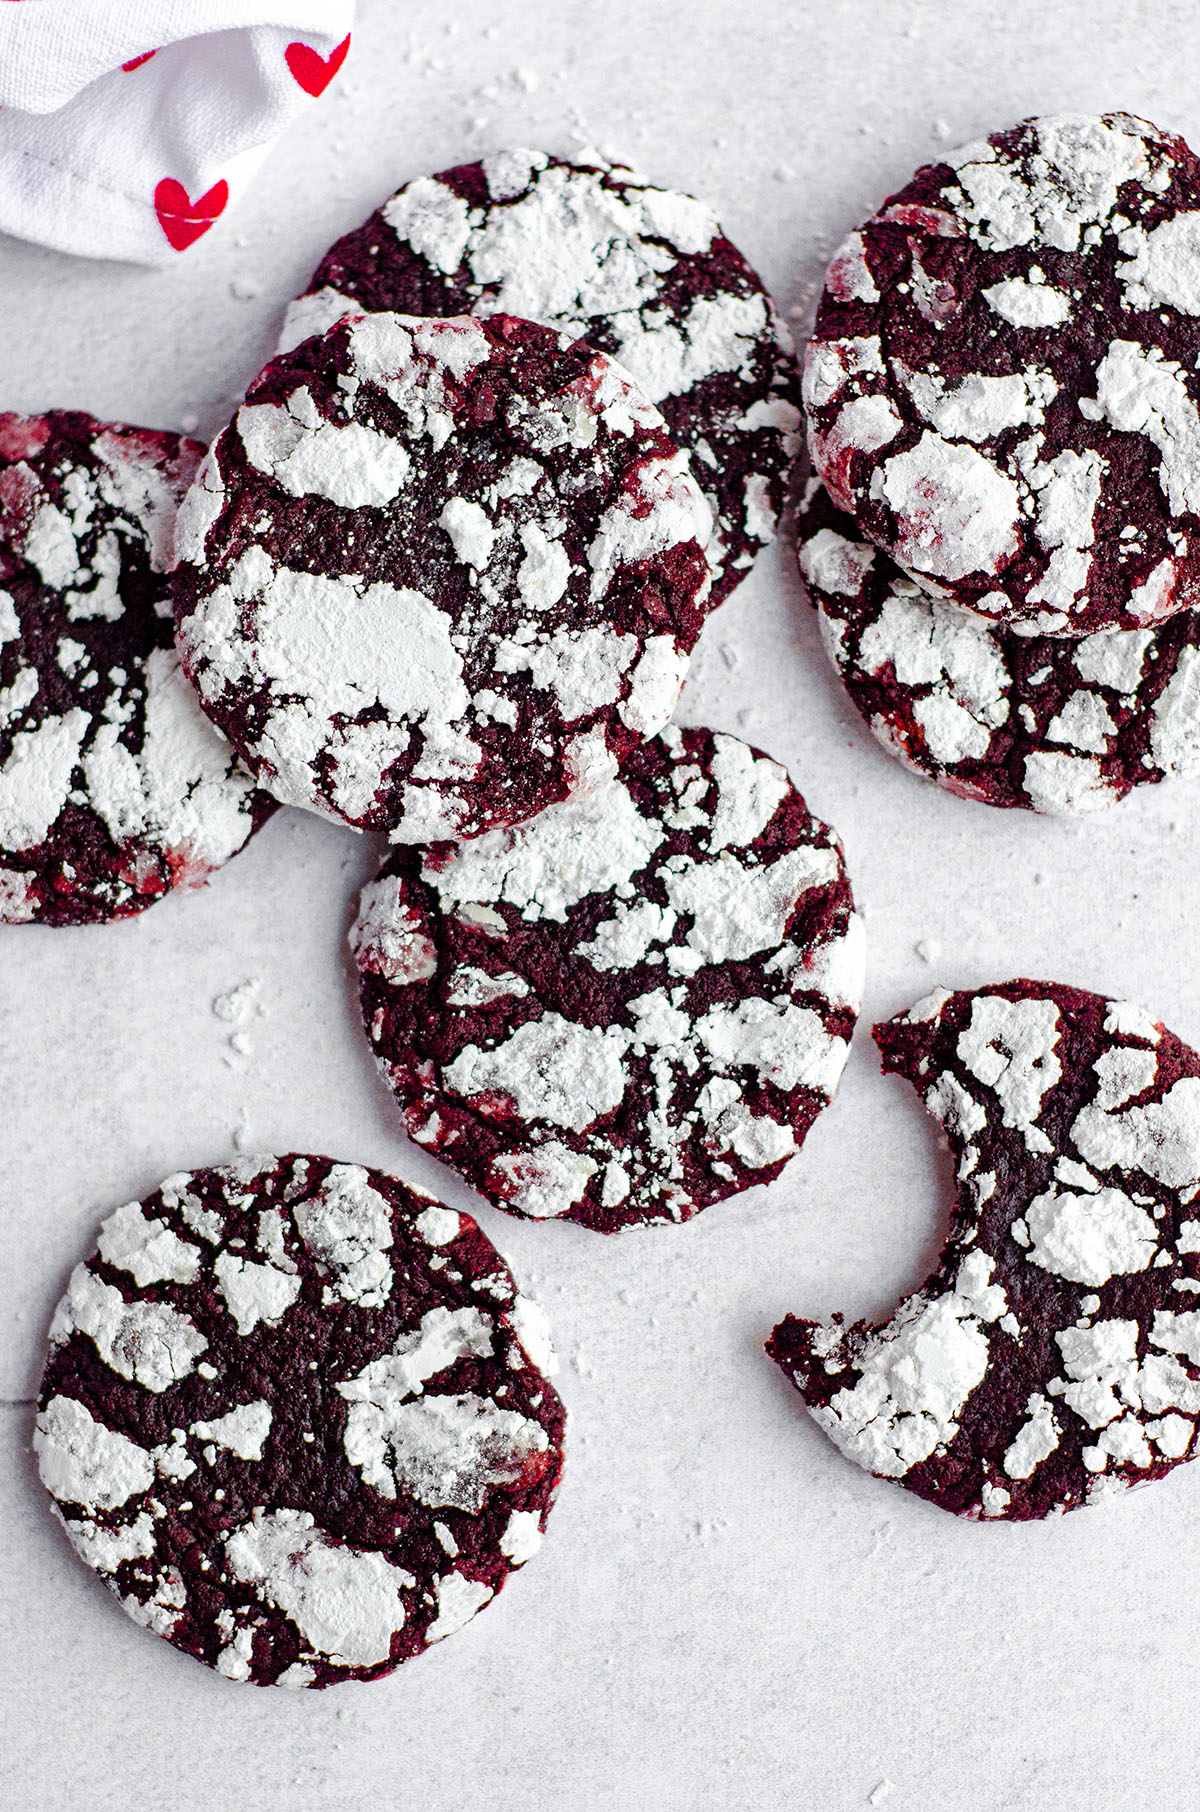
Like, for real, look at the gorgeous contrast on these guys. I will admit the pictures were so hard to edit because of it, but LOOK HOW PRETTY.
I am so glad I decided to give these red velvet crinkles their own post. They’re such an easy cookie and they are not only perfect for Valentine’s Day, but they make a great red velvet Christmas cookie as well.
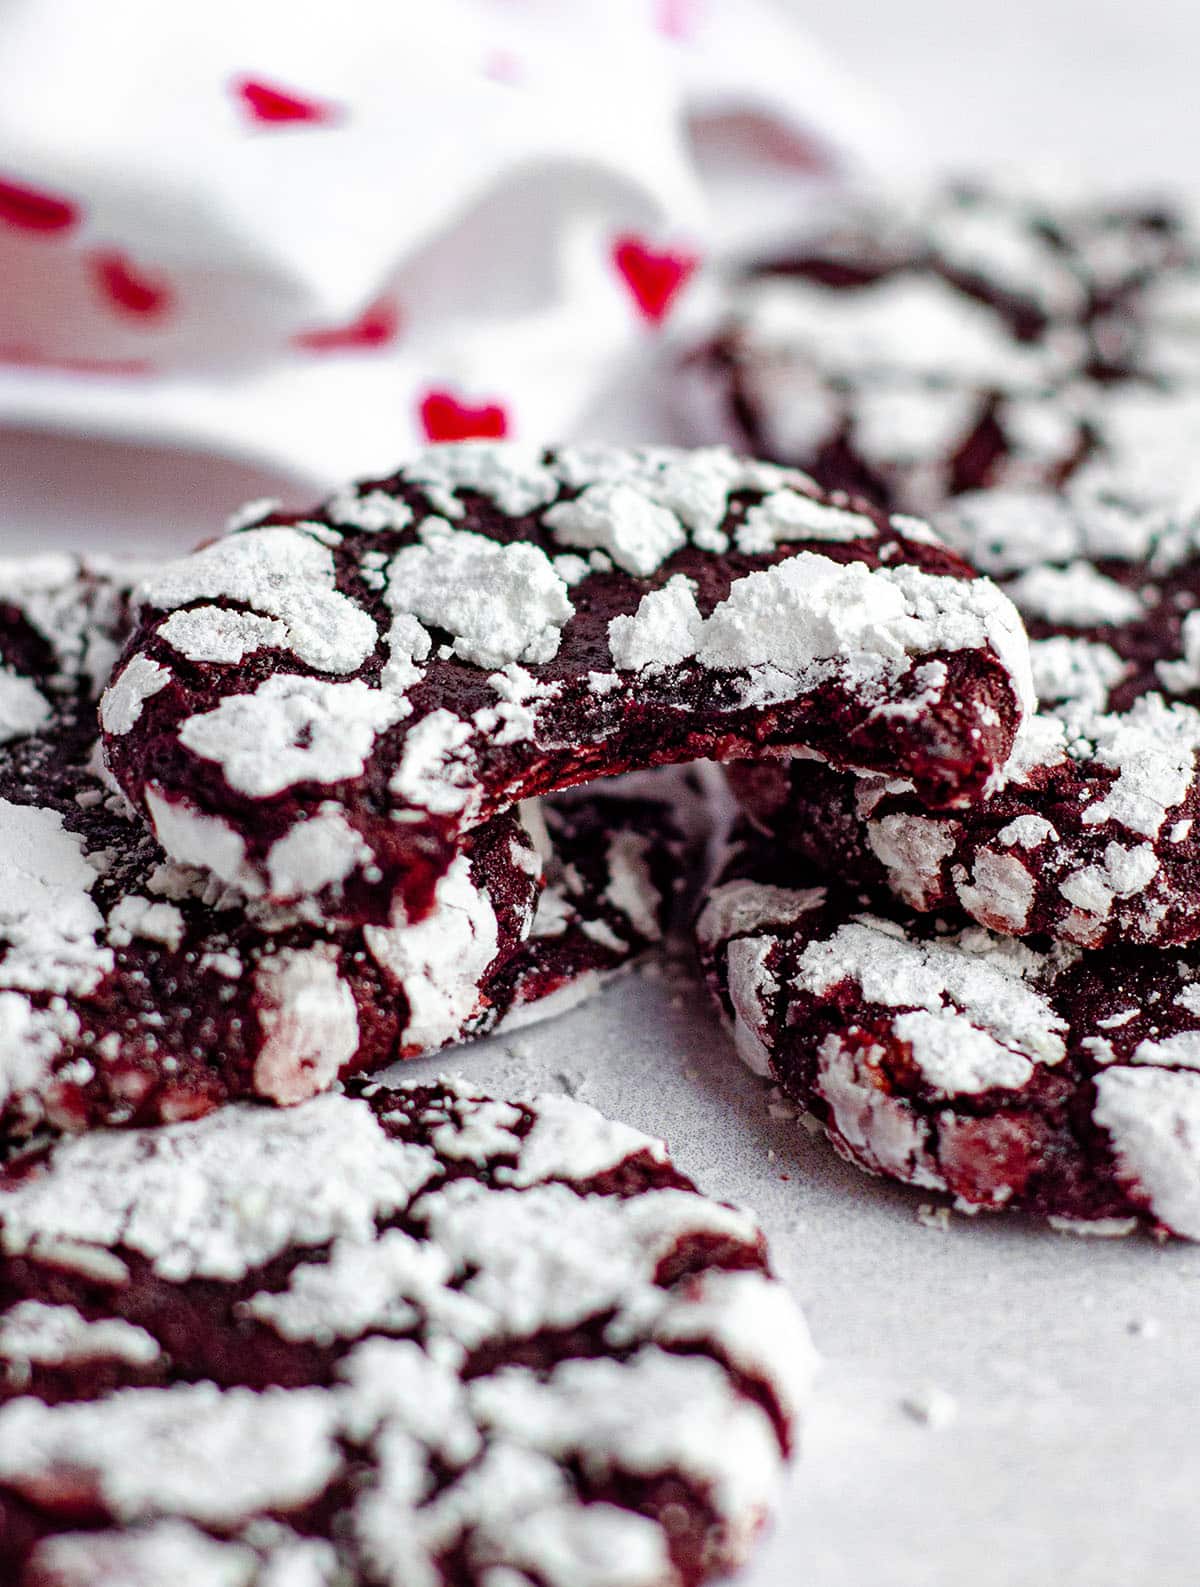
In fact, I’m debating making an entire cookie tray of crinkles next year. So much powdered sugar and so many crackles to go around. Sounds like a perfect collection to me!
Red Velvet Crinkle Cookies
Ingredients
- 1 and ½ cups (180g) all-purpose flour be sure to measure properly
- ½ cup (40g) unsweetened cocoa powder
- 1 teaspoon baking soda
- ½ teaspoon salt
- ½ cup (57g) unsalted butter softened to room temperature
- ½ cup (100g) granulated sugar
- ½ cup (100g) firmly packed light brown sugar
- 2 large eggs at room temperature*
- 1 teaspoon vanilla extract
- 2 Tablespoons (30mL) red food coloring
- powdered sugar for rolling
Instructions
- In a medium size bowl, toss together flour, baking soda, salt, and cocoa powder. Set aside.1 and ½ cups (180g) all-purpose flour, ½ cup (40g) unsweetened cocoa powder, 1 teaspoon baking soda, ½ teaspoon salt
- In a separate medium size bowl with a hand mixer or the bowl of a stand mixer fitted with the paddle attachment, cream butter and both sugars until light and fluffy, approximately 3 minutes. Add eggs one at a time, beating after each addition, and scraping down the sides as necessary.½ cup (57g) unsalted butter, ½ cup (100g) granulated sugar, ½ cup (100g) firmly packed light brown sugar, 2 large eggs
- Add vanilla and red food coloring and beat on medium speed until combined. Using a spatula, scrape down the sides and all along the bottom of your bowl to ensure coloring is distributed evenly. Beat again on medium speed until everything is incorporated.1 teaspoon vanilla extract, 2 Tablespoons (30mL) red food coloring
- Decrease mixer speed to low and add the flour mixture.. Beat on low until dough has formed and no more pockets of flour remain. Cover bowl with plastic wrap or foil and refrigerate for at least 2 hours or up to 3 days. If chilling longer than 2 hours, allow dough to sit at room temperature for 30 minutes before rolling into balls.
- When you are ready to bake your cookies, preheat oven to 350ºF (177ªC) and line a baking sheet with parchment paper or a silicone baking mat.
- Pour the powdered sugar onto a small plate. Set aside.powdered sugar for rolling
- Roll dough into balls approximately 1 to 1 and ½ Tablespoons in size and roll generously in powdered sugar (I use this #50 cookie scoop for all of my standard size cookies). Place no more than 6 dough balls per baking sheet. Bake cookies for 10-11 minutes. Allow to cool on baking sheet for 5 minutes, then transfer to wire rack to cool completely. Cookies can be stored in an airtight container at room temperature for up to 7 days or frozen for up to 2 months. Rolled cookie dough freezes well, up to 2 months. Thaw in the refrigerator then continue with this step.
Notes
- Room temperature eggs: these are crucial for proper incorporation into batter. To bring eggs to room temperature quickly, place in a bowl of warm water for 10 minutes.
Nutrition Disclosure
All nutritional values are approximate and provided to the reader as a courtesy. Changing ingredients and/or quantities will alter the estimated nutritional calculations.

Don’t use gel food coloring. We had to use a lot and still didn’t get red. They look and taste like chocolate. Very disappointing!! I couldn’t find liquid food coloring. Recipe need fo be clear. I even looked up com conversions but not successful.
Hey, Kathy– the recipe calls for liquid food coloring and the conversion from liquid to gel is not 1:1. My recipe was clear in that it states what you need to use. Thanks for trying it! Bummer to hear it didn’t work out.
I love a good from scratch cookies and these were great. Came out perfectly for me.
We love these cookies! Thanks, Debi 🙂
Perfectly delicious and crinkly! A holiday staple in our home.
So crinkly!
Made these last year for the holidays and realized I forgot to put a comment, because YUM! The perfect combo and so festive, if I remember right I even made them for Valentine’s day to send to my boys in college.
Thanks so much, Kathleen!
My son loves Red Velvet Cake, so naturally I had to try these cookies. Perfect color, love the crinkly tops, and they taste amazing. Another winning recipe from Fresh April Flours!
Thank you so much, Liza!
These will be perfect for the holidays!
Thanks so much, Susan!
Thanks, Julie! We loveeeee them!
Thanks, Mindy!
SAME!!
These turned out so pretty! Love them!
Yay!
I love these, they come out great every time! I personally don’t like using food coloring, so I’ve used beet powder and they come out great! I love the extra chocolateyness these have!
I did want to ask if you had any suggestions for making these with stevia or splenda? Mostly just the cookie itself, with the coating still to the recipe.
Hope you have a great holiday!
Hi, Lia– I have never used a sub like that in baking, though I do use stevia a lot in my personal eating. Unfortunately, the sugar is essential to the structure of the cookie, so if you want to use a zero calorie sweetener, you’ll have to use one that acts like granulated sugar does. I hope that helps! Let me know if you try it 🙂
Very good. I did not refrigerate and I added mini chocolate chips!
Awesome! Thanks for letting me know, Kim!
My batter came out very wet, even after refrigeration overnight, makes them very hard to roll. Is this normal? Measured carefully, not sure where it went wrong.
Hmm, it definitely shouldn’t be wet. I’m not sure where it went wrong!
These were so good! Rave reviews from family! I only got 28 – I’m sure that’s my cookie scoop v. yours, though.
I did hear of a trick to roll in granulated sugar and then the powdered sugar, so I tried that. It worked so well to keep the powdered sugar nice and crackly! I will 100% make these again.
Thanks, Katja! I’ll have to try that sugar trick, too. So glad you enjoyed them 🙂