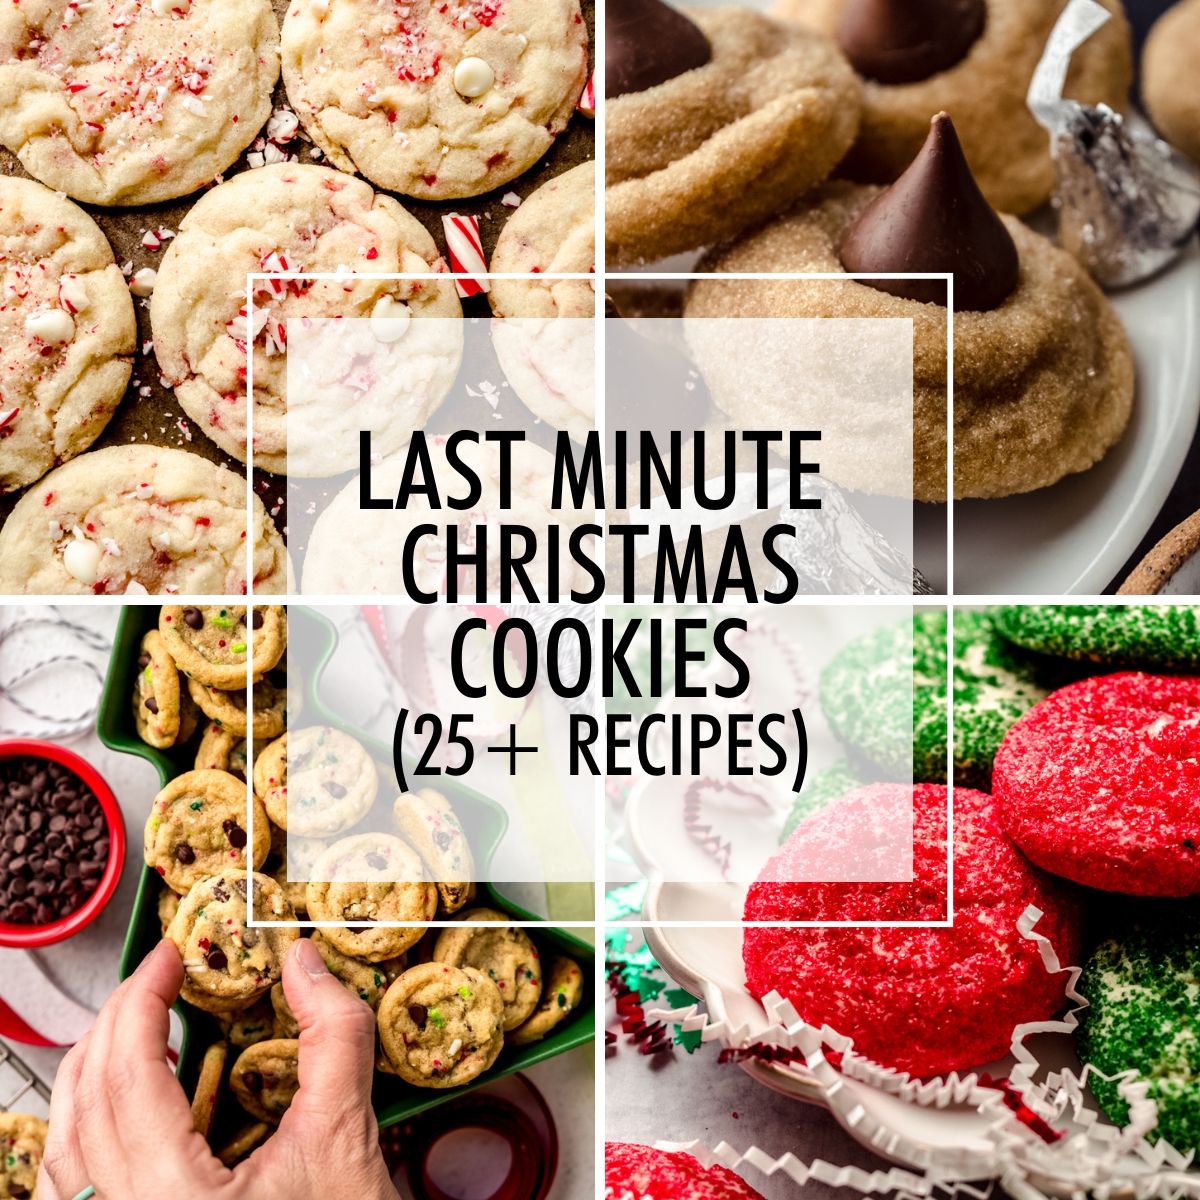
As an Amazon Associate I earn from qualifying purchases.
Now that you have been incredibly over-informed about all of the tools that will help you be the best cookie baker you can be, you’re ready for some tips for putting your cookie dough together and some tips for actually baking them!
As I said in my other post, I wasn’t always great at baking cookies. It’s been a learning process over the years, and I’m so glad I didn’t give up when the first few from scratch cookie recipes I made were complete failures.
So, without further ado, part 2 of Cookie Baking Basics:
1. When you’re instructed to use room temperature butter, use room temperature butter.
Don’t use it cold and try your very best not to flash soften it in the microwave. Set it out about 45 minutes to an hour before you need it. If you’re in a rush, you can cut your butter into smaller pieces.
They’ll come to room temperature faster than an entire stick. For a visual and a bit more of a description, I explain room temperature butter in detail here. <–a tip on flash softening, although I don’t encourage that method!
2. If you’re using room temperature butter, the rest of your ingredients should be room temperature as well.
This is especially important in cookie baking where dough can sometimes be finicky. Room temperature eggs, milk, and yogurt (and any other ingredients that are kept in the fridge) incorporate so much better and more easily into your batter.
Plus, sometimes, the temperature of your ingredients directly relates to the success or failure of your cookies.
Tip: measure your ingredients and then let them come to room temperature. A cup of milk will warm up much faster than an entire gallon. To bring eggs to room temperature quickly, place them in a bowl of warm water for 10 minutes.
3. If a recipe asks for “1 cup of chopped nuts,” this means “chop the nuts, then measure 1 cup.”
On the contrary, “1 cup of nuts, chopped” means “measure 1 cup of nuts, then chop them.” Respect the comma.
4. This is certainly not cookie specific, but it is worth repeating: read your recipe in full before beginning.
This way, you know what’s coming, you know what ingredients to dig out of your ingredient stash, and there are hopefully no surprises along the way.
5. Cookie dough can be temperamental.
A lot of times, I stick to easy cookie recipes, but I have some doozies coming your way in the next few weeks that require precise measurements.
This kitchen scale is the BEST kitchen appliance I have next to my KitchenAid stand mixer. We use it all.the.time. Everyday. For every meal.
Measuring ingredients by weight is something that has changed my baking immensely over the past few years. A gram is always a gram, but a cup is not always a cup. If you’re into reading novels, I have an incredibly thorough post on this subject alone.
Ok, so your cookie dough is prepared. You’ve got your cookie scoop ready, your baking sheet lined with a silicone baking mat (or parchment paper), and your oven is thoroughly preheated. It’s time to get to the good stuff.
√ When using a cookie scoop to make your dough into balls, dip the scoop into the batter and drag it up the side of the bowl to “level off” the dough in the scoop.
Once the surface of the dough ball is relatively smooth, use the trigger to release the dough into your hand.
Roll the dough into a ball, working quickly so as not to melt the dough too much with your hands.
I typically bake 3 rows of 5 or 6 cookies unless otherwise instructed by my recipe. If you don’t have a cookie scoop, use a Tablespoon measuring spoon to measure your dough and a teaspoon (like the utensil you use for eating) to scrape the dough out.
√ Well-written recipes give you a time and a visual for when your cookies are done.
For example, “bake 10 minutes or until edges just start to brown.”
A lot of my cookie recipes state “cookies will look under-baked,” in which case I suggest allowing the cookies to cool on the baking sheet for a few minutes before transferring them to a cooling rack.
This waiting period allows the cookies to settle so they aren’t as delicate.
√ More on that, it took me years to realize one of the reasons my cookies weren’t turning out well was because I was baking them waaaaay too long.
If cookies turn brown, they’re more than likely overdone. This results in crispy (and not in the good way) cookies, often times with burned undersides and a less than wonderful taste.
Butter can burn quite easily, so it can go from a nutty, butterscotch flavor to burned flavor in a snap.
Always follow the recipes instructions and look for visual cues.
√ Speaking of visual cues, there is a reason your oven has a window and an oven light. You should keep the door closed the entire time you’re baking cookies.
Not only does opening and closing the door disturb the cookies themselves, possibly creating craters and bumps in the dough, but it also disturbs the heated air surrounding the cookies.
When you open the door, the hot air escapes and is replaced by the cooler air from the outside of the oven, creating inconsistent pockets of temperature inside the oven.
It’s best just to keep the door closed. If you must open it, do it quickly. If you need to remove the baking sheet for any reason, do so quickly and close the oven door as soon as you can.
Are you still there? Are you bored to tears? You may be wondering how there can possibly be so many cookie suggestions, but the truth is, cookie science is a serious science.
I want you to be able to bake cookies like a pro, for it almost to be second nature to you like it has become to me. I have a lot of exciting recipes coming to you over the next few weeks, and you’re going to learn a few new techniques.
If you’re set on the basics, you’ll have a much better chance of surviving the cookie explosion that is coming your way.
Ohhh, friends… It’s going to be great. I can hardly wait!
Leah | Grain Changer says
LOVE all of these wonderful tips, from the cookie master herself! There are few things that I love more than baking science (NERD ALERT!) and I know you get me on that 😉
Lynn says
Haha, AAAAAMEN!
Naomi says
Thanks for the great tips, Lynn! What are the cookies in the bottom left corner in the top picture?
Lynn says
Those are my BELOVED cappuccino cookies! You can find the recipe here: https://freshaprilflours.com/2015/03/11/cappuccino-cookies/
Aria | Purrfectly Inspired says
Fantastic tips, and I can’t wait for the cookie explosion!
Amy says
Yay for cookie science!!!! You know my little nerdy brain loves talking baking science almost as much as it loves eating a fresh from the oven cookie! And “Respect the comma.” <—- AMEN!
Lynn says
Hahaha, baking science and grammar. Two of my favorite things.
Nancy says
Is there a secret to printing these tips to keep in my kitchen? These will help me so much in baking, but I need reminders in my cookie cutter drawer! It is too expensive to print with all the lovely colors!
Lynn says
Hi, Nancy! I would suggest copy and pasting into a word document and then removing the pictures. Although I would be more than happy to put it all in a PDF for you (and make it available to everyone, of course)!
Nancy says
Thank you. I was able to paste and remove pictures. I will print and tuck in kitchen. Thanks so much.
Lynn says
Perfect, enjoy!