
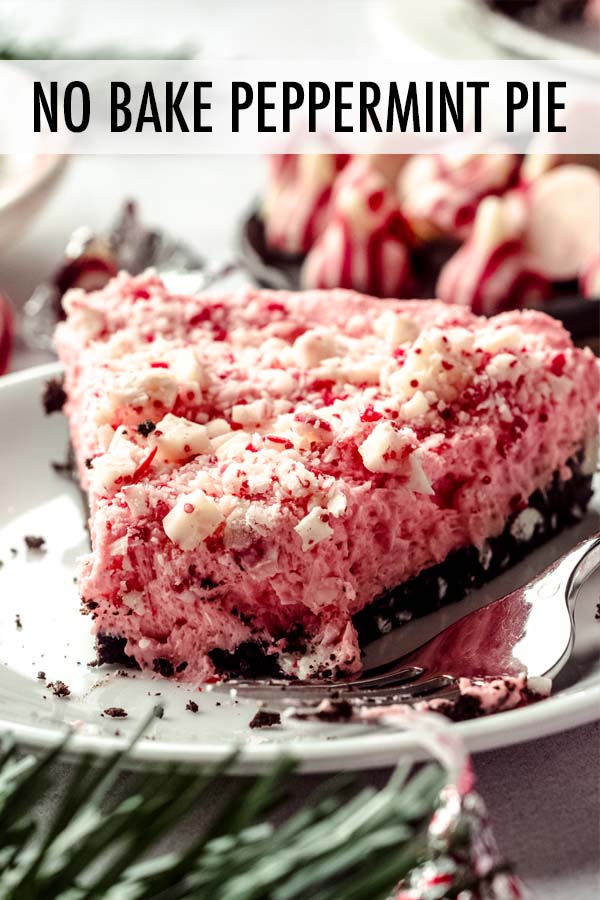
Peppermint Pie
As an Amazon Associate, I earn from qualifying purchases. Read the full disclosure here.
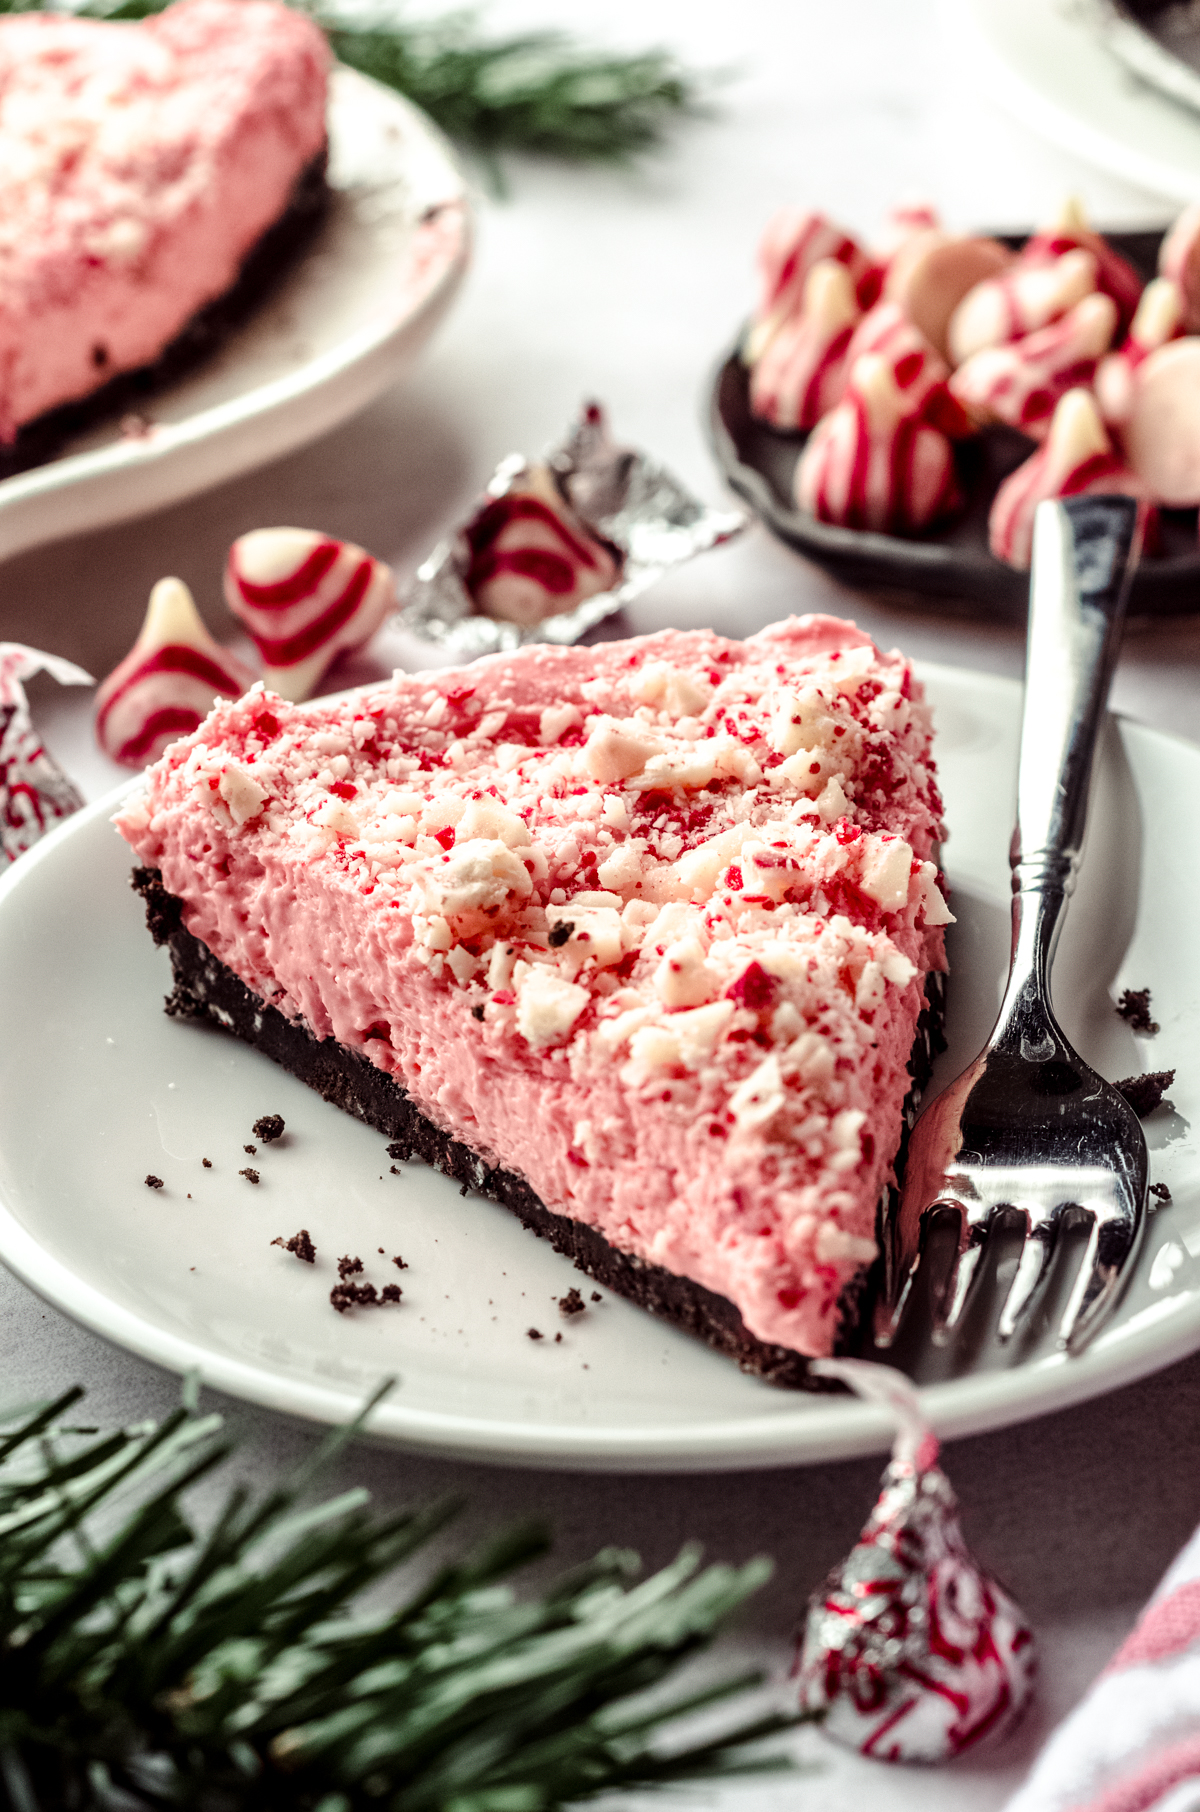
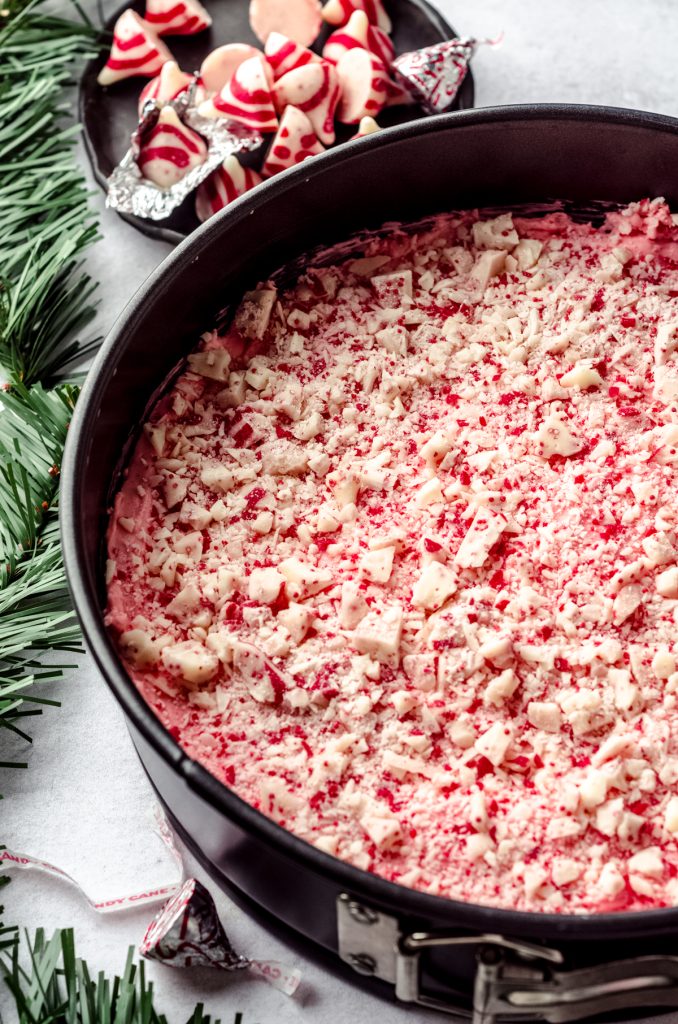
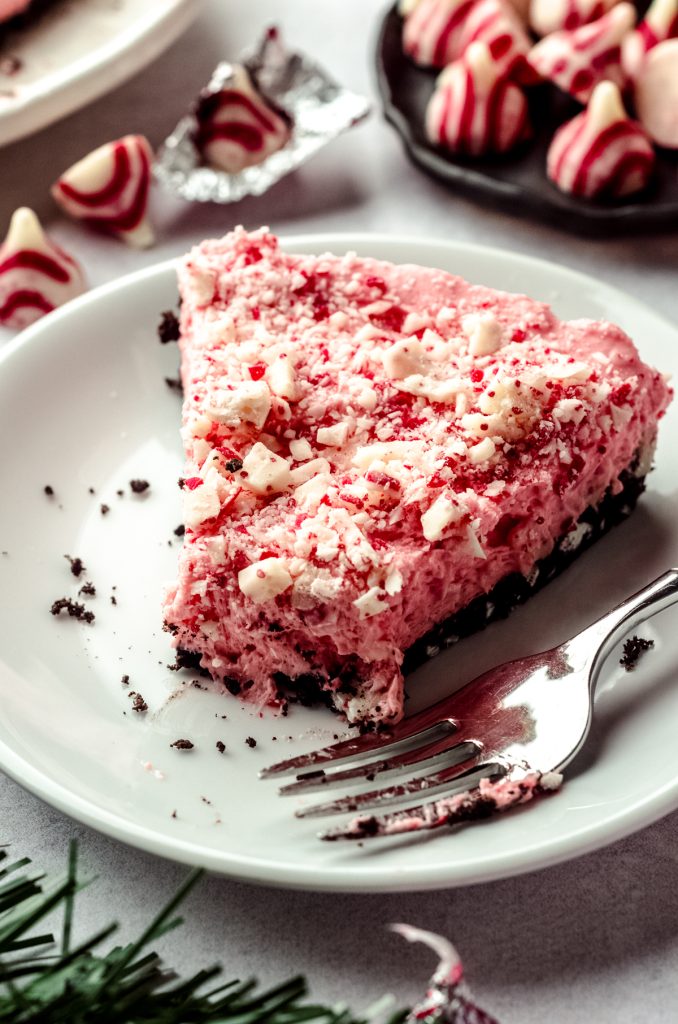
This no bake peppermint pie starts with an Oreo crust filled with a creamy peppermint cheesecake filling studded and topped with candy cane Hershey’s Kisses. This recipe doesn’t use any gelatin, can be made ahead of time, and can even be frozen to save you even more time.
THIS IS THE BEST PEPPERMINT PIE RECIPE
This no bake candy cane pie recipe has lived on my site since 2016 and has served as my personal perfect holiday dessert many years following for a few reasons.
First of all, as much as I love baking, around the holidays, especially if we’re entertaining, I will take any excuse to remove something from my “must use the oven” list, especially dessert. Not only does it not take up any room in the oven, it can also (usually) be made ahead of time, and yes, this pie falls into that category, too.
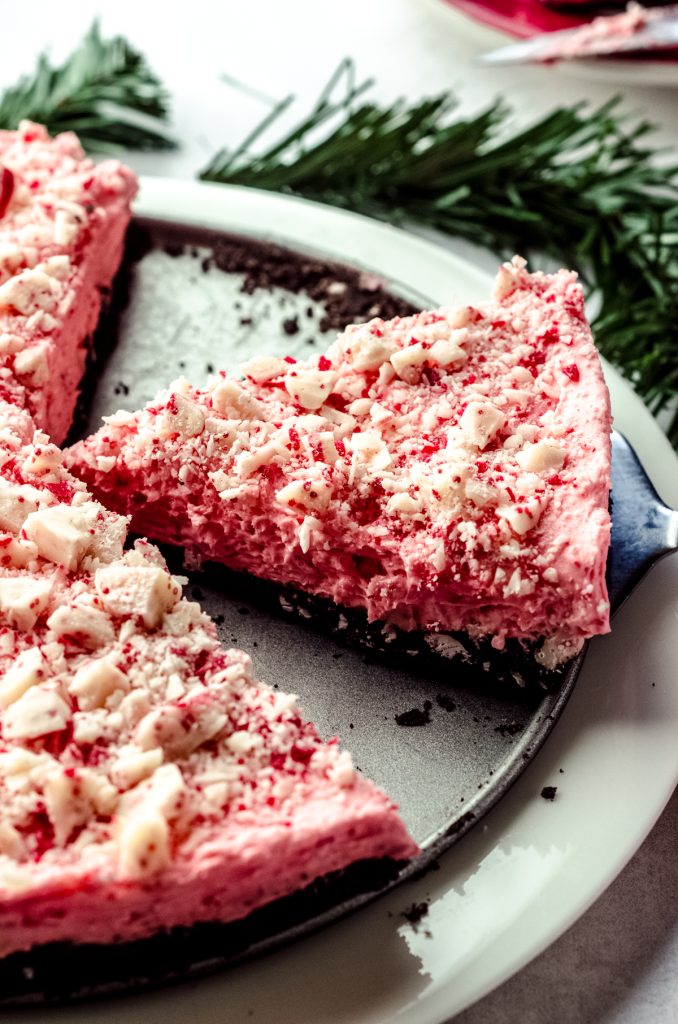
Second, this easy recipe brings everything you love about peppermint flavor into the spotlight. The creamy peppermint filling is filled with chopped candy cane Kisses for some added texture (we’ll talk about why there aren’t any actual candy canes in this recipe in a bit), and for good measure, there are some chopped Kisses thrown into the Oreo cookie crust for maximum peppermint flavor in every single bite.
INGREDIENTS YOU’LL NEED FOR THIS PEPPERMINT CREAM PIE
While the majority of the ingredients you’ll need for this pie are pantry staples, there is a short window for the candy cane Hershey’s Kisses, so be sure to stock up if you think you’ll want to make this candy cane pie any other time of the year.
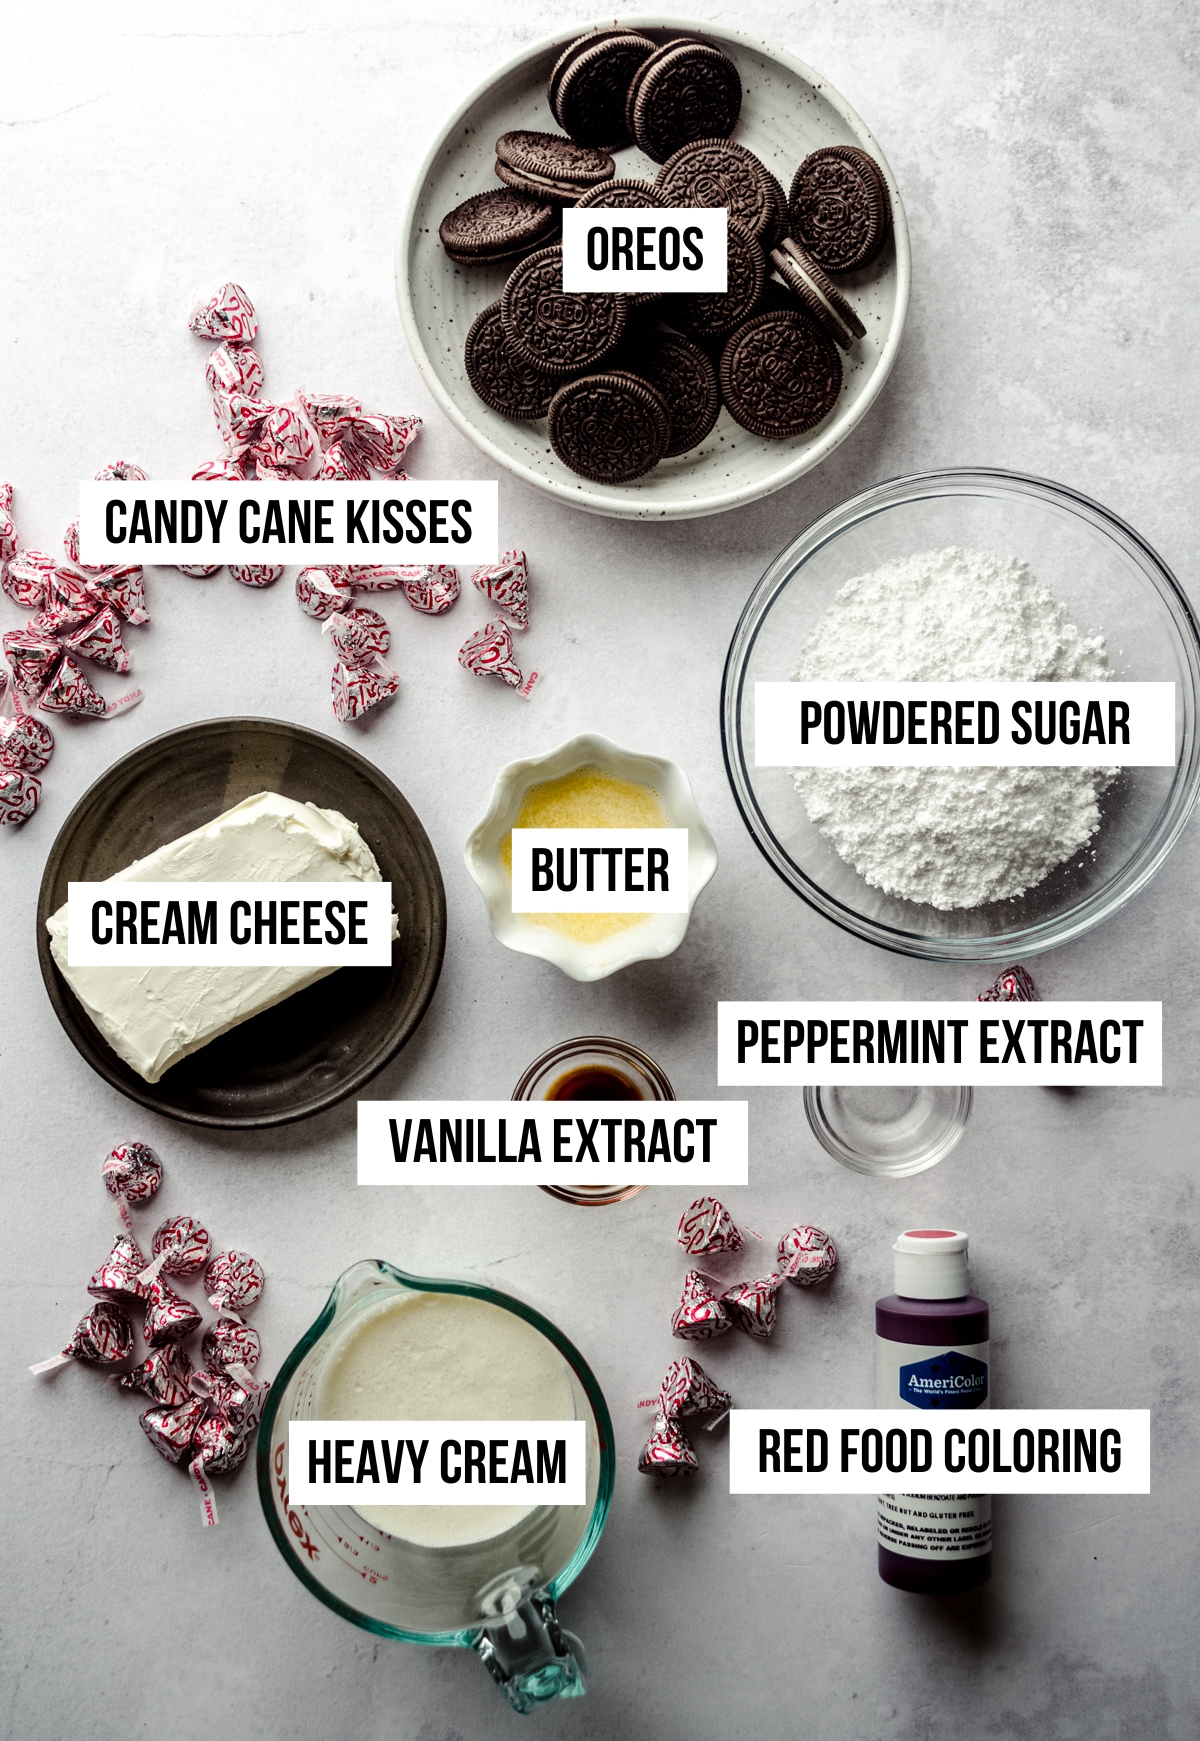
For the no bake peppermint pie, you will need:
• Hershey’s Candy Cane Kisses
• Oreos
• unsalted butter
• heavy cream
• cream cheese
• powdered sugar
• vanilla extract
• peppermint extract
• red food coloring
WHY AREN’T THERE ANY CANDY CANES IN THIS PEPPERMINT PIE RECIPE?
While candy canes are the quintessential treat for peppermint representation not only because of their flavor but also their texture, candy canes + moisture = dissolving sugar.
Ask me how I know.
Long ago when I first developed this recipe, I used peppermint candy canes in the Oreo crust as well as the creamy filling and the result was terrible. All of the candy canes dissolved and the filling shlooped out (technical term) all over the place.
Candy Cane Hershey’s Kisses served a much better purpose. They bring all of the peppermint flavor with a little texture and they hold their shape perfectly without any dissolving. That said, do not be tempted to substitute peppermint candies either. They will react the same exact way as the crushed candy canes.
Candy Cane Kisses only. Got it?
HOW TO MAKE PEPPERMINT PIE
While this is a no bake dessert, you will need to set aside time to chill the Oreo crust before filling it (only 30 minutes and up to 1 day). Adjust this portion of the recipe to fit your schedule and available time.
MAKE THE HOMEMADE OREO CRUST
STEP #1
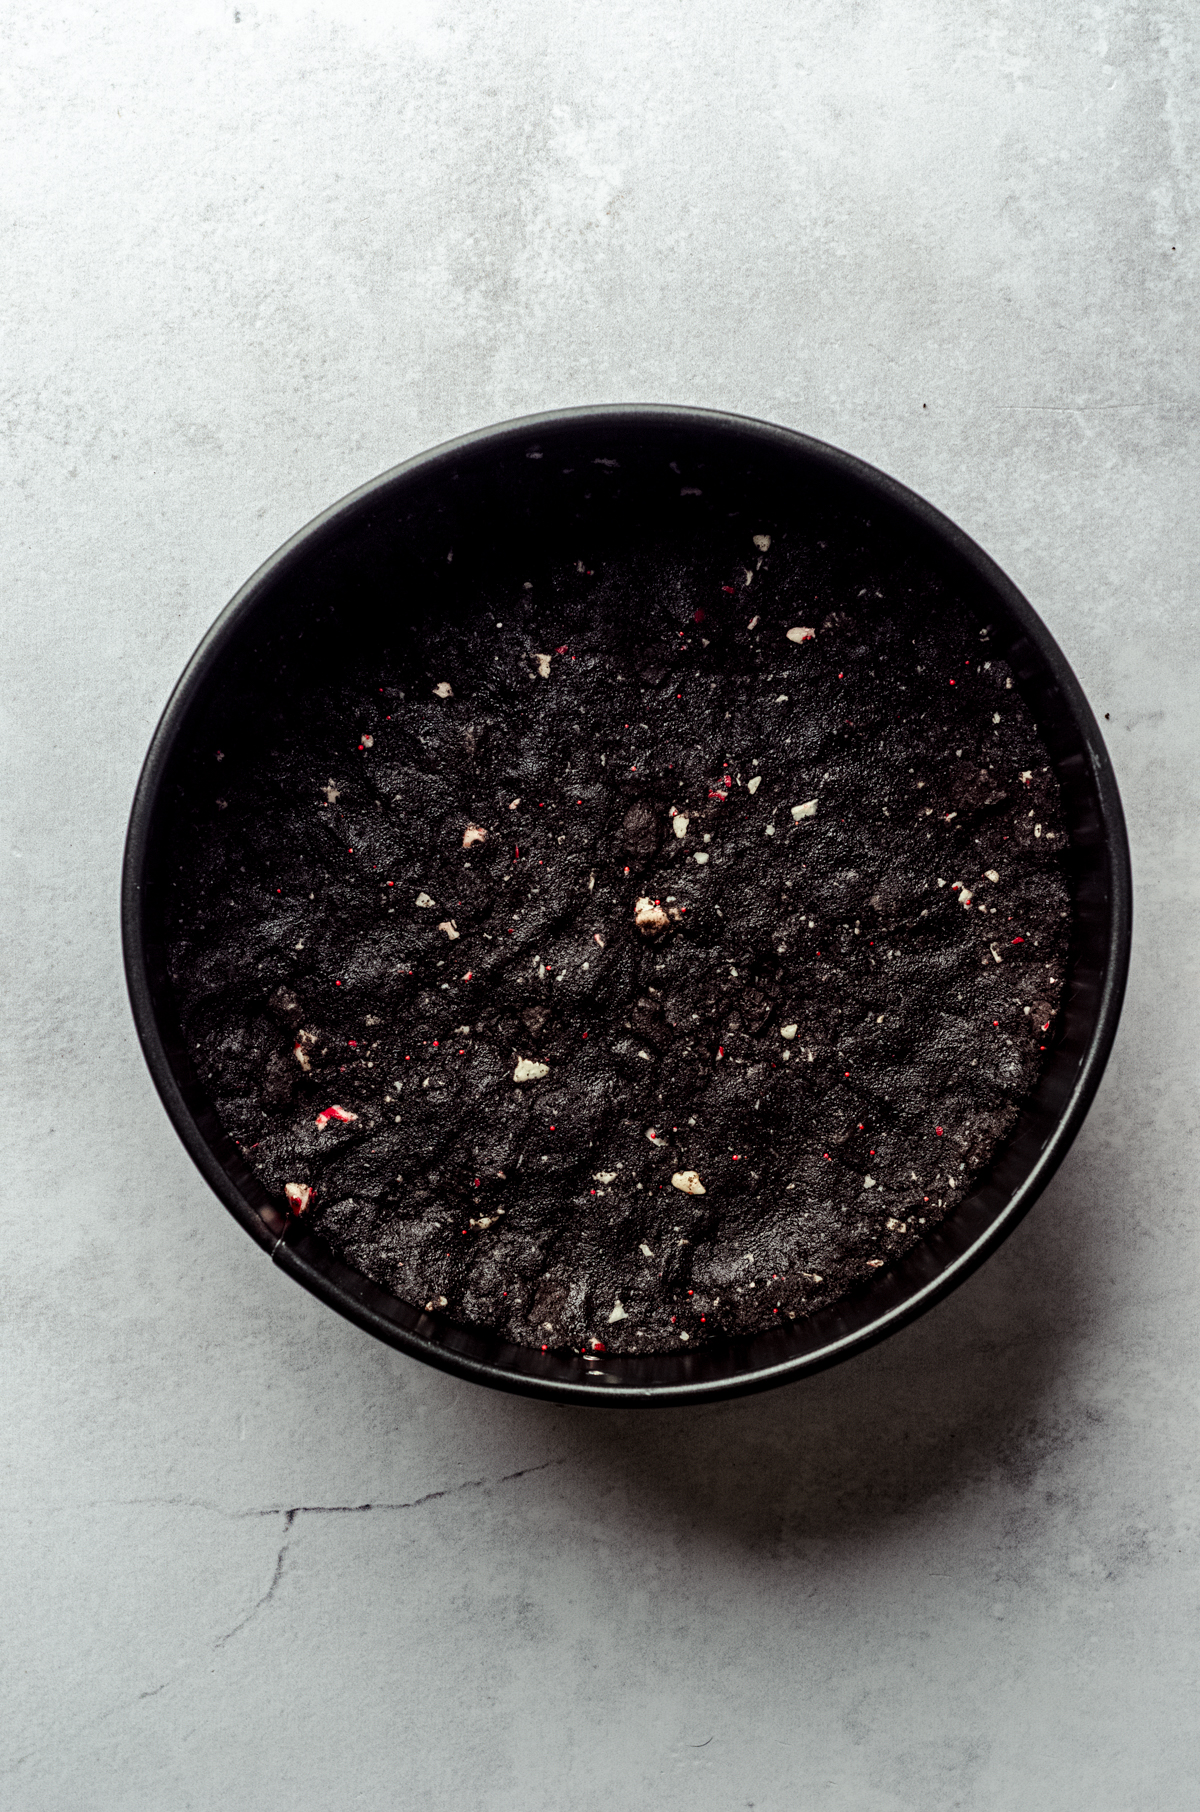
Place the crushed Oreos and ¼ cup of the chopped Kisses in a medium size bowl. Toss together to combine. Drizzle the melted butter evenly over the mixture.
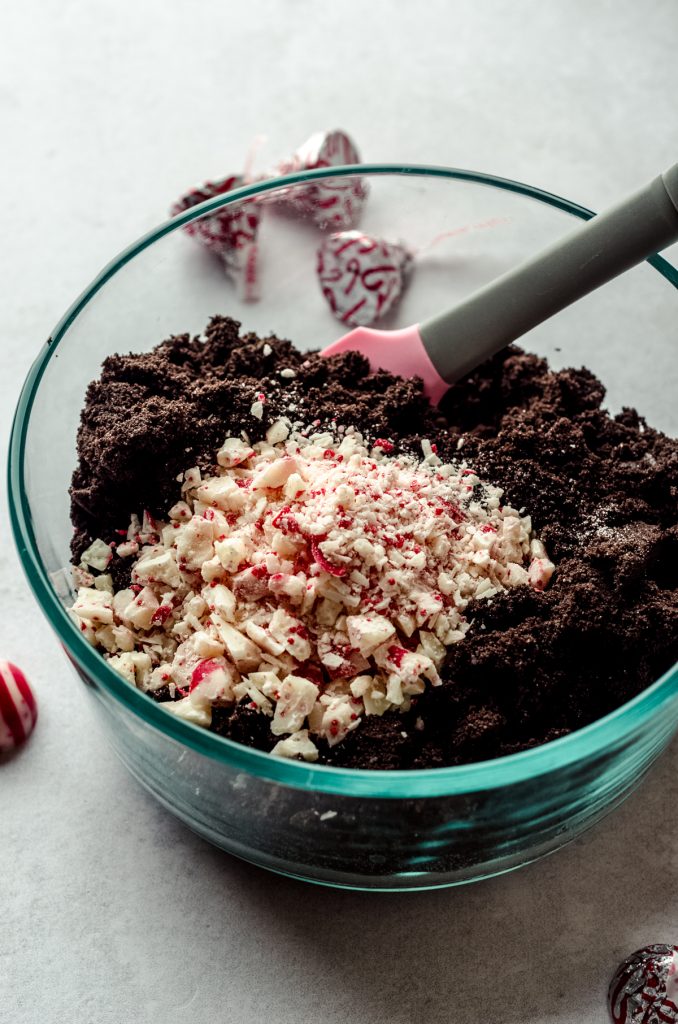
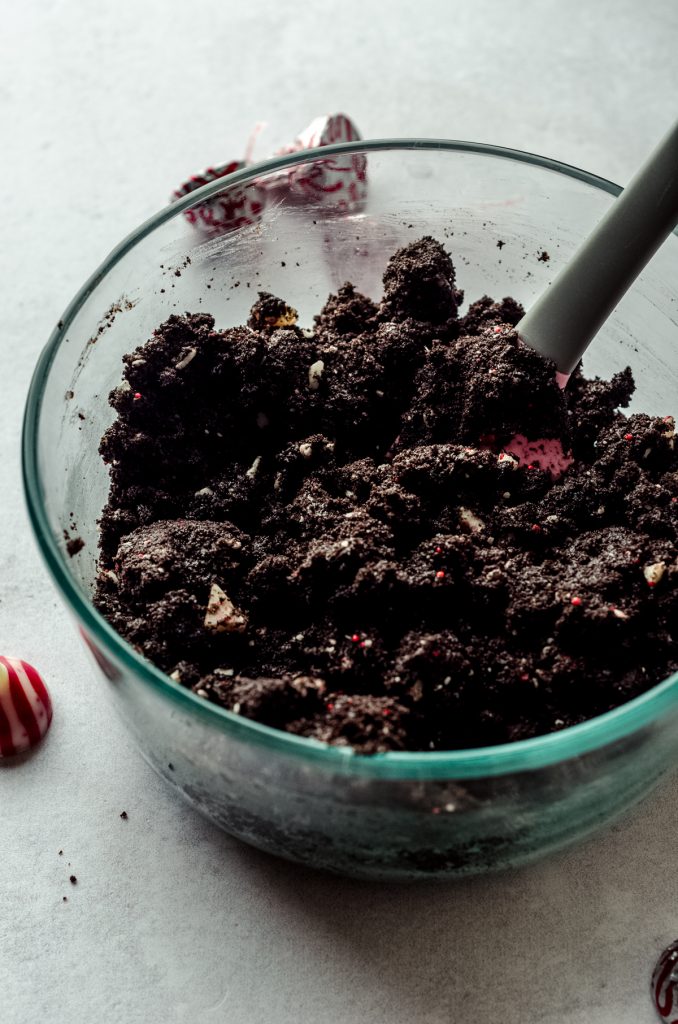
STEP #2
Stir to mix completely, then press evenly into the bottom of a 9″ springform pan (a regular 8″ or 9″ pie plate will work just fine as well). Chill in the refrigerator for at least 30 minutes.
MAKE THE FRESH WHIPPED CREAM
STEP #3
In a medium size bowl with a hand mixer or the bowl of a stand mixer fitted with the whisk attachment, beat the whipping cream until stiff peaks form (about 3-4 minutes; see this tutorial for step-by-step instructions for homemade whipped cream).
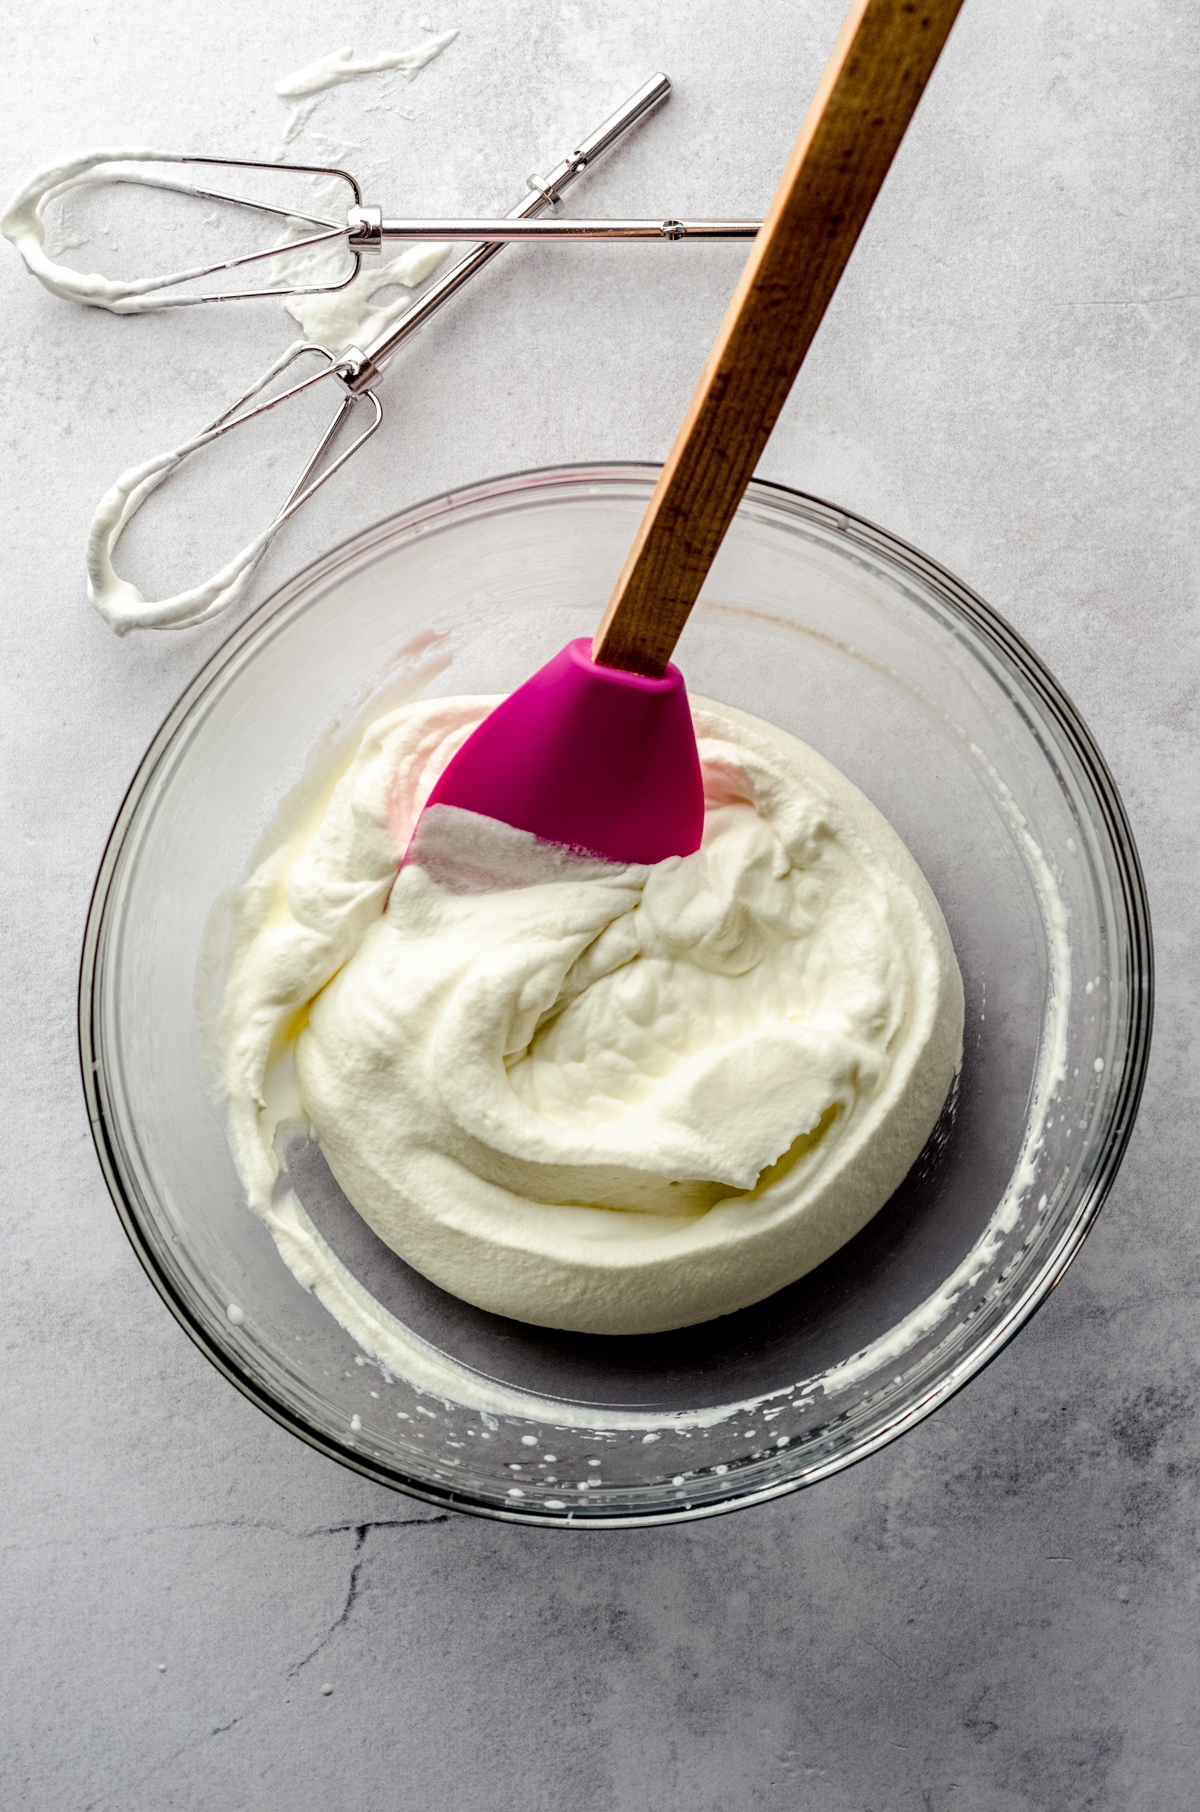
STEP #4
Place bowl in the refrigerator (or transfer to smaller bowl if using a stand mixer) until ready to use.
MAKE THE PEPPERMINT PIE FILLING
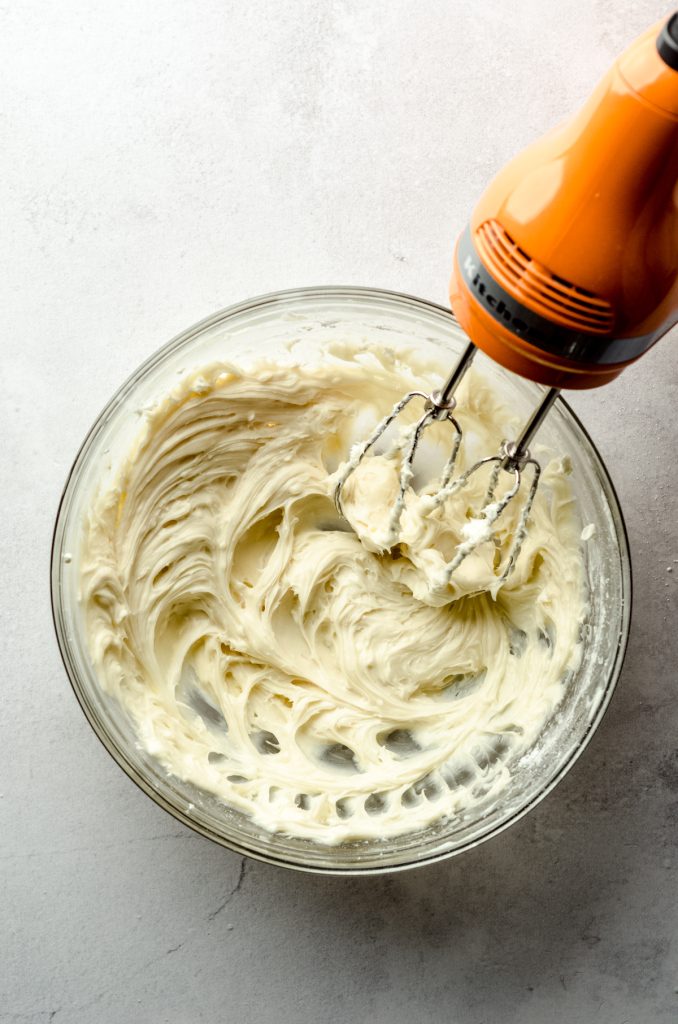
STEP #5
In a large bowl with a hand mixer or the same bowl of the stand mixer (no need to clean) now fitted with the paddle attachment, beat the cream cheese on medium-high speed until smooth.
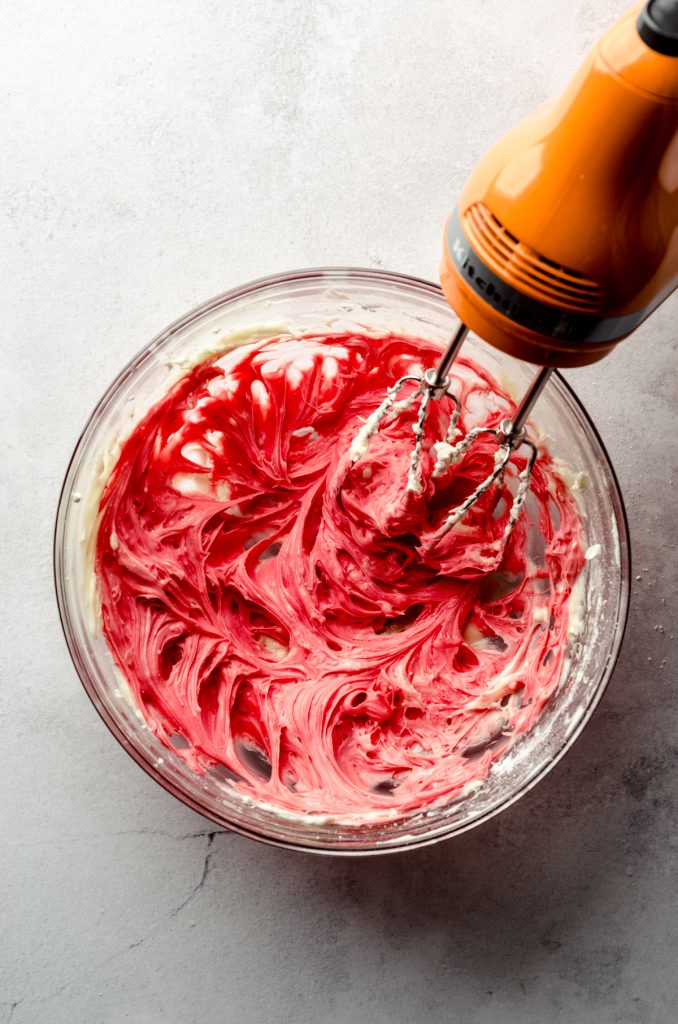
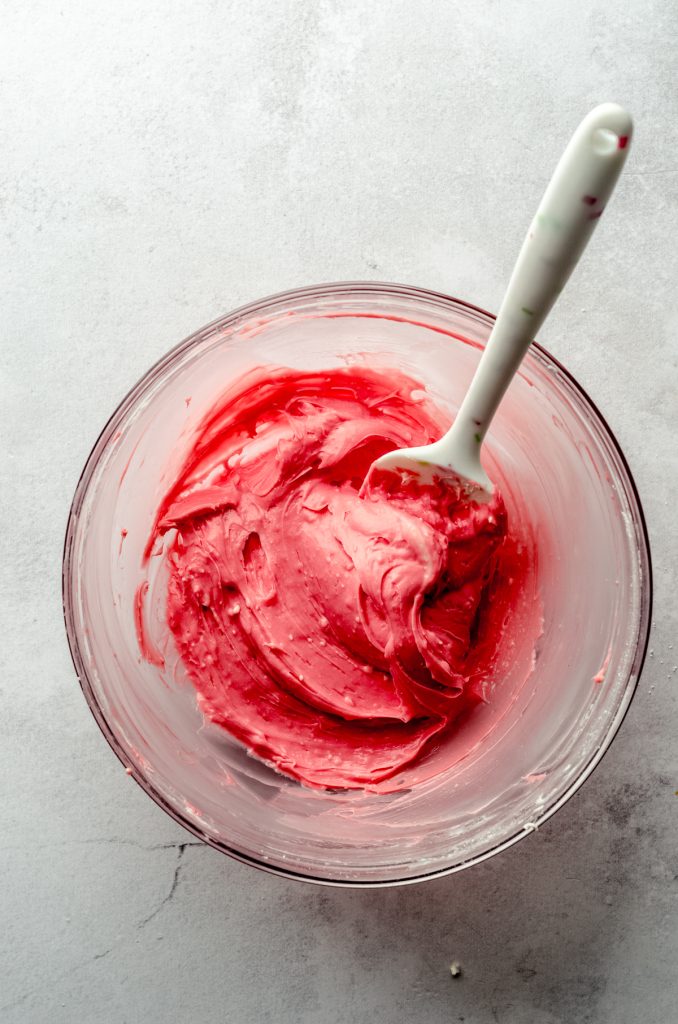
STEP #6
Reduce mixer speed to low and add the powdered sugar, increase the mixer speed to medium-high, and beat again until smooth. Add the vanilla and peppermint extracts and the red food coloring (if using) and continue beating until smooth. Scrape down the sides as necessary.
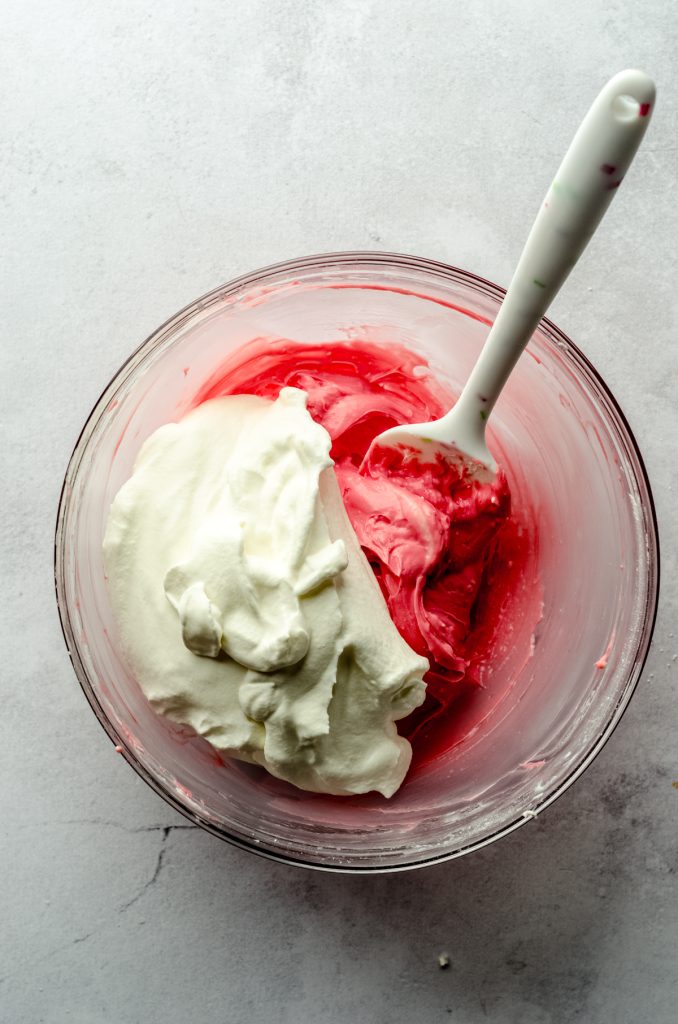
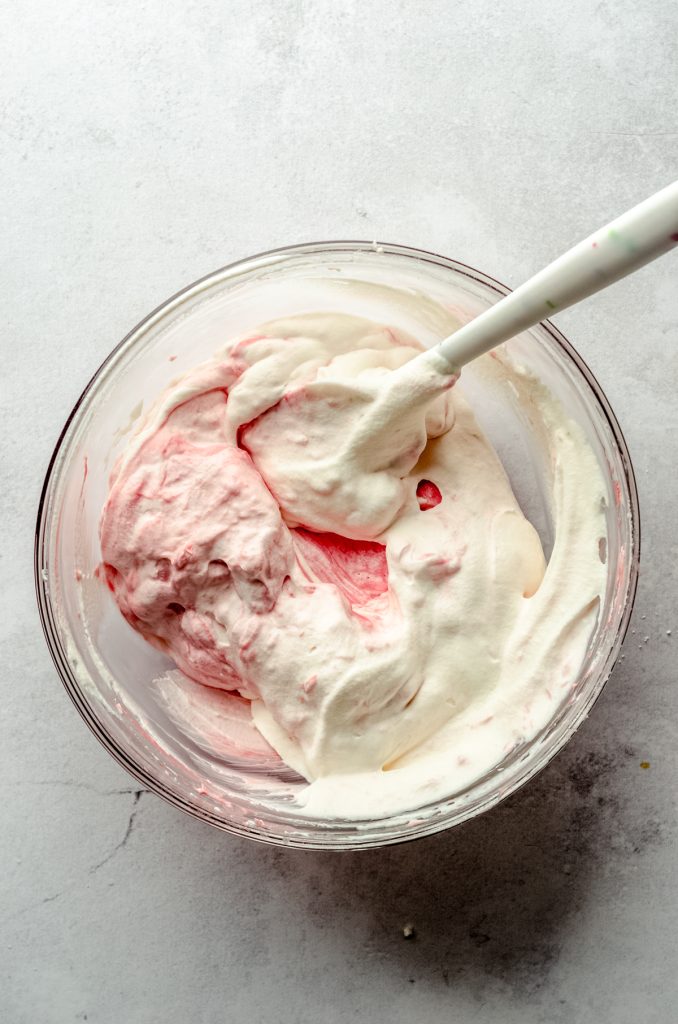
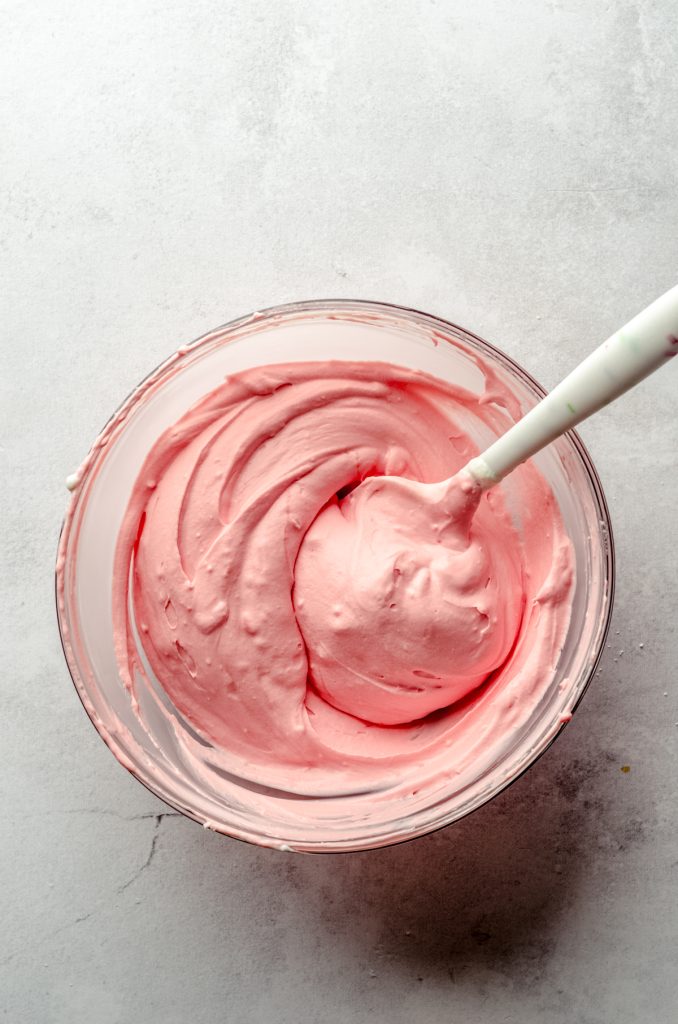
STEP #7
Turn off the mixer and fold in the cold whipped cream with a large spatula until red swirls disappear.
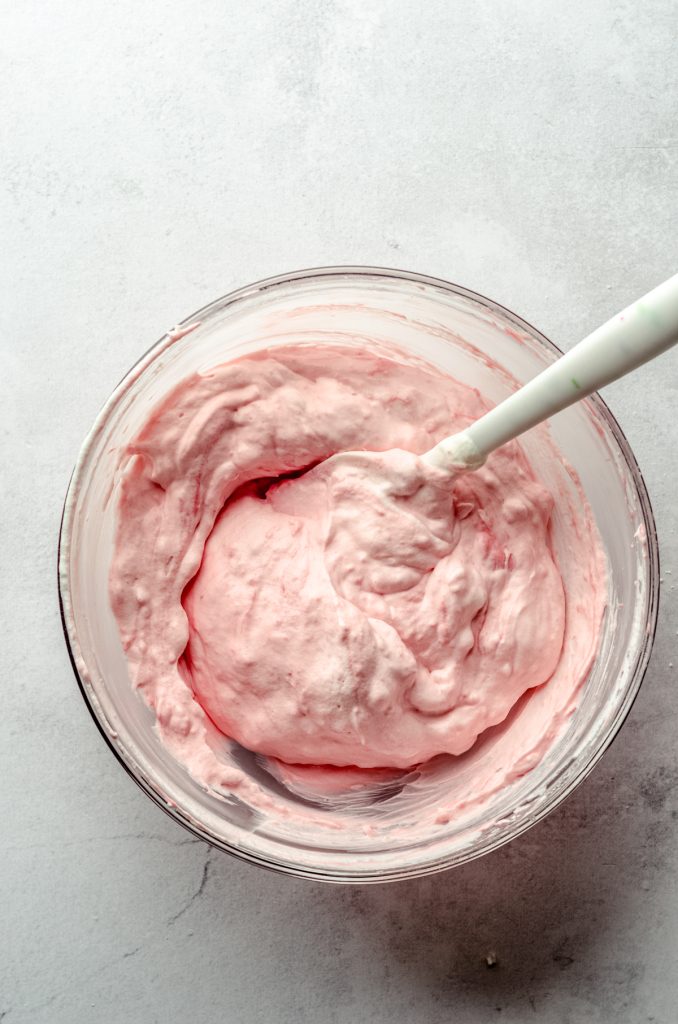
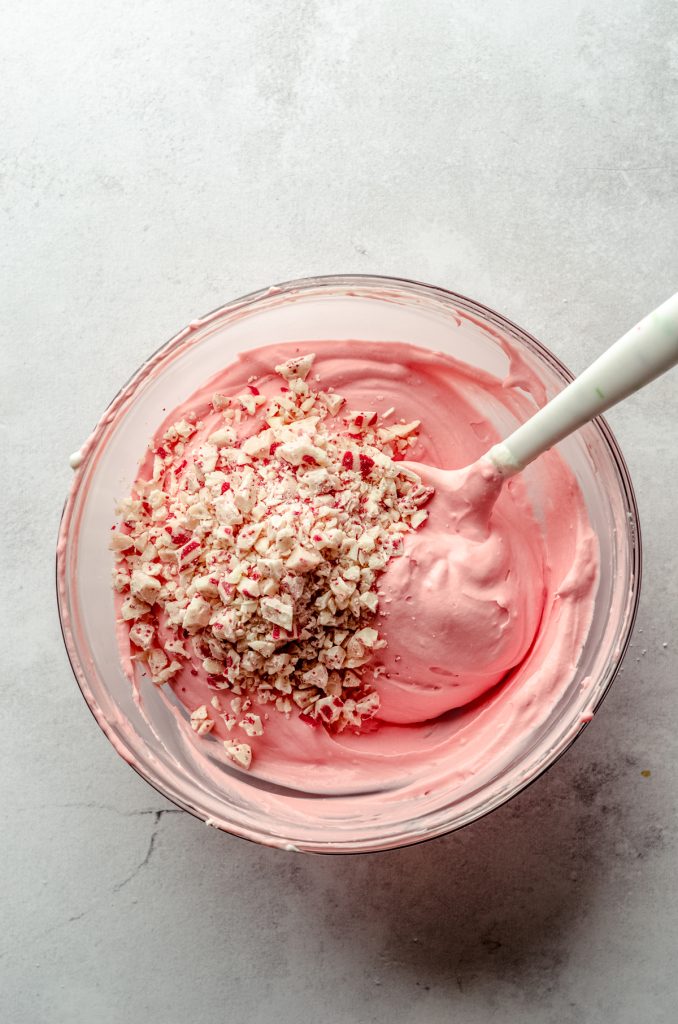
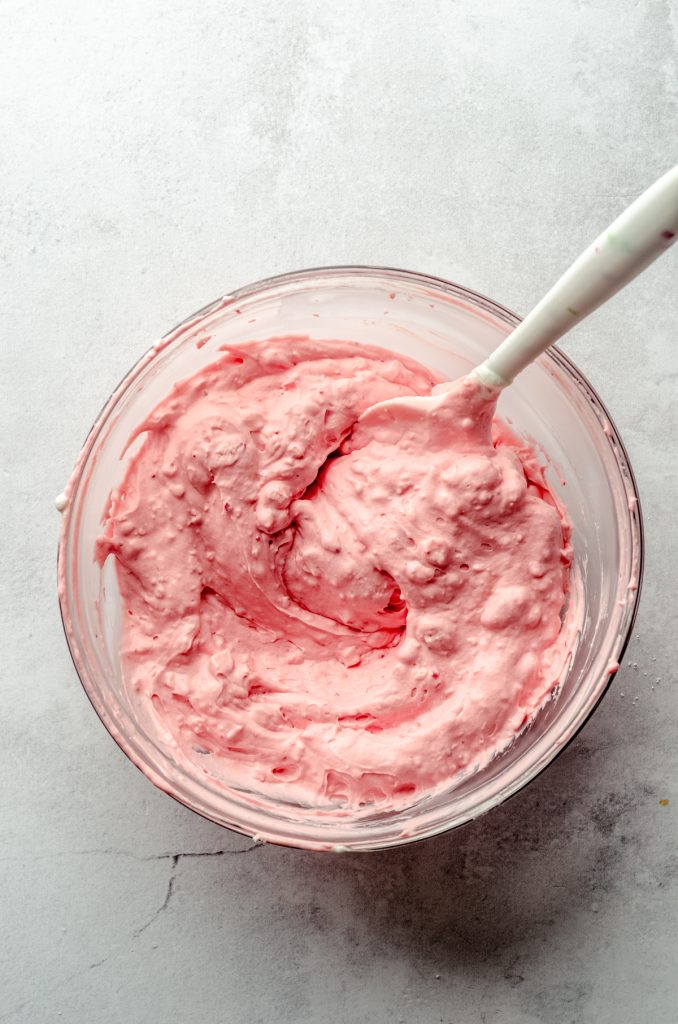
STEP #8
Pour ⅔ cup of the chopped Kisses and mix again with the spatula until evenly dispersed.
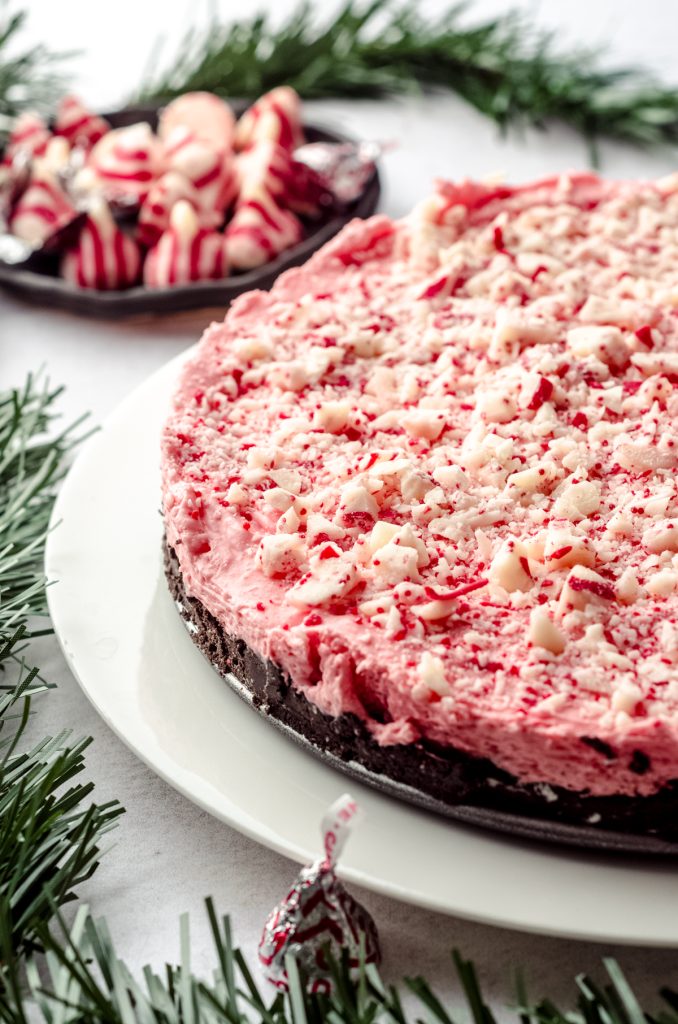
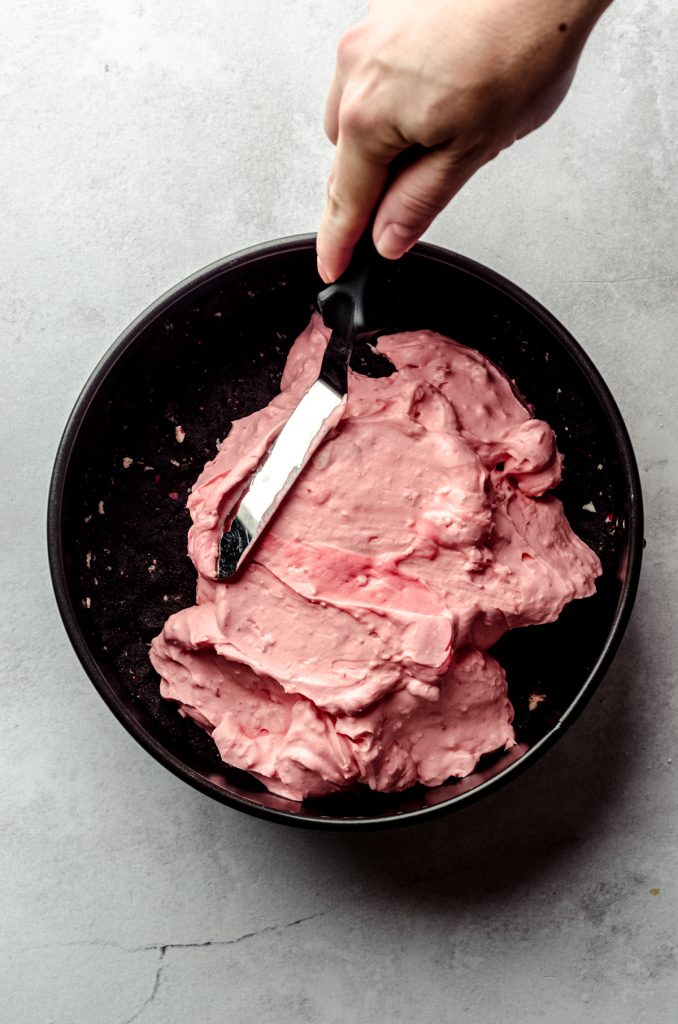
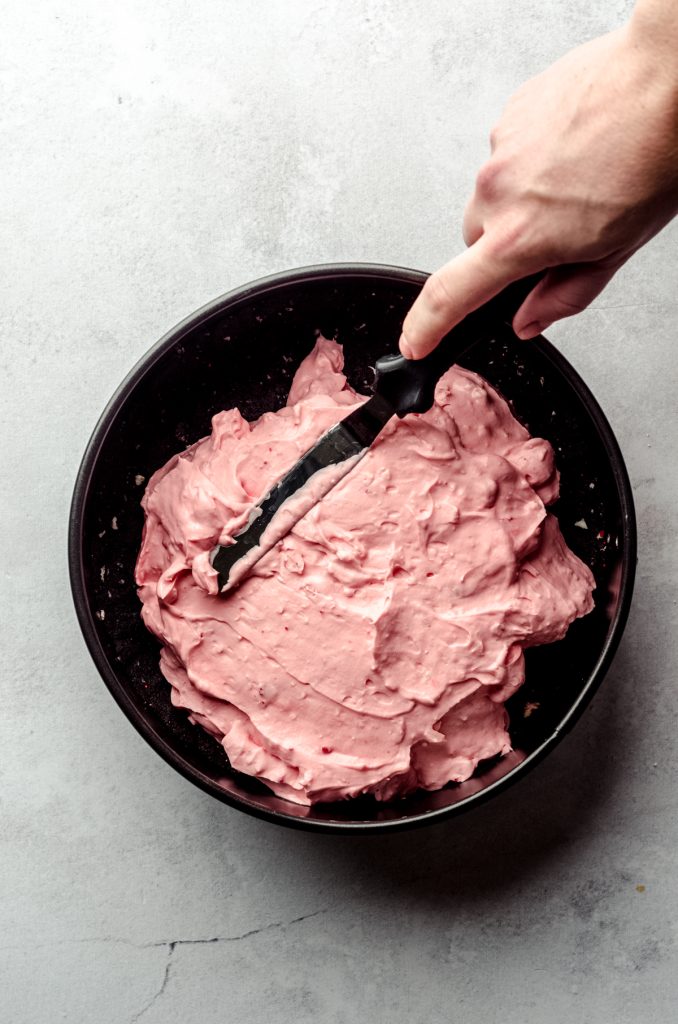
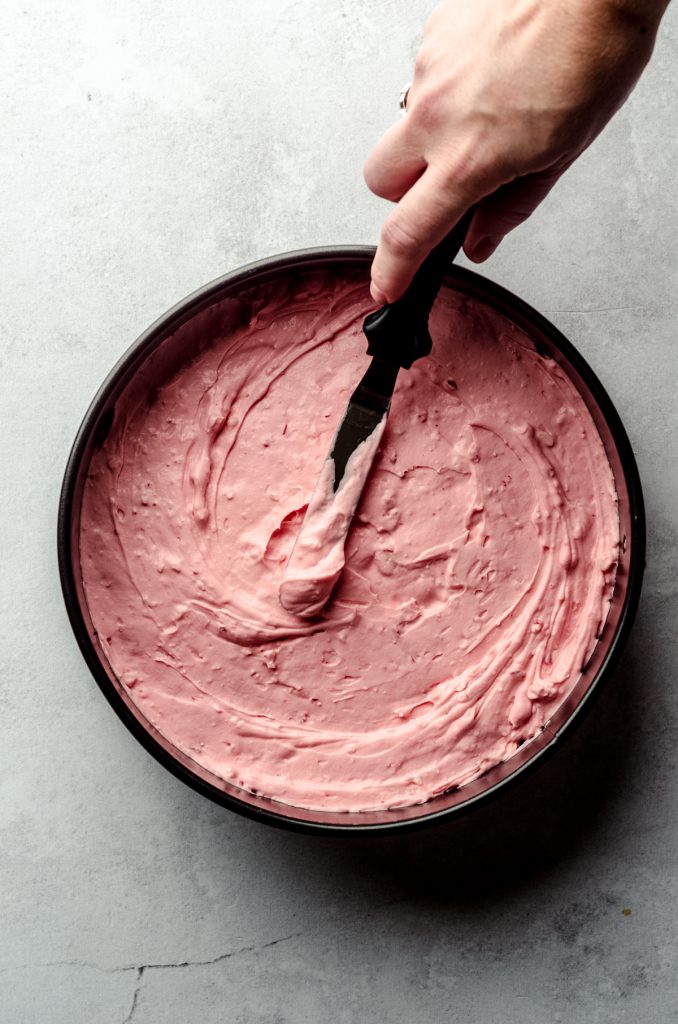
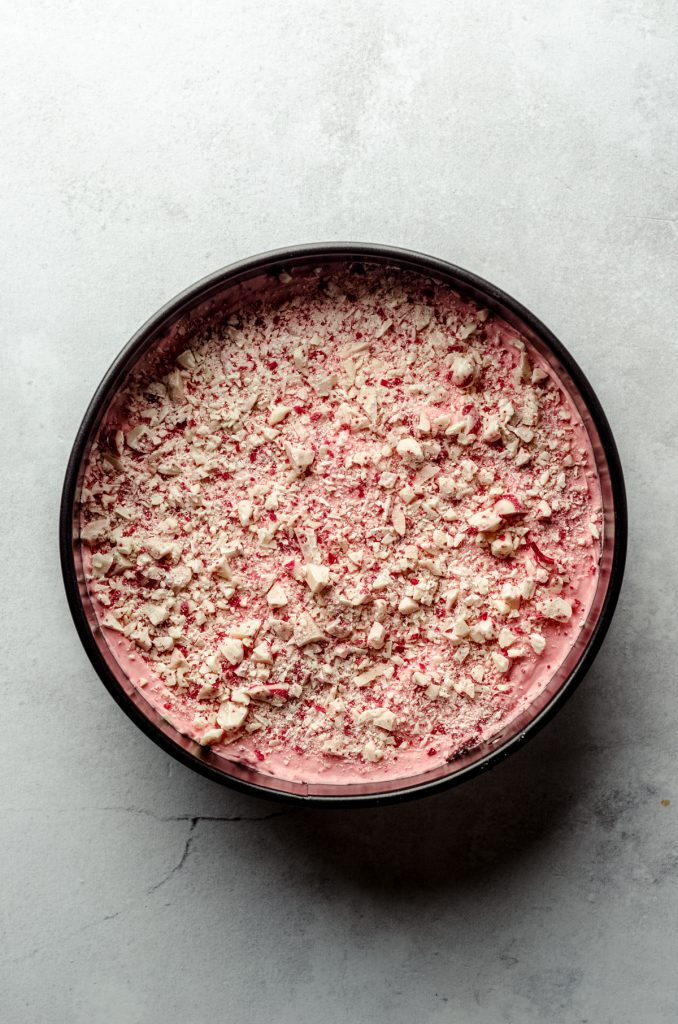
STEP #9
Pour the filling onto the prepared crust and spread evenly with the spatula (I prefer to use a small offset spatula). Sprinkle with remaining chopped Kisses. Cover with foil or plastic wrap and chill in the refrigerator at least 4 hours (for best results, overnight) before serving.
CAN I USE A PRE-MADE OREO CRUST?
Yes, you can absolutely use a pre-made Oreo crust, but know that it won’t have any peppermint flavor in it since you won’t be adding the Kisses to the crushed Oreos. There is no need to chill the crust before filling it.
Just know that you will have a lot of excess crust so the sides will come up a lot higher than they would with this Oreo crust pressed into the bottom of a springform pan.
CAN I USE COOL WHIP INSTEAD OF WHIPPED CREAM?
While you can use Cool Whip in place of the whipped cream, it is pre-sweetened, so will make your peppermint pie sweeter as well. You may need to add a bit of salt to the recipe in order to balance out the sweetness, but know that I have not tested this pie with that ingredient swap, so I cannot guarantee results.
You’ll need 2 cups of Cool Whip to replace the 1 cup of heavy whipping cream that you’ll turn into fluffy whipped cream.
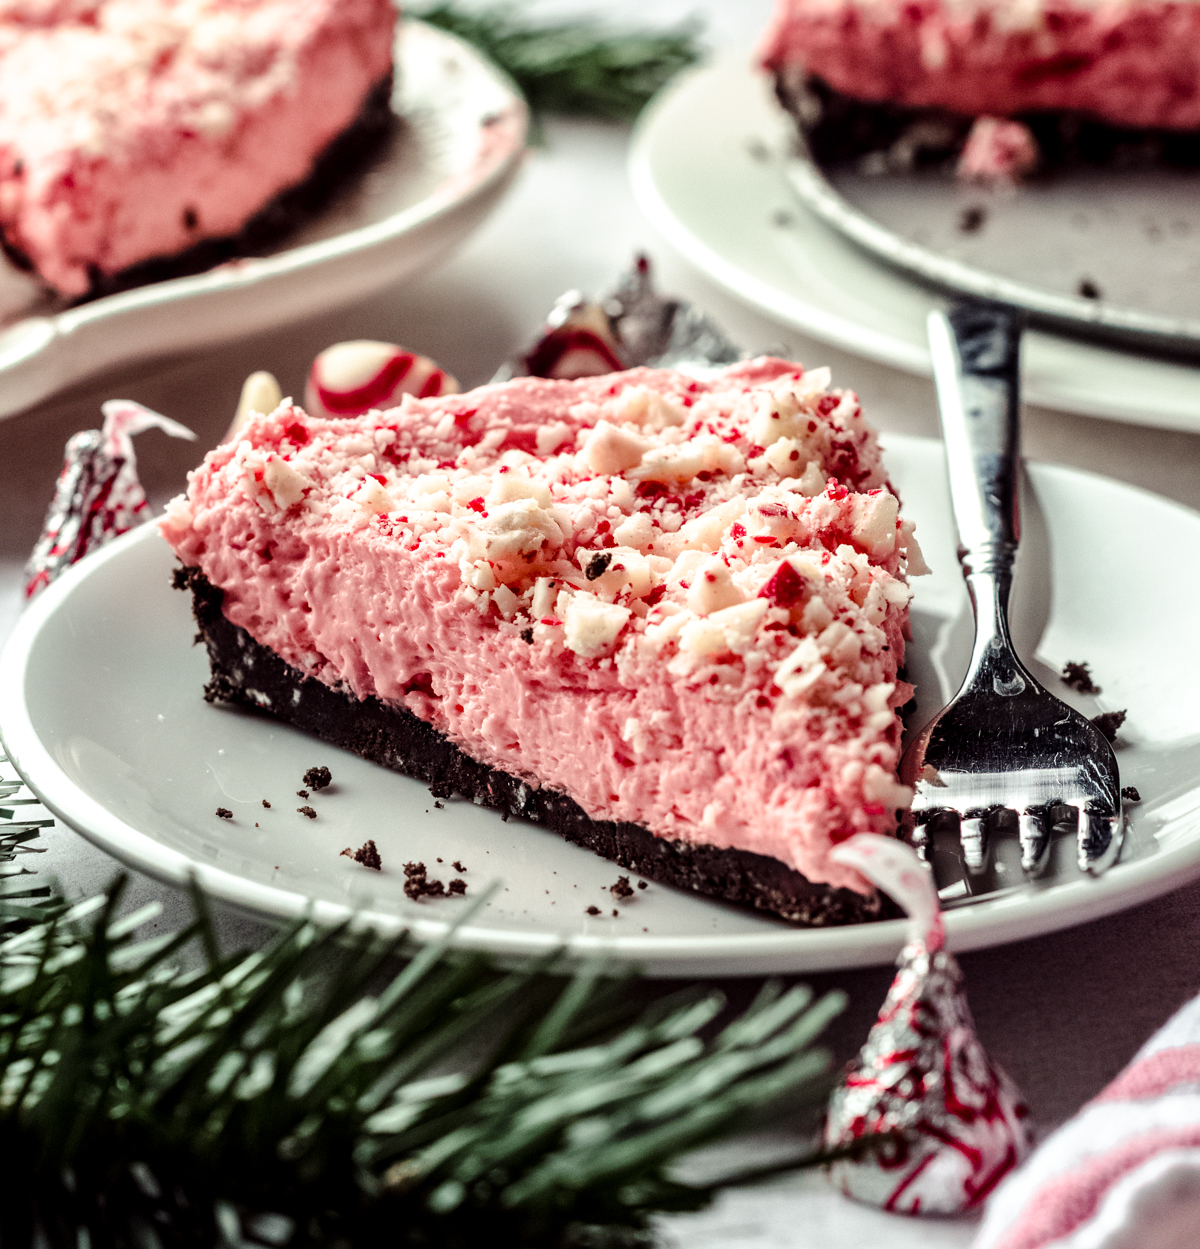
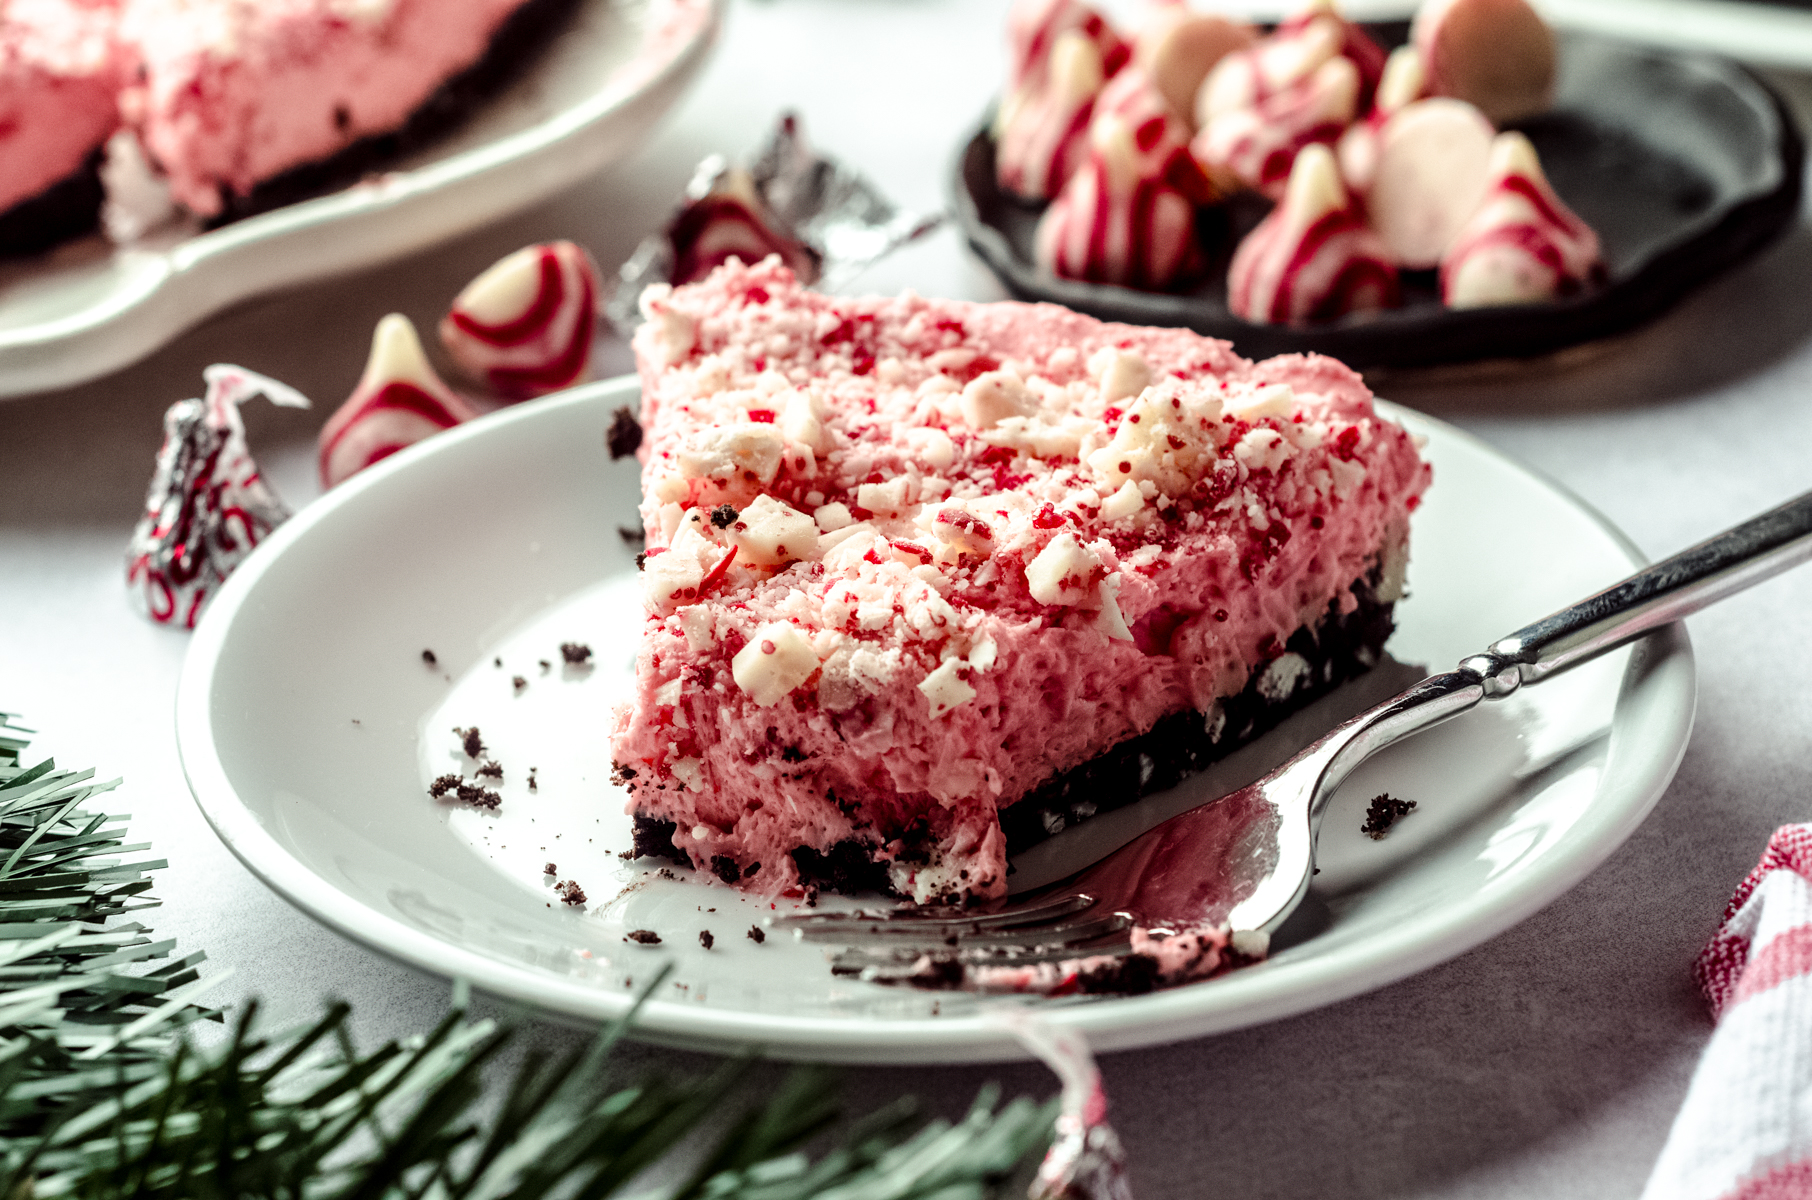
HOW TO SERVE OREO PEPPERMINT PIE
While this delicious pie is perfect as is, there are a few ways I have served it to make it a little more fun.
I mentioned you shouldn’t be putting candy cane pieces inside the pie, but you can certainly sprinkle them on top right before serving! You could also stick mini candy canes into individual slices for some extra holiday flavor and pizazz.
This no bake pie also goes really well with a nice dollop of homemade whipped cream.
The options are endless, especially during the holiday season when there are so many fun ways to deck the halls and the desserts.
CAN I FREEZE THIS PIE?
This pie can absolutely be frozen, which makes it a great option for an easy Christmas dessert. You can make it up to 2 months in advance and either serve it frozen or thawed in the refrigerator.
I’ve enjoyed this smooth minty filling in a chocolate sandwich cookie crust both ways, and I have to say, there’s no bad way to do it. In fact, try it both ways, for science, of course.
SUCCESS TIPS
BE SURE TO USE PEPPERMINT EXTRACT AND NOT MINT EXTRACT
Mint extract contains peppermint extract as well as spearmint extract, which is the taste you’ll find in toothpaste. If you think the filling needs more minty flavor, taste the filling as written in the recipe and add more extract as needed, keeping in mind that peppermint extract is very strong, so add carefully.
FOOD COLORING
I always use gel food coloring, which is a lot more intense than traditional liquid food coloring. You only need a tiny bit of red gel food coloring to achieve a pretty pink color, and about 6-7 drops of liquid to achieve the same shade.
NO BAKE PEPPERMINT PIE RECIPE FAQs

No Bake Peppermint Pie Recipe
Ingredients
- 1 bag Hershey's Candy Cane Kisses unwrapped, chopped, and divided
- 18 Oreos1 crushed
- ¼ cup (57g) unsalted butter melted
- 1 cup (240mL) heavy cream
- 8 ounces (227g) full-fat block cream cheese softened to room temperature
- 1 cup (120g) powdered sugar
- 1 teaspoon vanilla extract
- ½ teaspoon peppermint extract
- red food coloring2 if desired
Instructions
- Place the crushed Oreos and ¼ cup of the chopped Kisses in a medium size bowl. Toss together to combine. Drizzle the melted butter evenly over the mixture. Stir to mix completely, then press evenly into the bottom of a 9" springform pan (a regular 8" or 9" pie plate will work just fine as well). Chill in the refrigerator for at least 30 minutes.1 bag Hershey's Candy Cane Kisses, 18 Oreos1, ¼ cup (57g) unsalted butter
- In a medium size bowl with a hand mixer or the bowl of a stand mixer fitted with the whisk attachment, beat the whipping cream until stiff peaks form (about 3-4 minutes; see this tutorial for step-by-step instructions for homemade whipped cream). Place bowl in the refrigerator (or transfer to smaller bowl if using a stand mixer) until ready to use.1 cup (240mL) heavy cream
- In a large bowl with a hand mixer or the same bowl of the stand mixer (no need to clean) now fitted with the paddle attachment, beat the cream cheese on medium-high speed until smooth. Reduce mixer speed to low and add the powdered sugar, increase the mixer speed to medium-high, and beat again until smooth. Add the vanilla and peppermint extracts and the red food coloring (if using) and continue beating until smooth. Scrape down the sides as necessary.8 ounces (227g) full-fat block cream cheese, 1 cup (120g) powdered sugar, 1 teaspoon vanilla extract, ½ teaspoon peppermint extract, red food coloring2
- Turn off the mixer and fold in the cold whipped cream with a large spatula until red swirls disappear. Pour ⅔ cup of the chopped Kisses and mix again with the spatula until evenly dispersed.
- Pour the filling onto the prepared crust and spread evenly with the spatula (I prefer to use a small offset spatula). Sprinkle with remaining chopped Kisses. Cover with foil or plastic wrap and chill in the refrigerator at least 4 hours (for best results, overnight) before serving. Store leftovers covered tightly in the refrigerator up to 5 days. Pie can be wrapped tightly and frozen up to 2 months. Thaw in refrigerator overnight.
Notes
- Oreos: use regular stuffed only.
- Red food coloring: my favorite food coloring is AmeriColor. You can use any brand you prefer, or omit it completely.
Nutrition Disclosure
All nutritional values are approximate and provided to the reader as a courtesy. Changing ingredients and/or quantities will alter the estimated nutritional calculations.
This is such a pretty dessert! I love the pink 🙂 It sounds just like a giant form of peppermint bark – and the no-bake thing is definitely a winner here when our daytime temperatures are creeping up into the 90s already! I can’t wait for the cookie party to begin! I have my butter at the ready 🙂
Giant peppermint bark! I didn’t even think about that!
This year has flown by!! I wanted to make some peppermint treats in advance of the big season, but couldn’t bring myself to do it. That just means after Thanksgiving candy canes will be flooding my kitchen so I can make great treats like this pie 😉 Happy Thanksgiving, Lynn!
Yes, ma’am! After Thanksgiving, the candy cane game is strong!!
Ooh, this sounds like the antithesis to fruit pie for a family Christmas dinner. I predict it steals the show…
It totally might. This pie is just too good!
Loved this no bake peppermint pie. I substituted the crust for a GF crust. My whole family loved!
Thanks so much, LG!
Hi, this sounds so yummy but I live in the UK and we don’t have Hershey’s kisses. Can I use any mint flavoured chocolate instead or will it not work? I saw your note about not using actual candy canes so won’t do that!
Thanks!
Hi, Sally! You can use any mint flavored chocolate. You could use Andes Mints if you have those! I would just color it green instead. For tips, see my grasshopper pie, which is so similar but uses chocolate chips instead of Kisses: https://freshaprilflours.com/no-bake-mint-chocolate-chip-pie/
LOVE this easy Candy Cane Crunch Pie! It’s so pretty and festive, and captures the essence of the holiday season!
Thanks so much, Eliza 🙂
My teenage daughter found your recipe and requested it for after we put up the tree. It was the perfect compliment to kick off our holiday season!
I’m so happy to hear that 🙂 thank you!
Have you tried this in muffin tins to make individual desserts?
Hi, Cindy– I have not! If you try it, let me know!
This recipe was so fun to make and eat. The best bites were the Oreo crust and the whipped topping, together! My friend said it looked like it was made by Cindy Lou Who in The Grinch, it’s so happy and festive. Also, it was 60 degrees Fahrenheit today, December 26, so truly the best type of winter dessert during warmer temps.
Thanks so much, Stacey! I’m so glad you enjoyed it 🙂
My family requests this dessert every Christmas. The only one they can’t live without! And I love to have one no bake part of my holiday baking! All the stars!
Yes! So great! Thanks, Brooke 🙂
Great recipe although I’d make a couple changes next time. I used a 9 inch pie plate. I would use about 25 Oreo cookie half’s. Omit the extra candy from the crust. I would also omit folding the candy into the center as well. It is as all a little too much. I would still put the crushed candy on top.
Thanks for your review!