
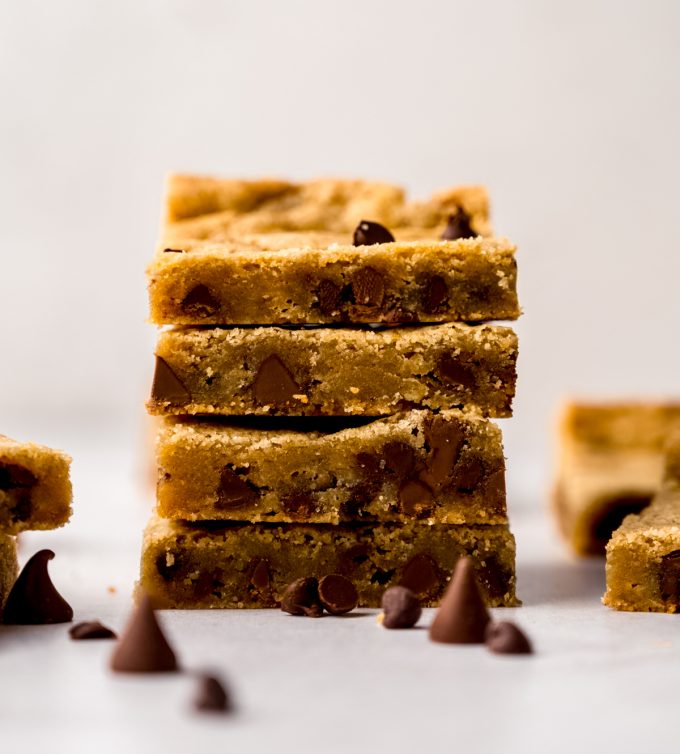
Sourdough Chocolate Chip Cookies

As an Amazon Associate, I earn from qualifying purchases. Read the full disclosure here.
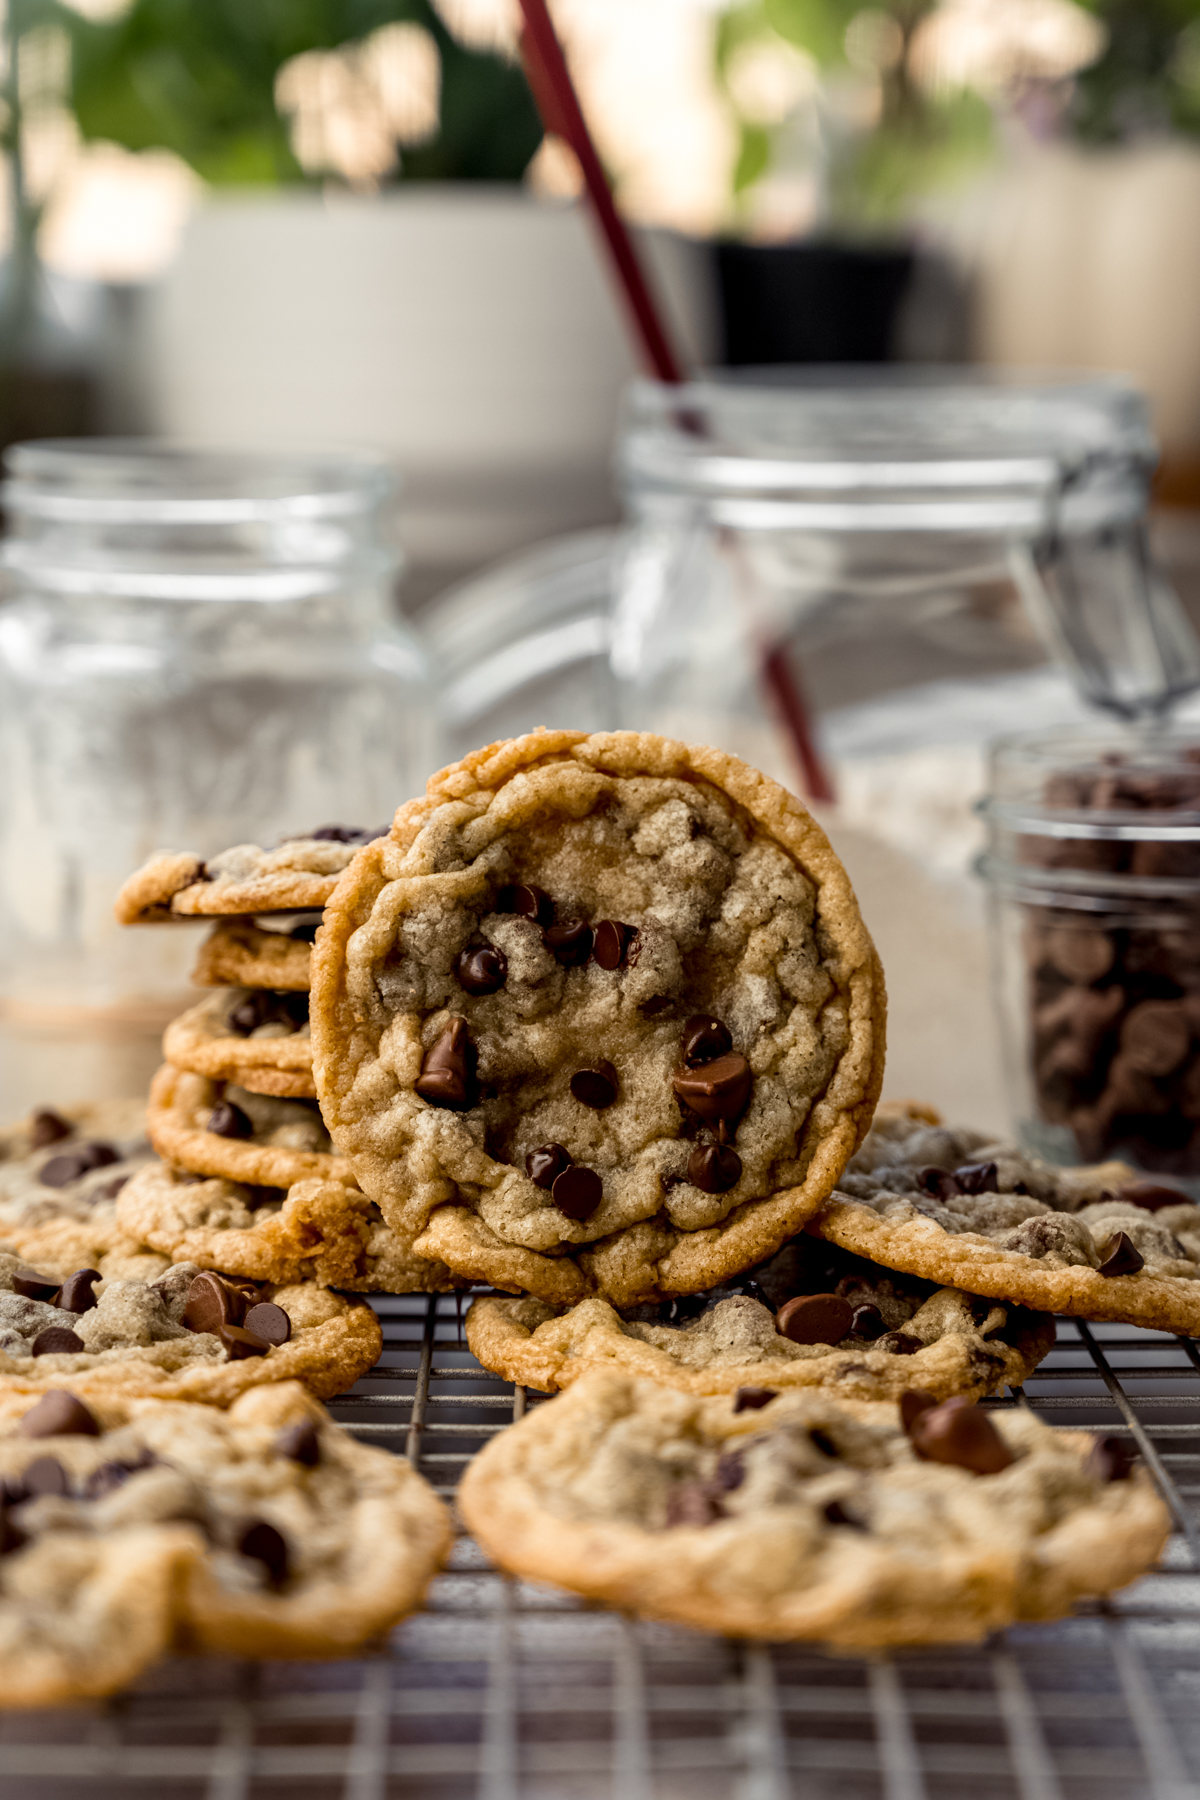
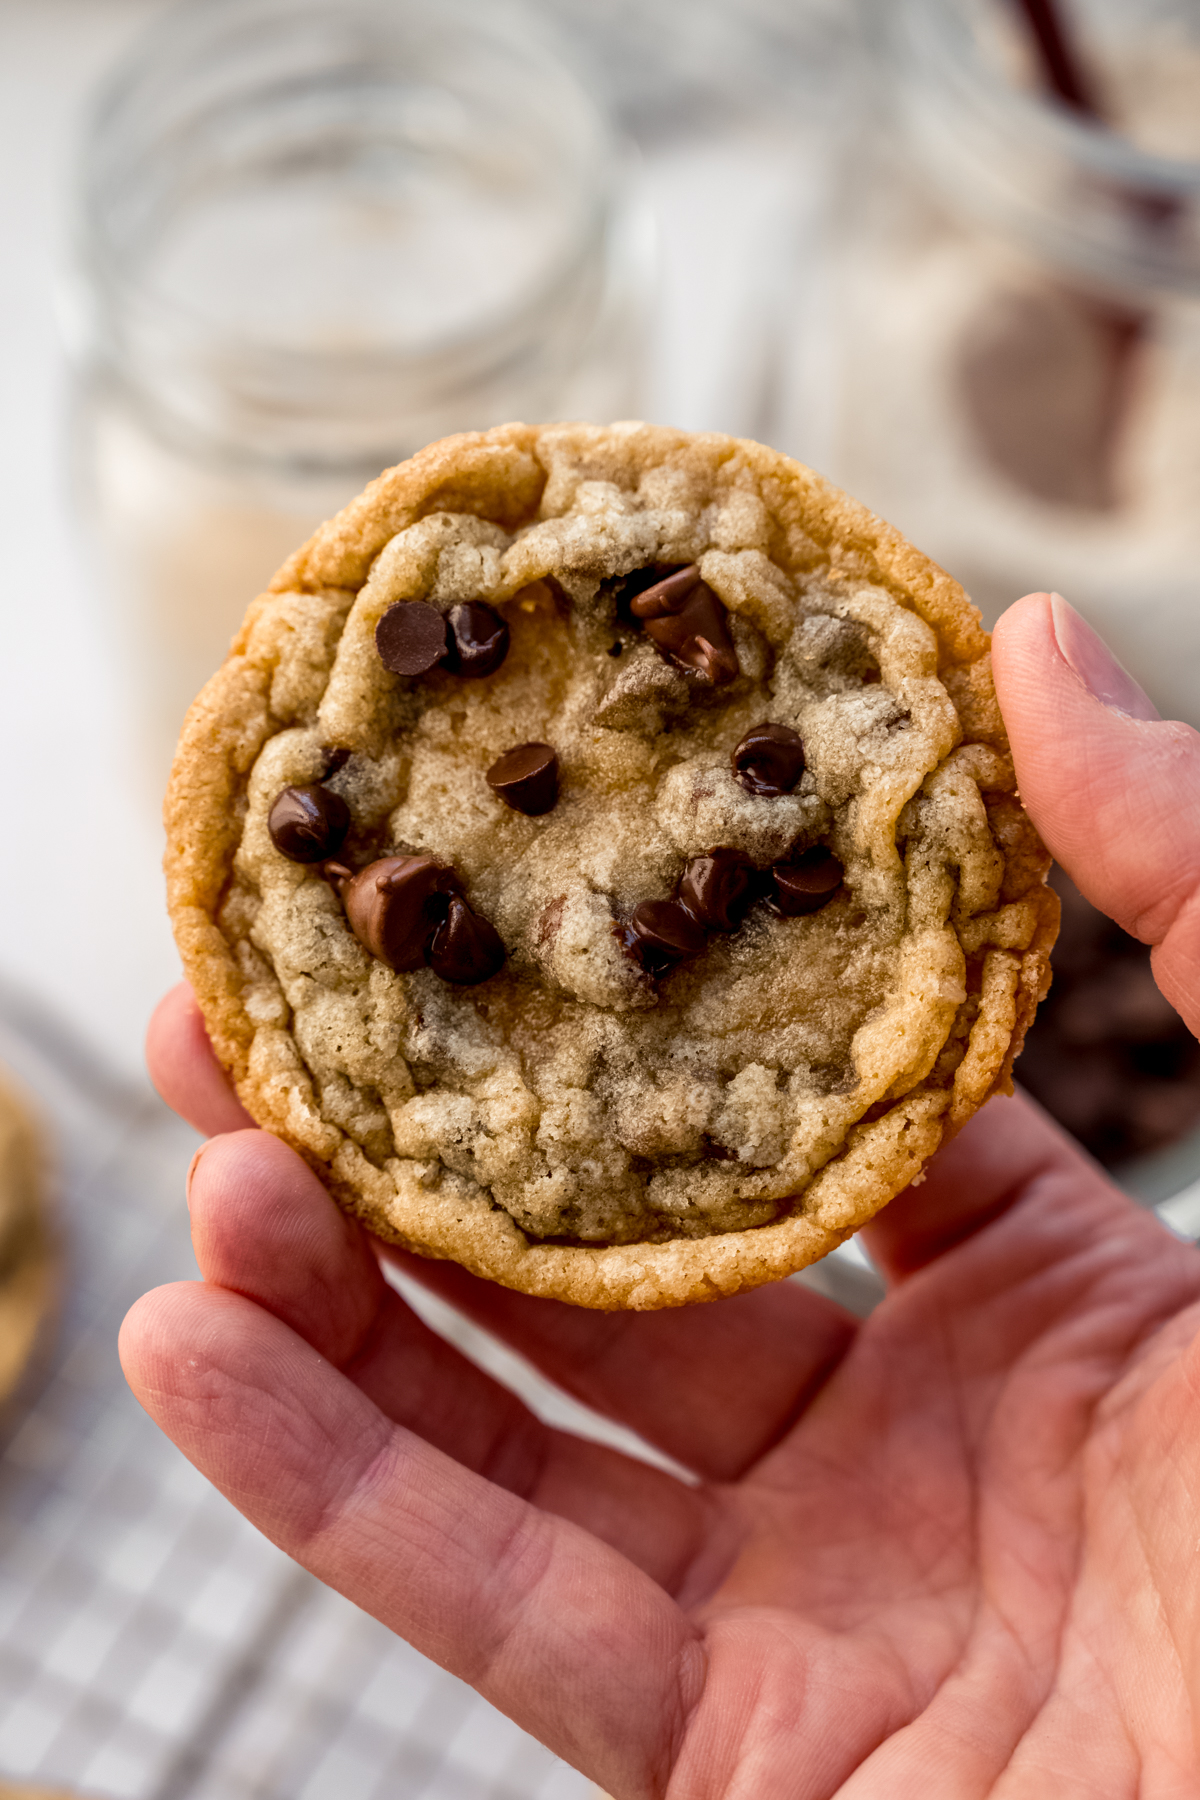
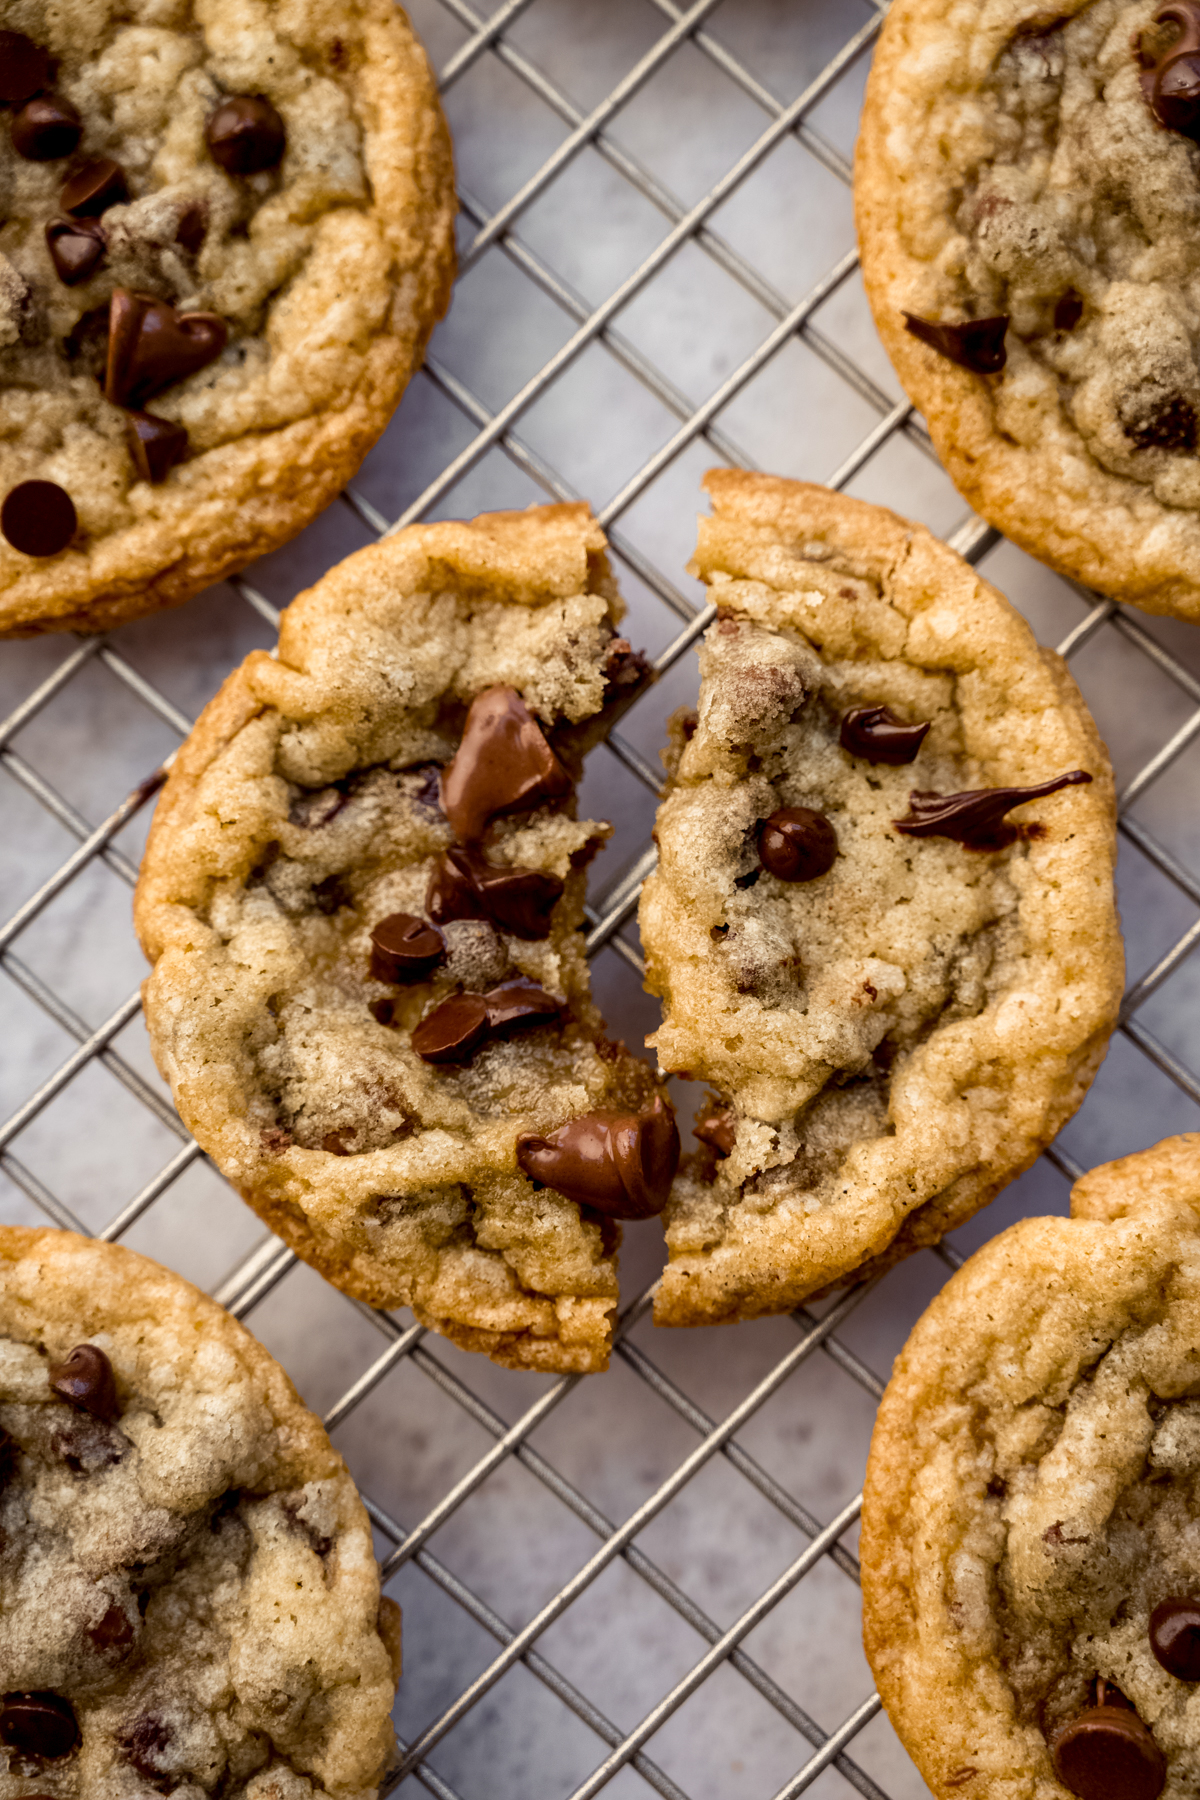
These chocolate chip cookies come with crisp edges, soft centers, and a depth of flavor that only sourdough discard can bring. Built on a method with serious social proof and fine-tuned through real experimentation, this cookie recipe will be your new favorite way to use your discard.
THE SCIENCE OF How This Recipe Came to Be
When you decide to turn a recipe you already love into a sourdough version, the first question you have to ask yourself is: active starter or discard?
For me, discard was the clear answer for this one. My beloved, Instagram-viral, turn-Toll-House-diehards-into-converts classic chocolate chip cookies are on the flatter, chewier side– which is exactly what makes them so good– and introducing active starter would have risked making them cakey and puffed up. That’s a hard pass. Discard gives you that gentle tang and complexity without messing with the texture.
Once that was settled, the real work began, and you helped me do it in my Instagram stories. We had to tackle figuring out how to actually add discard to the recipe without throwing everything off balance.
Any time you add discard to a baked good, you have to account for the extra moisture and flour it brings, and with a 100% hydration starter (meaning equal parts flour and water by weight), every 100g of discard adds 50g of water and 50g of flour to your dough. Left unchecked, that would completely change the cookie.
So I started pulling moisture from other places in the recipe and worked backwards from there.
First, the butter: my original recipe calls for 1 cup (or 2 sticks) of melted butter. I know from my brown butter chocolate chip cookies that browning butter typically drives off about 20% of its weight in moisture through evaporation, so two sticks (1 cup) of butter yields roughly 45g of water lost.
That was a great start, but 45g of lost moisture would only justify using about 90g of discard (45g water + 45g flour), and honestly, that’s not enough to really taste the sourdough. I wanted it to actually mean something in the final cookie, not just be a way to technically use up your discard.
Then, the eggs: my original recipe uses 1 whole egg and 1 egg yolk. By swapping the whole egg for a second yolk and removing just the egg white, we can shed about 30 more grams of moisture. That change also comes with a bonus: it makes halving the recipe completely painless. Instead of trying to split a whole egg, you’re just working with yolks, which is a much easier calculation. It also leaves room for acquiring a smaller amount of discard.
The total math: between the browning butter and dropping the egg white, I’m removing about 75g of moisture from the recipe. That means I can add 150g of discard (which contains 75g of water + 75g of flour) and compensate by pulling 75g of flour from the dry ingredients.
This 150g of discard feels a whole lot more meaningful than the 90g we’d have landed on with only adjusting the butter. It feels substantial enough to bring flavor without being an astronomical amount that you’d need days and days worth of discard to fulfill.
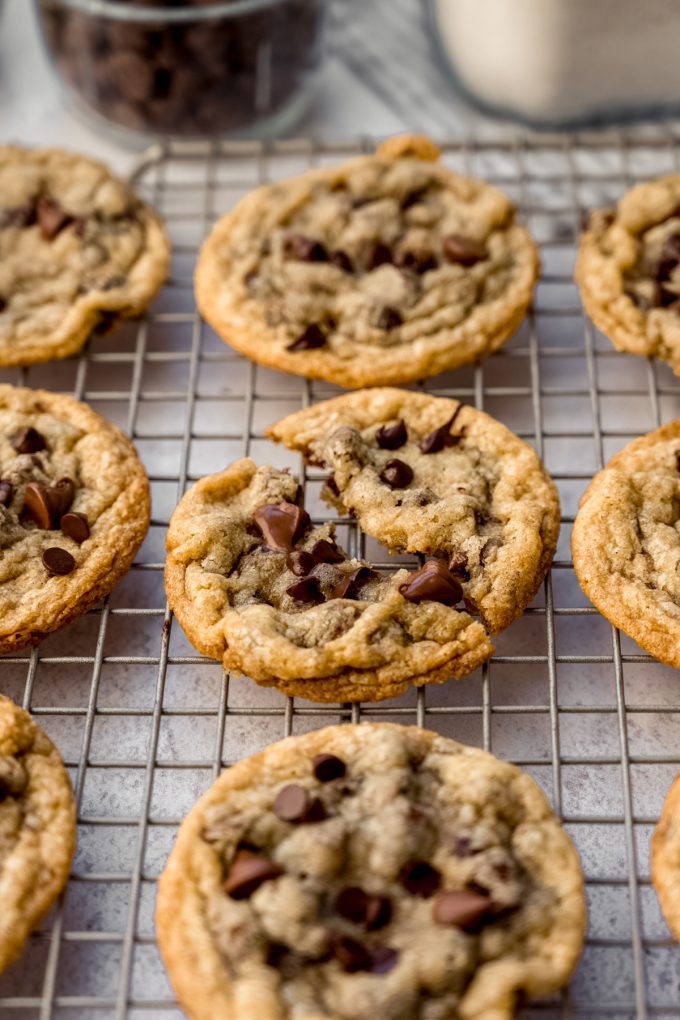
Once I did all of this math on paper, the real test was the bowl and then oven, and I’m happy to report that the result is a cookie that looks, spreads, and bakes exactly like the original, just with a little something extra going on in the flavor department.
It brings with it a richness and a depth that you can’t get or replicate with any other ingredient swap. It’s that unmistakable sourdough quality that you’ll notice but won’t be able to fully put your finger on.
HERE’S WHAT YOU’LL NEED: THE HIGHLIGHTS
If you want to read all the ins and outs of the whats and whys, my post dedicated to those reader-favorite chocolate chip cookies is the place you’ll want to go next. Let’s talk about some of the ingredients you’ll need that make these cookies so dang good and trusted by millions around the world every year.
BROWN BUTTER: we’ve already touched on this briefly, but this is a crucial ingredient for these cookies. I break down exactly how to brown butter in the instructions, but if you need any supporting visuals or explanations, I have a whole post dedicated to browning butter. In the brown butter version of my chocolate chip cookies, we add water back into the recipe to account for evaporation, but in this sourdough discard version, it’s unnecessary. Brown two sticks (1 cup) of unsalted butter, and don’t make any adjustments.
CORNSTARCH: this is one of those ingredients people always ask me about. It’s a small amount, but it makes a world of difference! Cornstarch helps soften the texture of the cookie, adding to the chewiness and softness of the center.
100% HYDRATION SOURDOUGH DISCARD: this recipe will not work with any other hydration of discard. As far as what kind of flour you use to feed your starter, that shouldn’t matter either. Personally, I use a 1:1:1 blend of all-purpose, whole wheat, and bread flour. Whatever flours you use will work perfectly. The hydration is what matters most here.
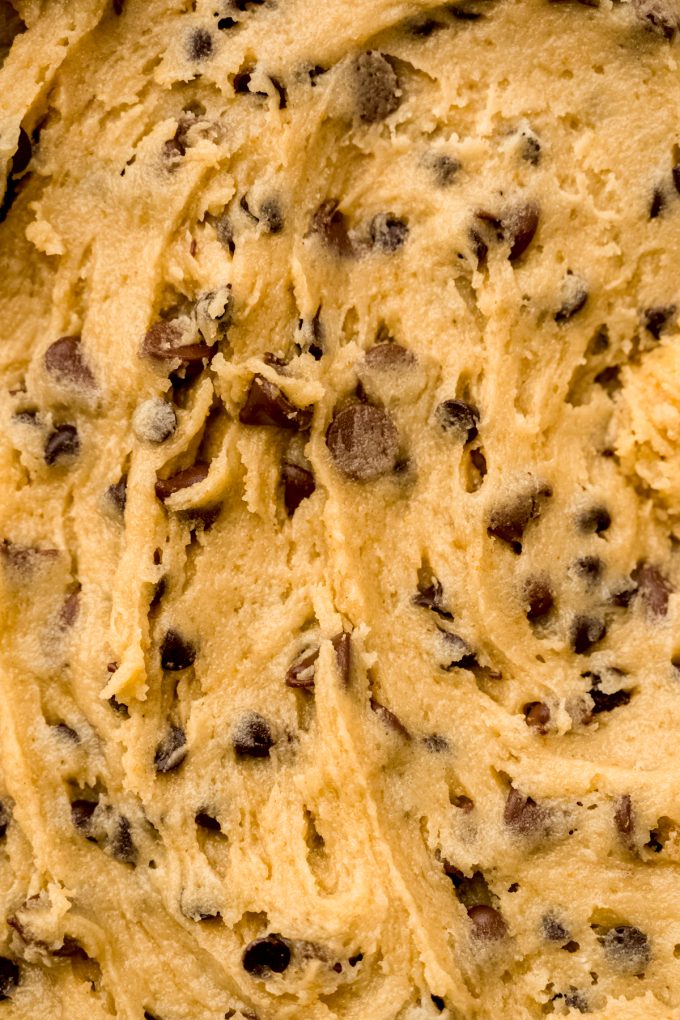
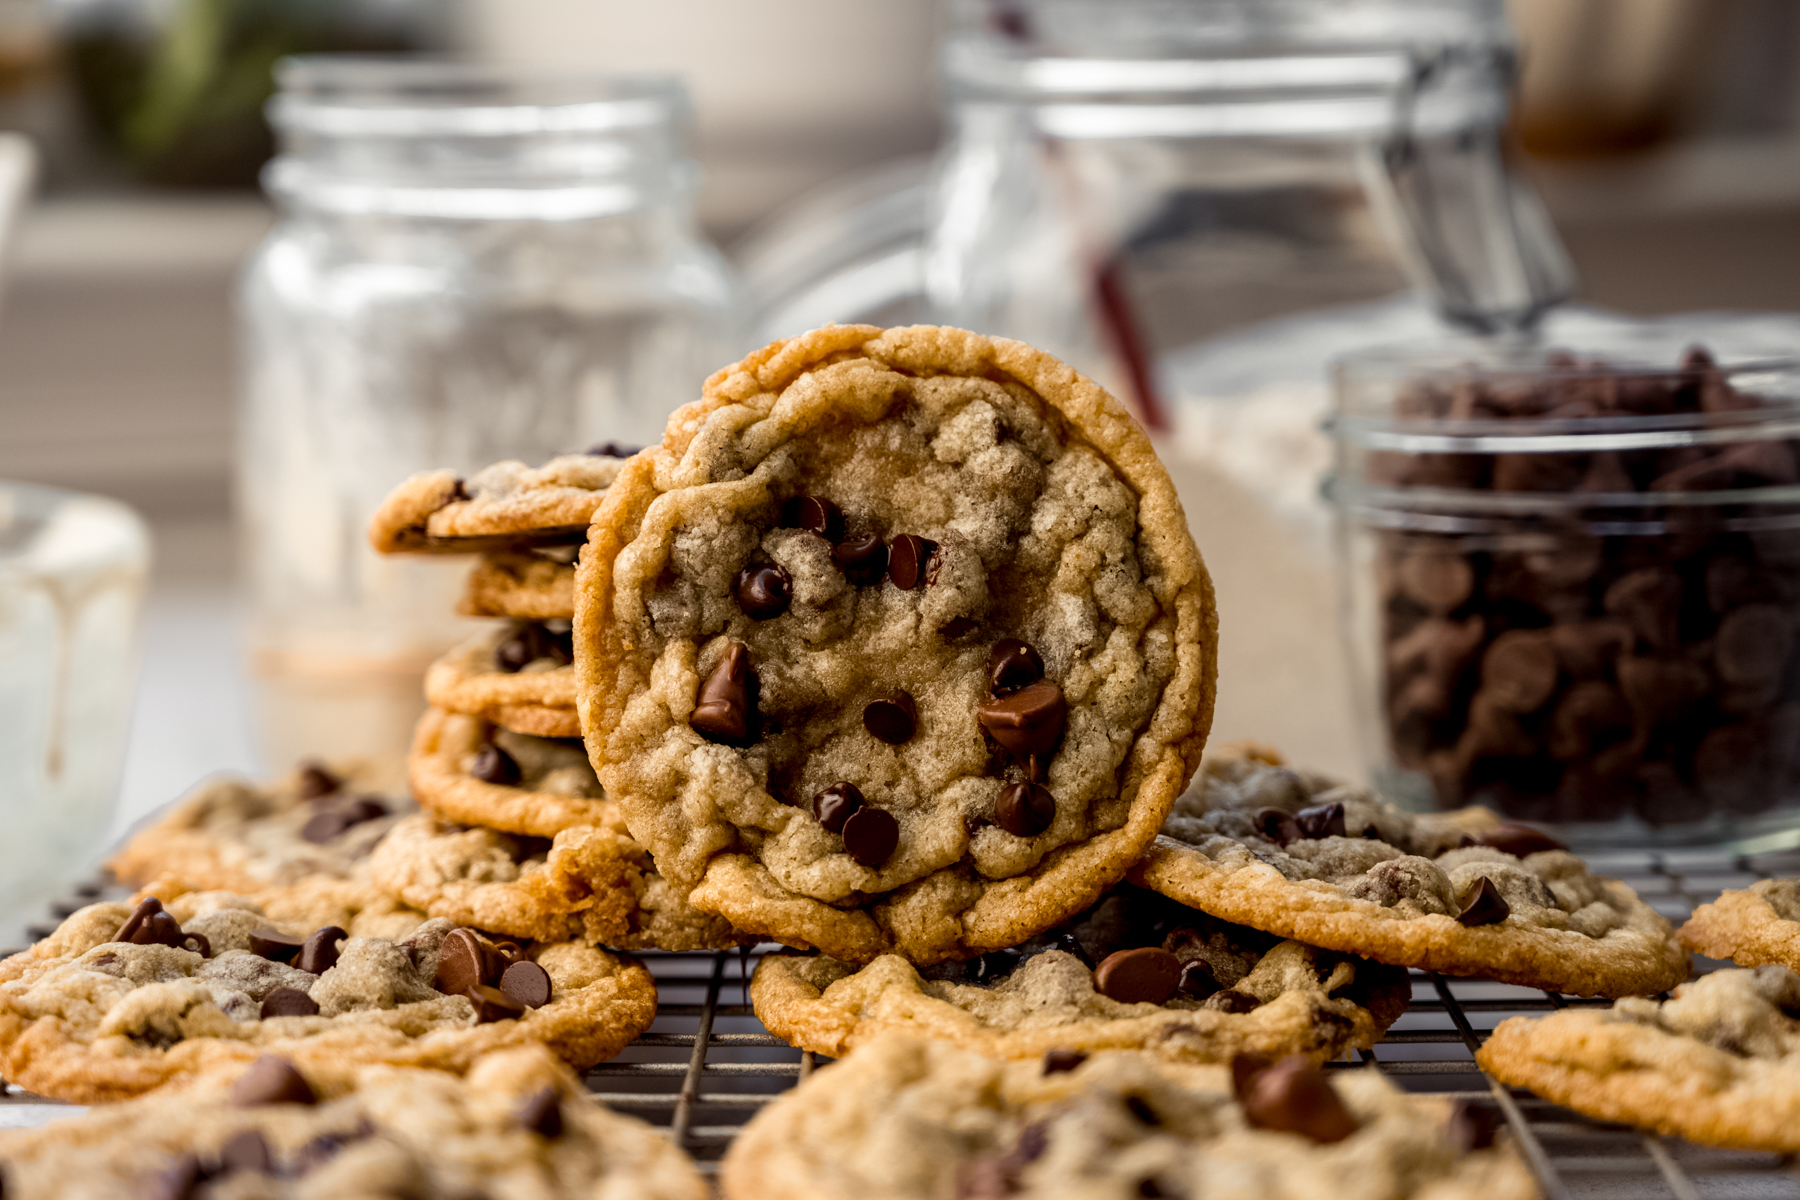
TWO KINDS OF CHOCOLATE CHIPS: my signature combo of chocolate chips is standard size milk chocolate chips and mini semi-sweet chocolate chips. You are, of course, welcome to use any kind of chips you’d like, even branching out to white or another flavor if you prefer. And if you say you don’t love milk chocolate, I urge you to try them in these cookies anyway. There’s a reason they are loved by so many…
Let’s Bake: Step-by-Step Instructions
This recipe is simple and straightforward, but you will have to build in time for chilling the dough (2 hours). I know, the wait is torturous, but it’s necessary. Be sure you’re buffering this time in, and if you can take any advice from me as someone who has made these cookies hundreds of times: if you make them at night, you can sleep through the chilling and it’s not as torturous.
Also, cookies for breakfast? Yeah. Let’s do that.
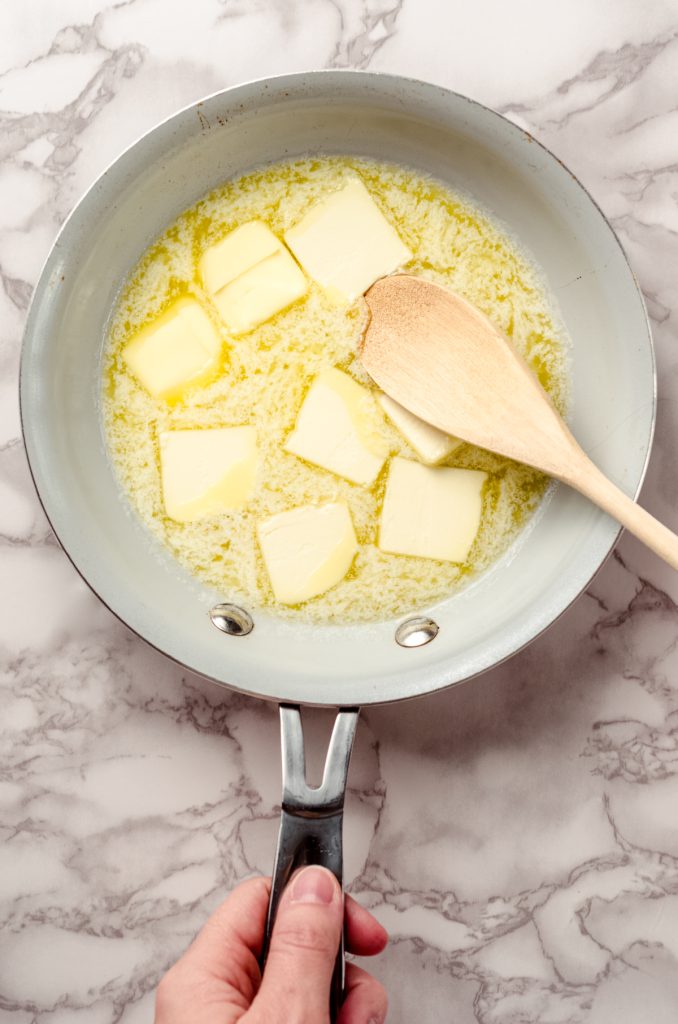
Start by browning the butter: since this only takes a few minutes and you’ll need to let it cool to room temperature before you use it, make the brown butter before you do anything else. Don’t forget to set a medium-sized heatproof bowl right next to your stovetop– you’ll want it within arm’s reach before you begin anything. Browning butter is a “don’t walk away” situation, so clear a few minutes and give it your full attention.
Whisk together the dry ingredients: while your butter cools, whisk together your flour, baking soda, cornstarch, and salt in a large bowl, then set it aside.
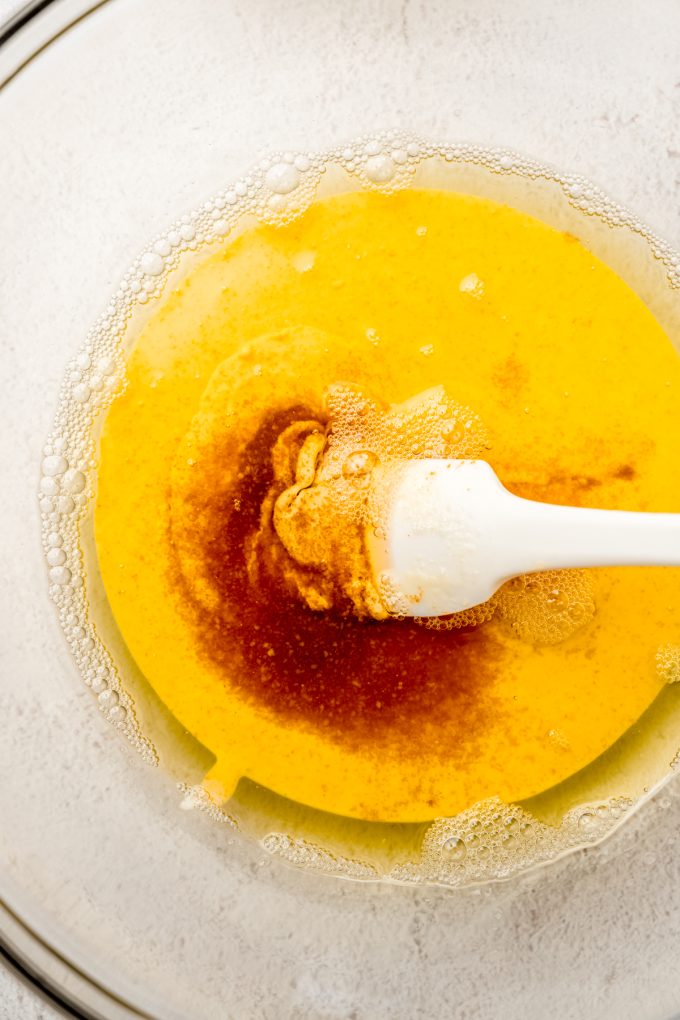
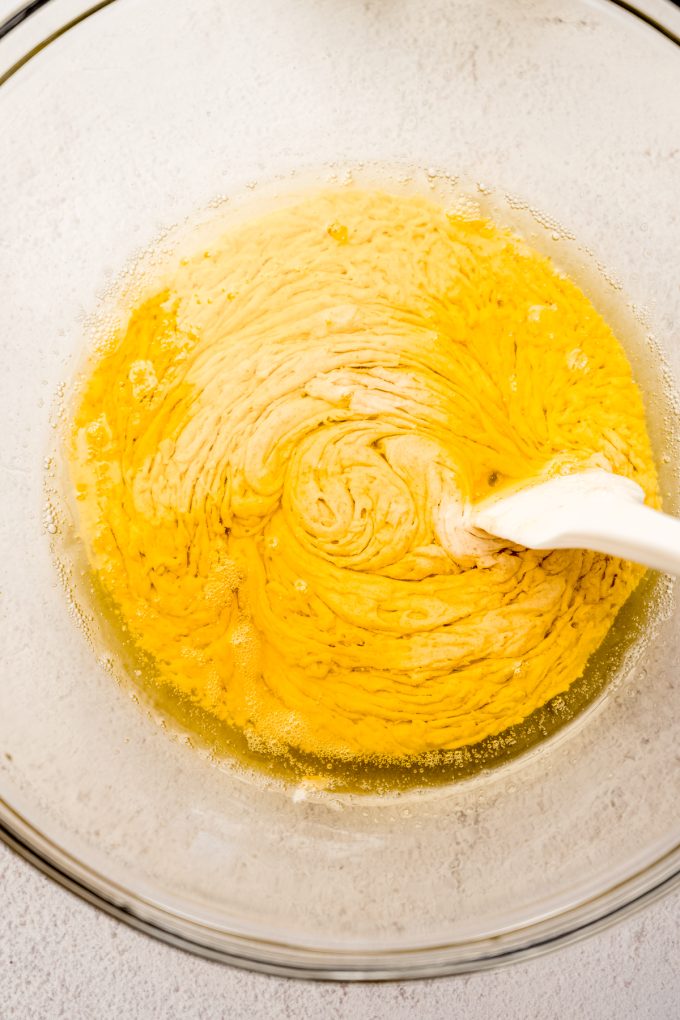
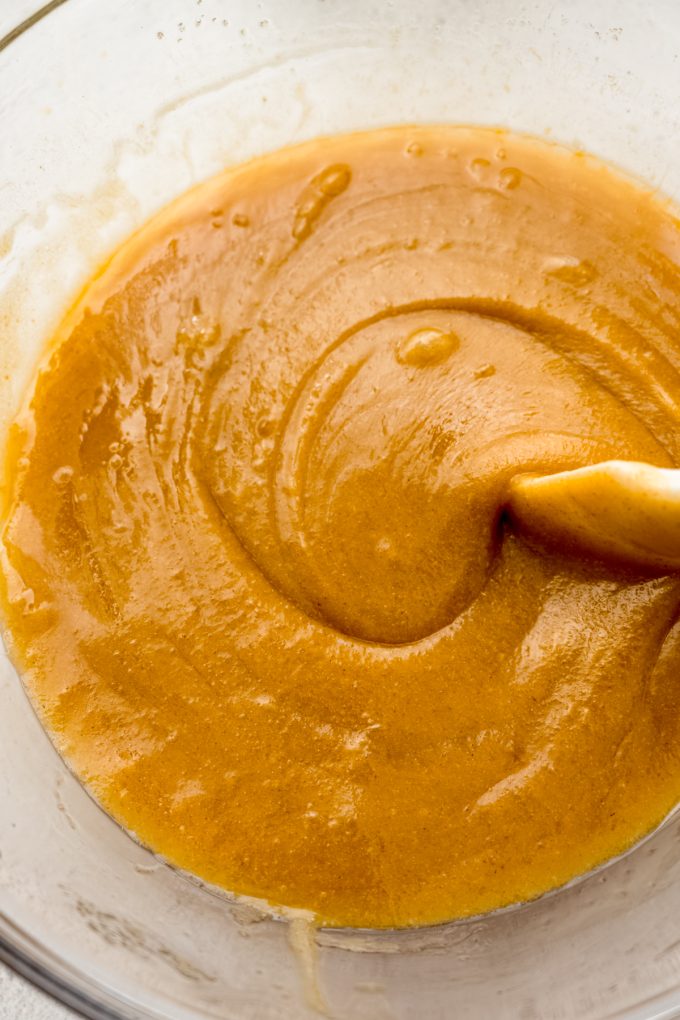
Start to bring the dough together: once your brown butter is cool enough to work with, whisk it together with your sourdough discard, brown sugar, and granulated sugar. Work it until there are no more sugar clumps, then whisk in the egg yolks and vanilla.
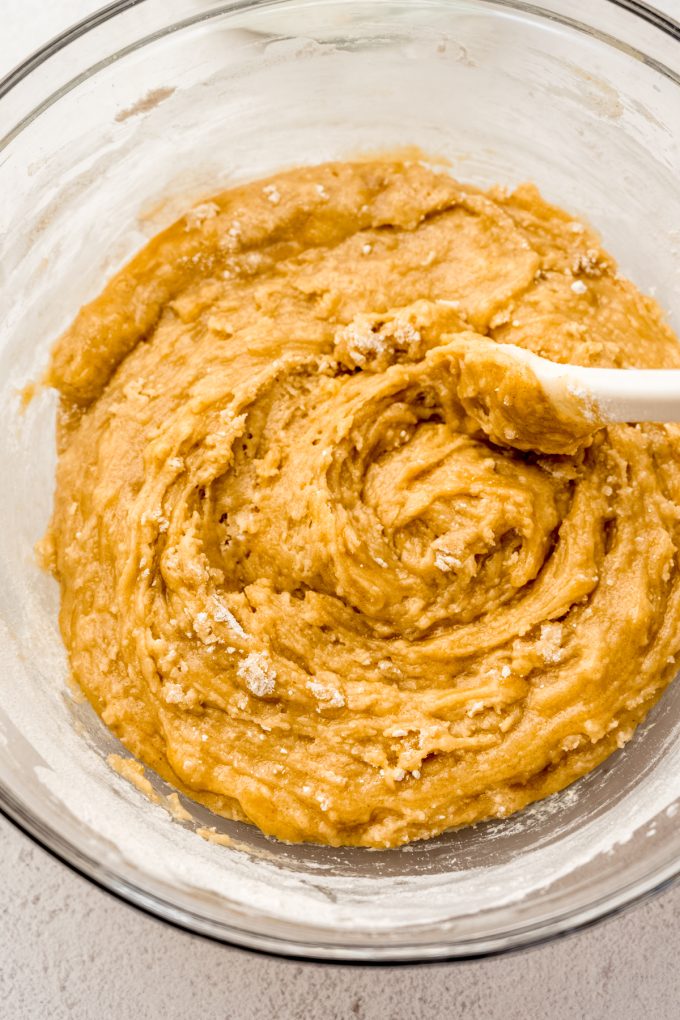
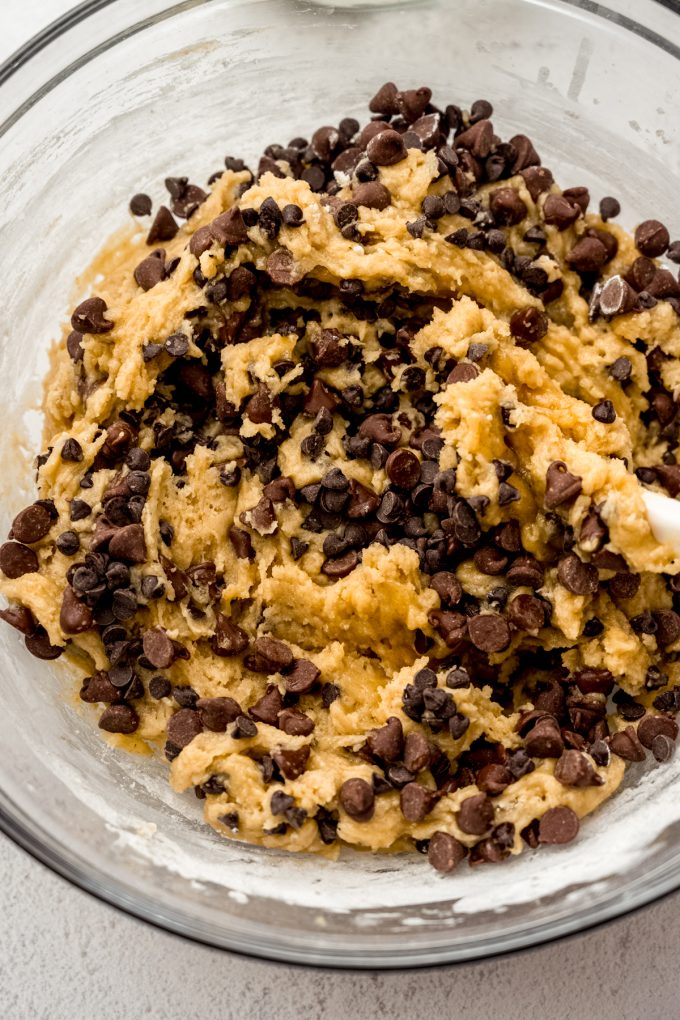
Add the dry ingredients: pour the wet ingredients into the dry and fold everything together with a large spatula until just combined. Add the chocolate chips and stir until they’re evenly distributed throughout the dough.
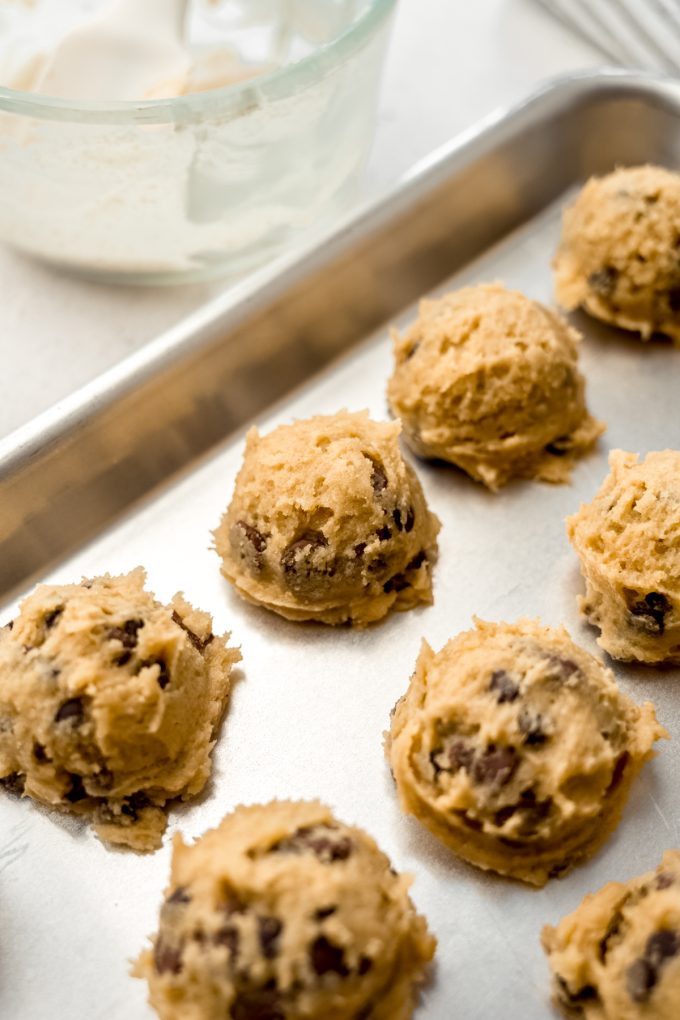
Scoop your dough into balls: place your balls of cookie dough on a flat surface you can slide into the fridge– a baking sheet, a large plate, whatever works. You can chill the whole bowl of dough instead, but fair warning– this dough is really hard to scoop once it’s cold, so I always recommend scooping first. Pro tip: I like to stash some away in the freezer at this point for future use!
Bake the cookies: when you’re ready to bake, position a rack in the middle of your oven and preheat it for at least 20 minutes. Arrange no more than 8 dough balls per sheet– they need room to spread! If you want that bakery-style look, press a few extra chocolate chips onto the tops and sides of each ball before they go in (you can also do that again after).
Tips for Success
Do not use piping hot brown butter: your browned butter doesn’t have to be totally room temperature, but you don’t want it piping hot anymore. This eliminates your risk of cooking the eggs and/or melting the chocolate chips. I like to let it sit for about 10 minutes, then mix it with the discard and the sugars which will help bring down the temperature even more. Check the temperature (by touch) again before proceeding with the eggs.
Weigh your flour: I say this for literally every recipe, but it’s especially important here. Too much or too little flour and your cookies won’t act the way they are intended to. A kitchen scale takes all the guesswork out of it and is the single biggest thing you can do to set yourself up for success.
Everything should be at room temperature, including your discard: cold discard straight from the fridge can cause your butter to seize up when you mix them together, which throws off the whole dough. Pull your discard (and eggs) out ahead of time and let them come to room temp before you start. I like to aim for about 30-45 minutes for this.
There is a whole lot of love and dedication that went into making this recipe perfect, and I have to thank all of you for helping me do that. You gave me feedback in real time in my Instagram stories when we went through this process together, and I’m thrilled that a recipe I (and you!) love so much can make its way into the sourdough space.
That said, consider using this discard version to make other beloved versions of these cookies: chocolate chip cookie bars (no chilling!) and spiced chocolate chip cookies.

Sourdough Discard Chocolate Chip Cookie Recipe
Ingredients
- 1 cup (227g) unsalted butter cold and cut into 16 slices
- 1 and ½ cups + 2 Tablespoons (195g) all-purpose flour be sure to measure properly
- 1 teaspoon baking soda
- 2 teaspoons cornstarch
- 1 teaspoon salt
- 150g sourdough discard 100% hydration; room temperature1
- 1 cup (200g) firmly packed light brown sugar
- ½ cup (100g) granulated sugar
- 2 large egg yolks room temperature1
- 1 and ½ teaspoons vanilla extract
- 1 and ½ cups (255g) chocolate chips2
- flaky sea salt optional
Instructions
BROWN BUTTER
- Place your pan or skillet on a burner on the stove. Place a medium size heatproof bowl next to your work space. Be prepared to stay with your butter for the next 5-10 minutes as you will need to keep it moving and work quickly as it browns to ensure success with this process.1 cup (227g) unsalted butter
- Place the butter in the pan or skillet then turn the burner to medium heat (medium is very important in this process). Use a silicone spatula or wooden spoon to stir the butter constantly while it melts.
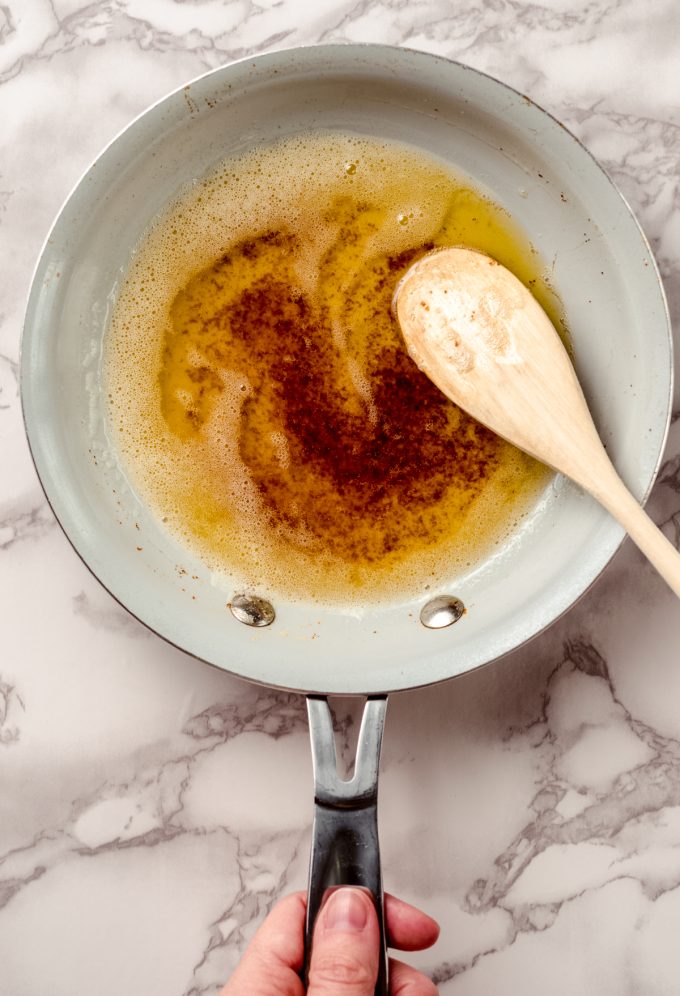
- Once the butter has melted, it will start to sizzle and white foam will appear on the surface. Continue stirring. If the butter is sizzling too aggressively, turn the heat down a bit.
- After about 5 minutes, the foam will start to disappear and you will notice white milk solids collecting at the bottom of the pan. These are what will cook and turn the butter brown.
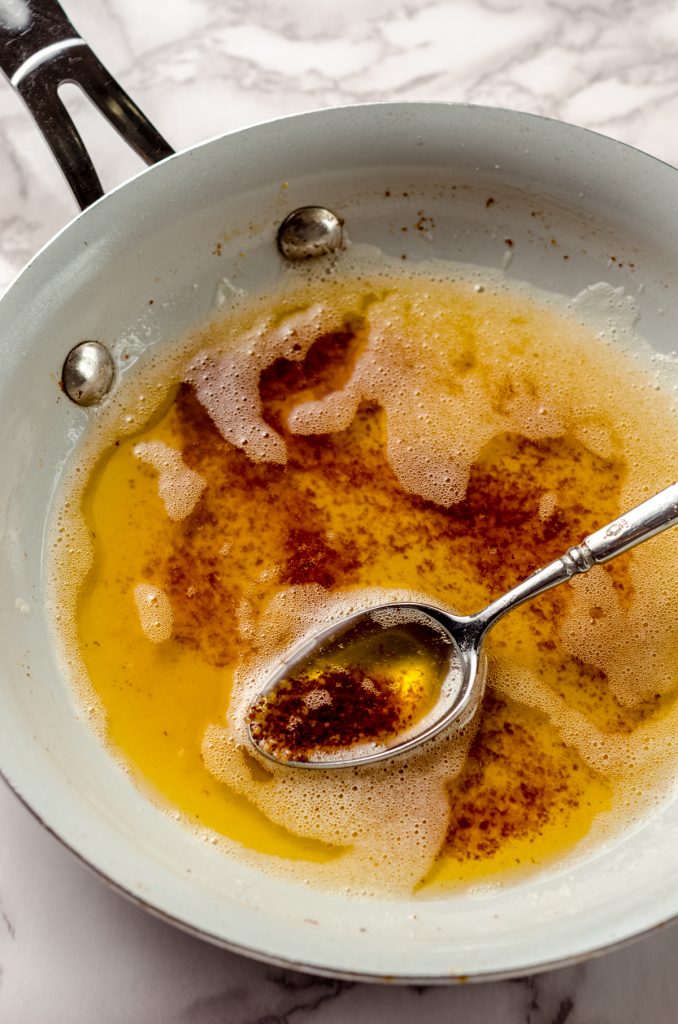
- As the milk solids cook, they will go from light brown to brown to amber colored very quickly, at which point, the mixture will start to smelly intensely like caramel and toffee. Remove the pan from the heat, continue to stir in the hot pan, then quickly but carefully pour all of the butter and the milk solids into the prepared bowl to stop the cooking process. You want to stop the process when the milk solids are dark amber but before they burn (there are mere seconds between these two points, so watch carefully).
- Add the water to the butter, stir vigorously to incorporate, then allow the butter + water mixture to cool for about 10-15 minutes before proceeding with the recipe.
COOKIE DOUGH
- In a large bowl, toss together the flour, baking soda, cornstarch and salt. Set aside.1 and ½ cups + 2 Tablespoons (195g) all-purpose flour, 1 teaspoon baking soda, 2 teaspoons cornstarch, 1 teaspoon salt
- In a medium sized bowl, whisk together the cooled brown butter, sourdough discard, brown sugar, and granulated sugar. When sugar clumps disappear, whisk in the egg yolks and vanilla.1 cup (200g) firmly packed light brown sugar, ½ cup (100g) granulated sugar, 2 large egg yolks, 1 and ½ teaspoons vanilla extract, 150g sourdough discard
- Pour the wet ingredients into the dry ingredients and mix together with a large spatula. Fold in the chocolate chips and stir until evenly dispersed.1 and ½ cups (255g) chocolate chips2
- Chill the dough: roll the dough into balls (I use this #50 cookie scoop for all of my standard size cookies) and place balls of dough onto a large baking sheet, large platter, or something else flat that you can stick in the refrigerator so the dough can chill. You could also chill the whole bowl of dough, but this dough is difficult to scoop once chilled, and chilling is mandatory. Cover the dough balls/bowl of dough and chill in the refrigerator for at least 2 hours and up to 3 days.
- When you are ready to bake the cookies, move a rack to the middle position in the oven, then preheat it to 350ºF (177ºC). Line two large baking sheets with parchment paper or silicone baking mats and set aside.
- Place no more than 8 balls of dough onto each cookie sheet. If you like, you can press a few more chocolate chips on top/sides of the dough balls for aesthetic purposes.
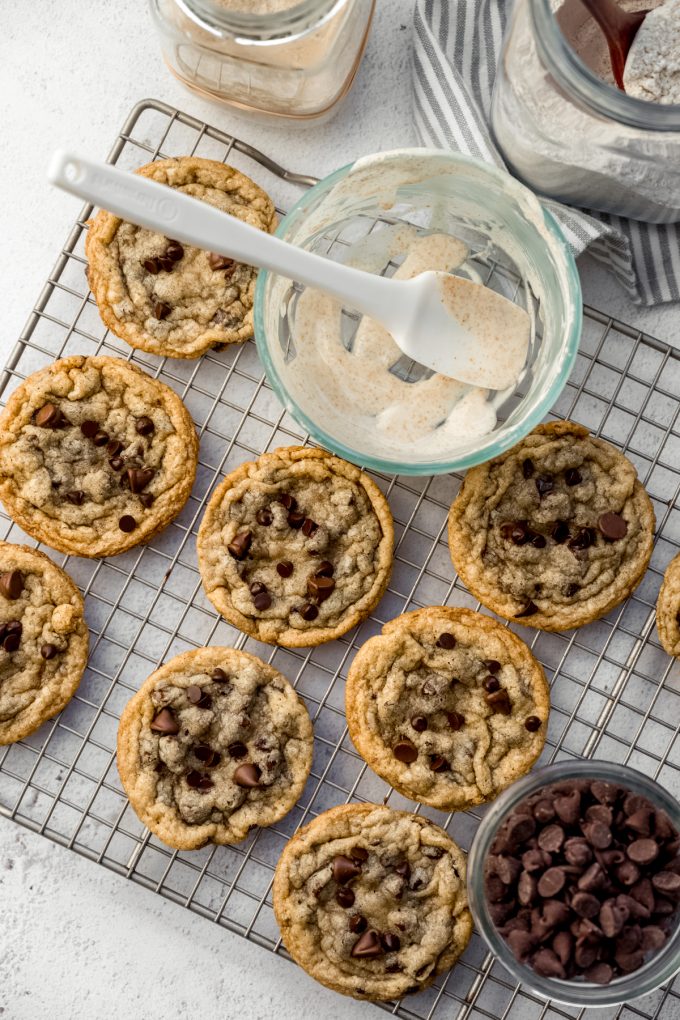
- Bake the cookies for 10-11 minutes or until edges just start to turn brown. Remove from oven, sprinkle with sea salt (if using), and allow cookies to cool on the baking sheet for 5-10 minutes before moving to a wire rack to cool completely. Store cookies in an airtight container at room temperature, up to 7 days. Baked cookies may be frozen up to 3 months. You may also freeze rolled cookie dough up to 3 months. Bake frozen for 11-12 minutes.flaky sea salt
Video
Notes
- Room temperature eggs: these are preferred for even distribution into batter. As a rule of thumb, when a recipe calls for room temperature or melted butter, it’s generally a good idea to use room temperature eggs as well. If you don’t have time to let eggs come to room temperature, place them in a bowl of warm water for 5-10 minutes before using.
- Chocolate chips: I prefer to use a combination of 1 cup milk or semi-sweet standard size chocolate chips and ½ cup mini semi-sweet chocolate chips for these cookies.
- Extra large cookies: you can use a #16 cookie scoop or ice cream scoop with a trigger for larger cookies. Bake 6 cookies at a time for about 15-18 minutes.
- If your cookies are spreading: in my decade of experience with folks making my chocolate chip cookies, you can do everything right (weighing flour, chilling dough) and your cookies can still spread. Try reducing your oven temperature to 325ºF (163ºC).
Nutrition Disclosure
All nutritional values are approximate and provided to the reader as a courtesy. Changing ingredients and/or quantities will alter the estimated nutritional calculations.
These cookies are FANTASTIC! I never knew sourdough + brown butter = heaven but i do now! These are similar to the original brown butter cookie recipe, but I love the fact that I get to use my discard and give my kiddos added health benefits for their tummies! Double win! These were so simple to make and I swear I said “oh my god!” As soon as I tried one!
I’m so happy to hear this! Thanks so much, Kristin!