
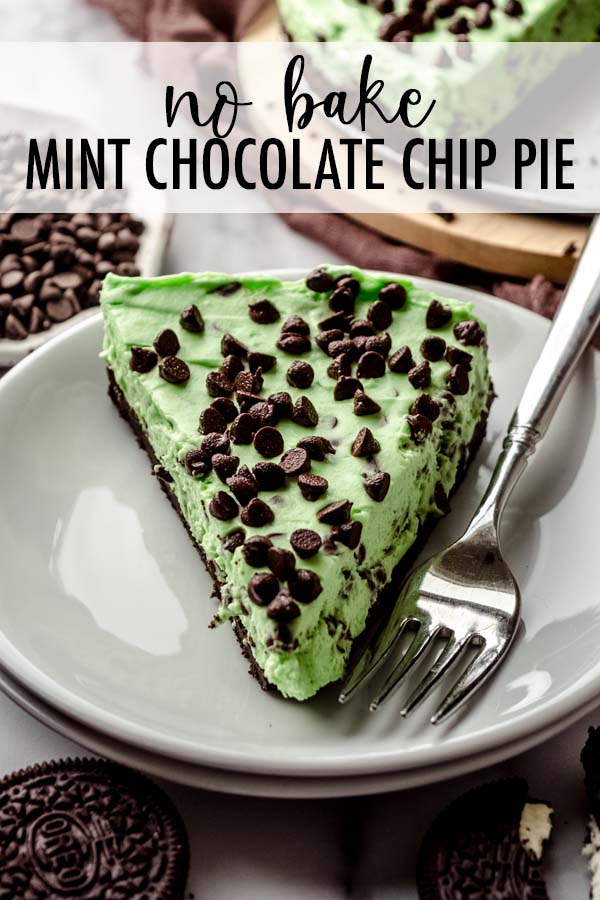
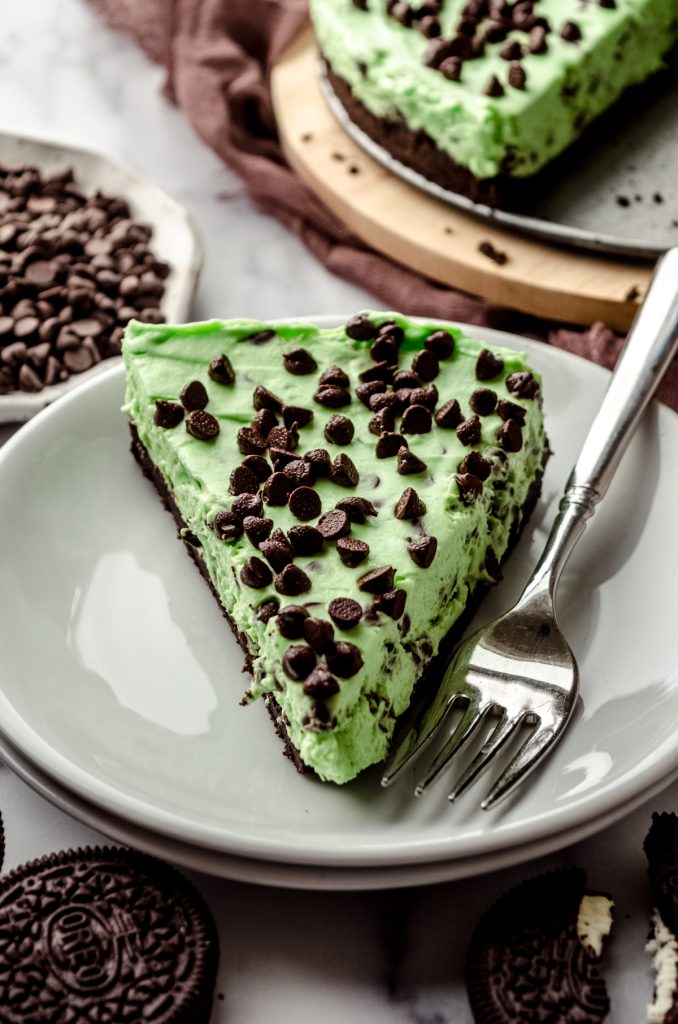
No Bake Mint Chocolate Chip Pie
As an Amazon Associate, I earn from qualifying purchases. Read the full disclosure here.
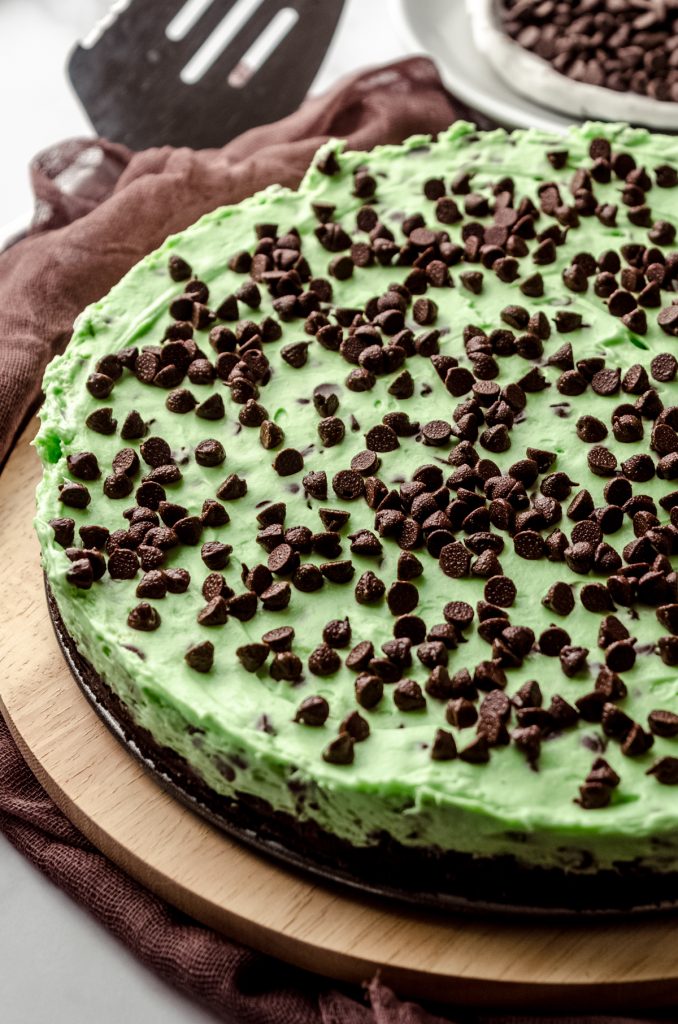
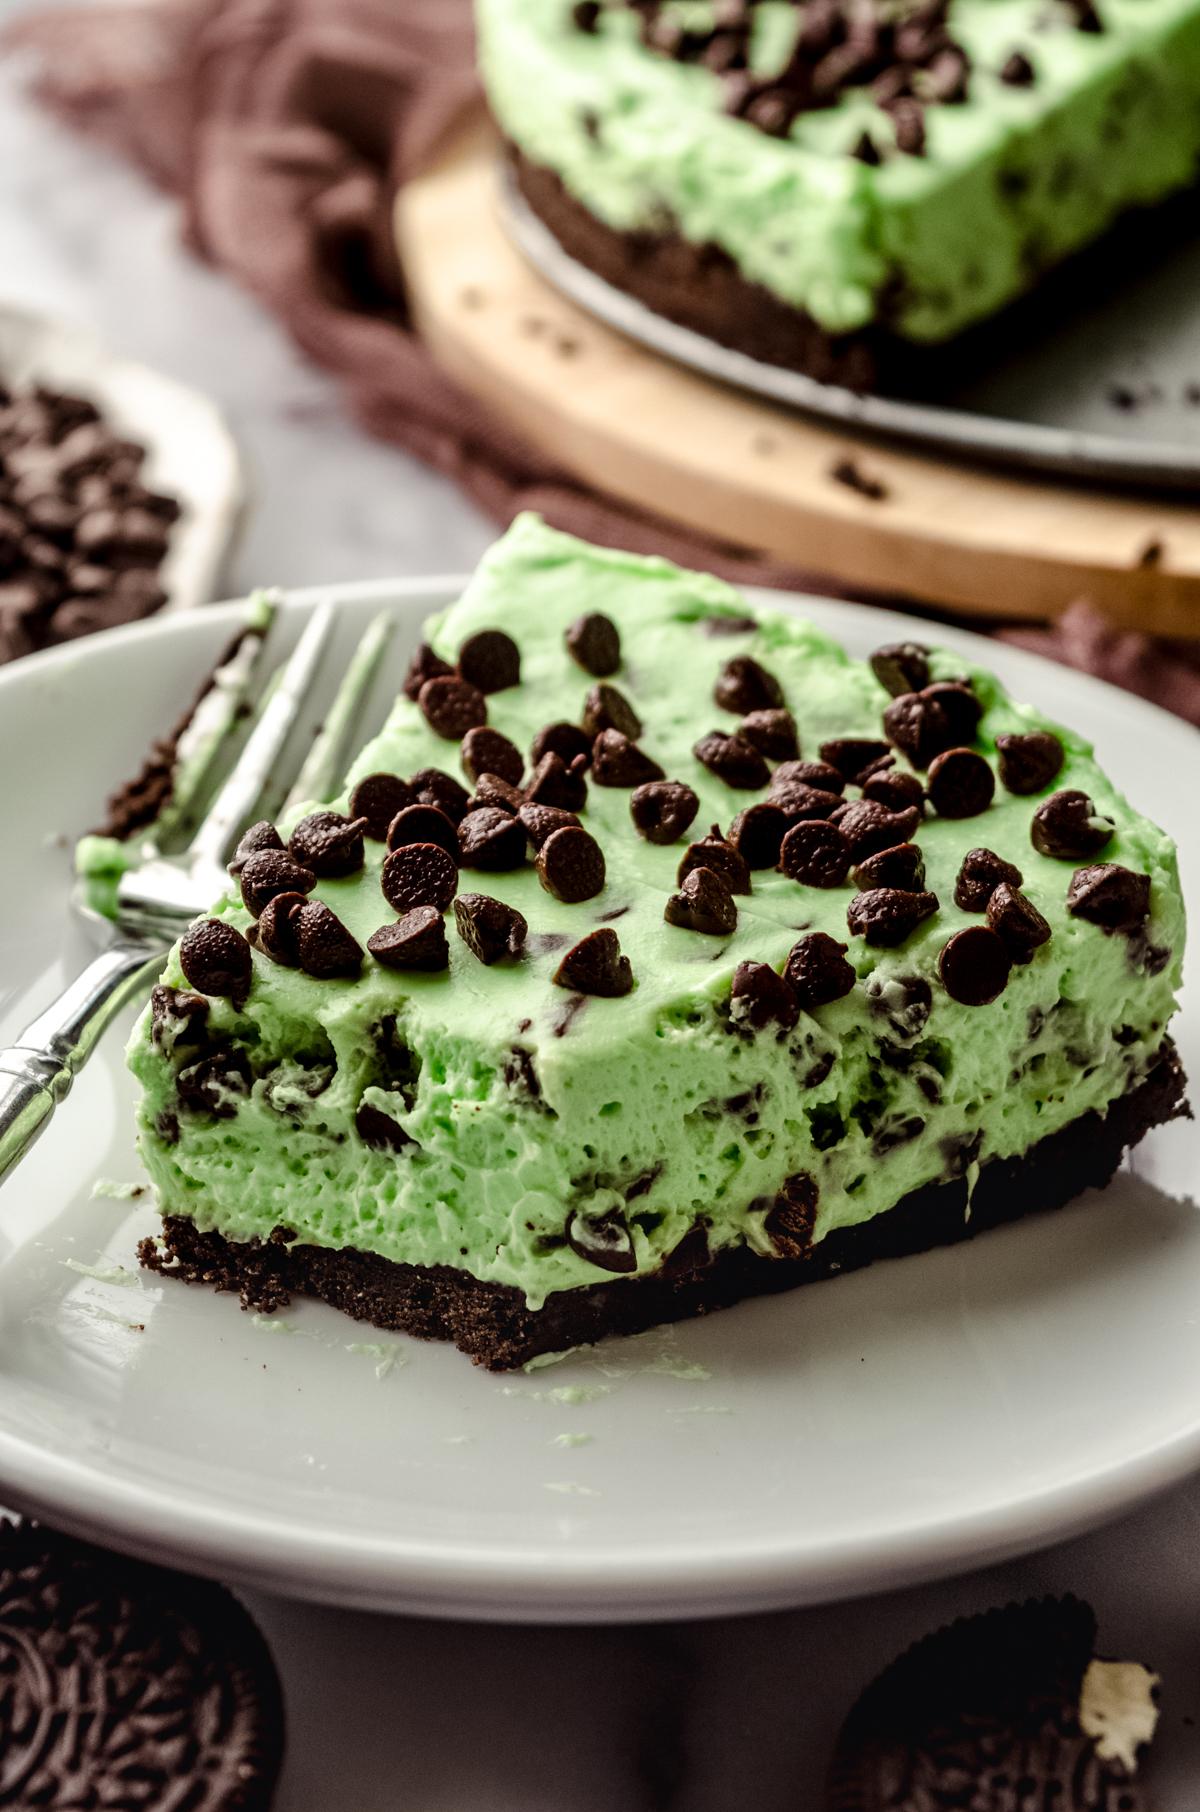
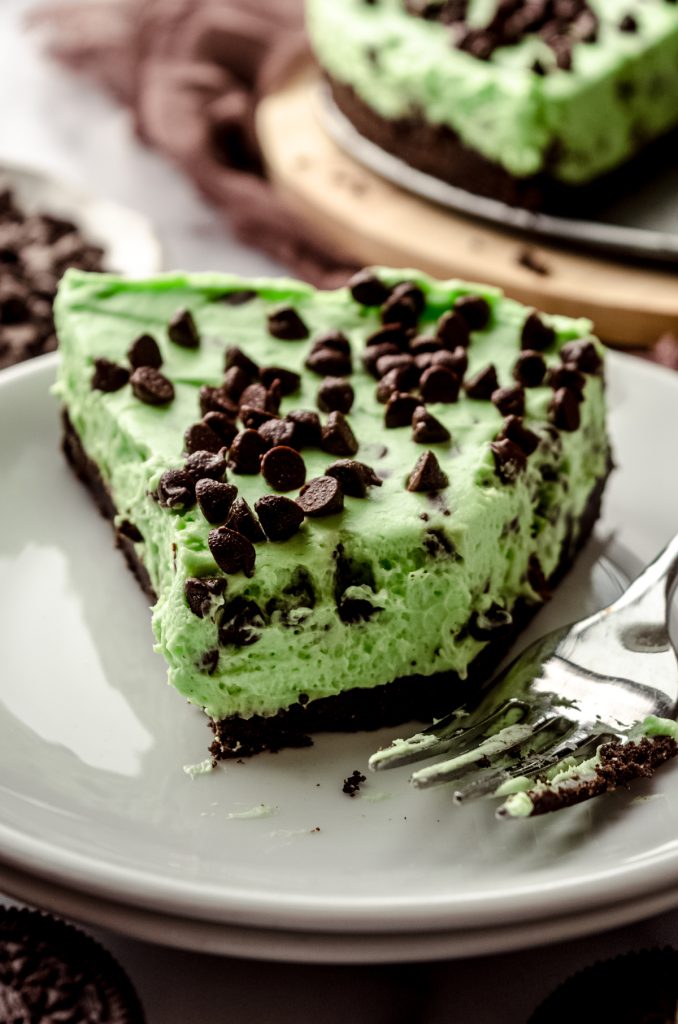
This no bake pie starts with a homemade Oreo crust that’s filled with creamy, minty cheesecake filling and mini chocolate chips. This no bake mint chocolate chip pie needs to set in the refrigerator, so it makes the perfect make-ahead dessert.
YOU’LL LOVE THIS MINT CHOCOLATE CHIP PIE
If you’re anything like me, mint + chocolate is up there on the list of “best dessert flavor combos,” and this no bake mint chocolate pie is going to rock your mint-chocolate-loving socks right off.
This chocolate mint cream pie has lived on my site since 2016 and is one of my favorites to recommend to folks for Pi(e) Day since it falls right around St. Patrick’s Day (hello, all things green). Of course, if you’re looking for another type of great tasting pie, feel free to peruse my extensive pie recipe collection. But if you are a mint chocolate chip fan, I’m going to go ahead and say this pie is a must for you.
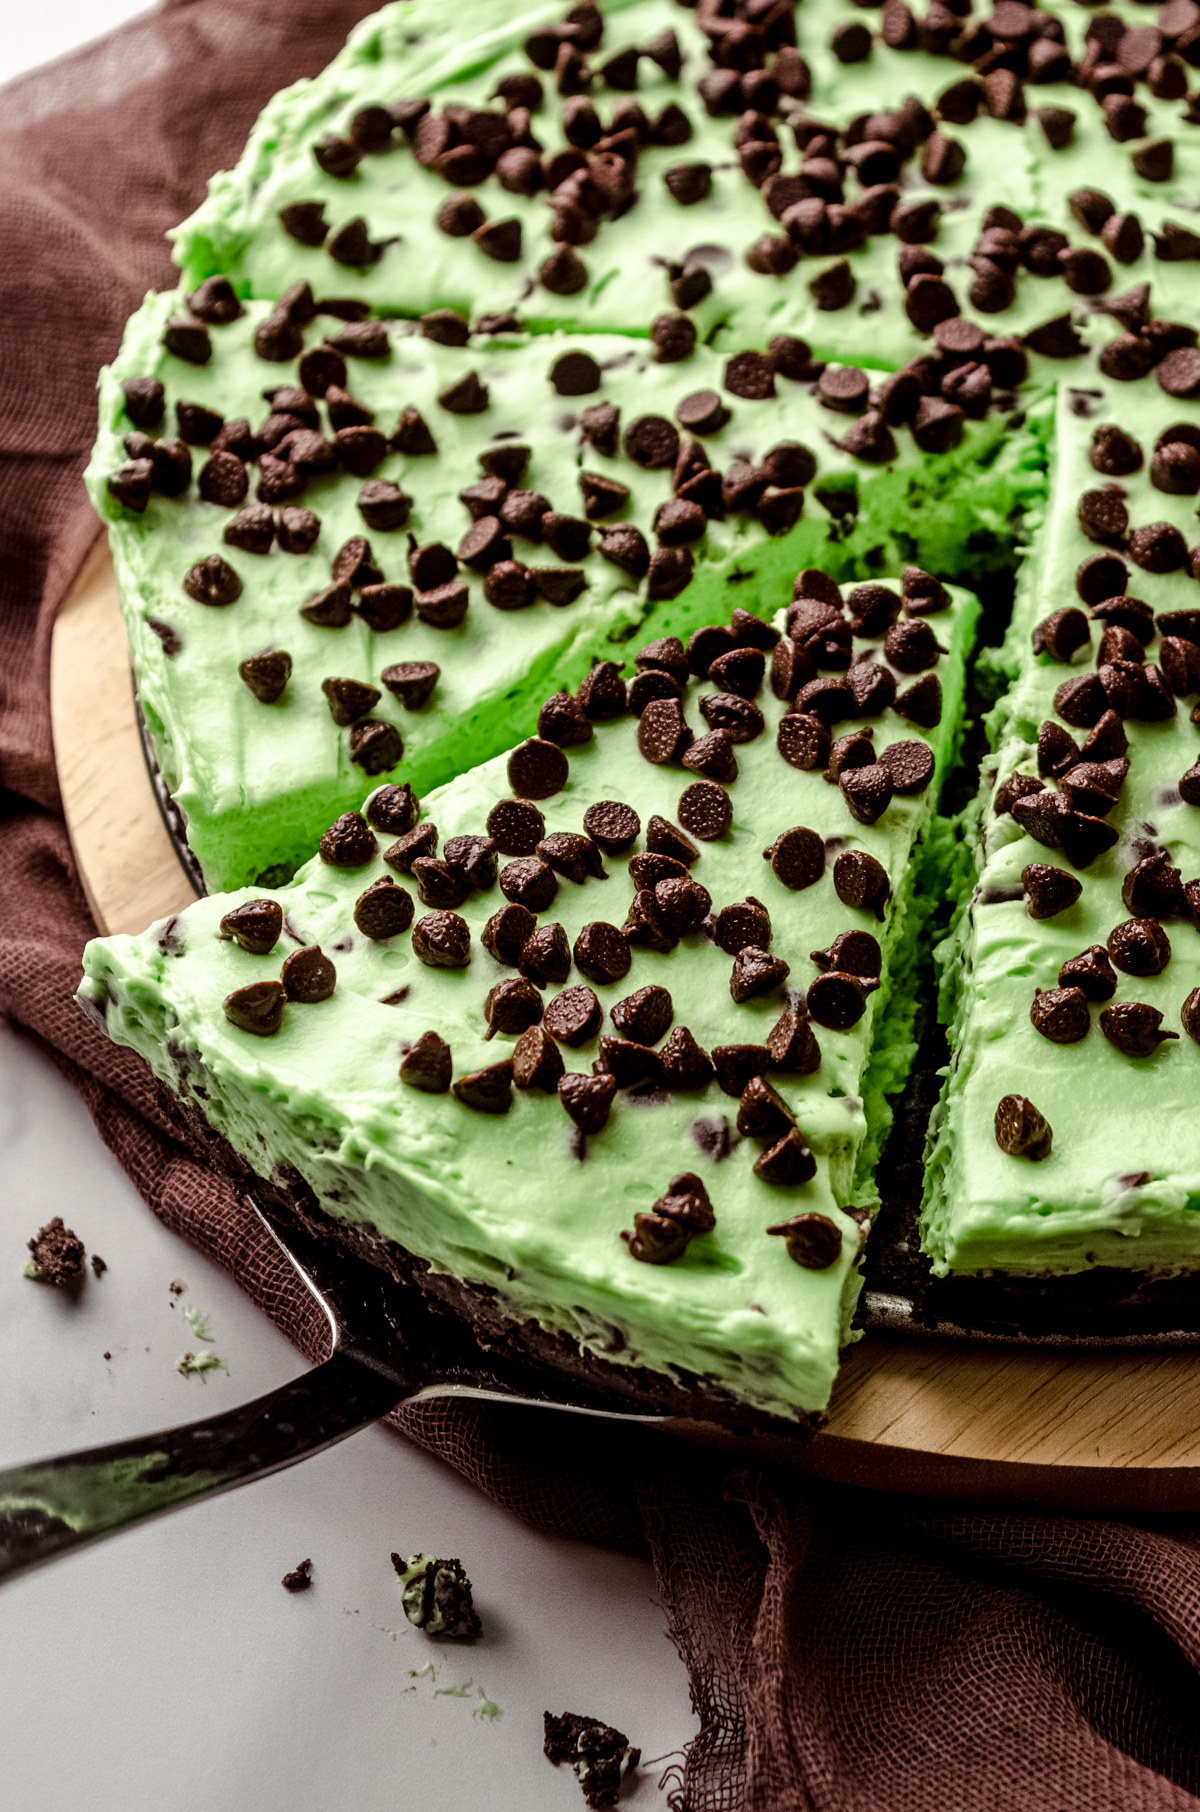
This no bake pie starts with a crunchy mint Oreo crust (regular ones work just fine, too) that supports an absolutely luscious creamy mint filling that’s made up of creamy cream cheese and light and fluffy whipped topping.
We’ll make the Oreo cookie crust from scratch as well as the whipped cream, but if you want to use store-bought replacements for this recipe, you totally can. Be sure to check out the recipe card at the bottom of this post for details on exactly how to do that.
What is Grasshopper Pie?
While I’ve never exactly called this pie a grasshopper pie, it technically falls under the umbrella as one!
No, there are no insects in this pie recipe, but rather this pie gets it name from the grasshopper cocktail which is a crème de menthe beverage.

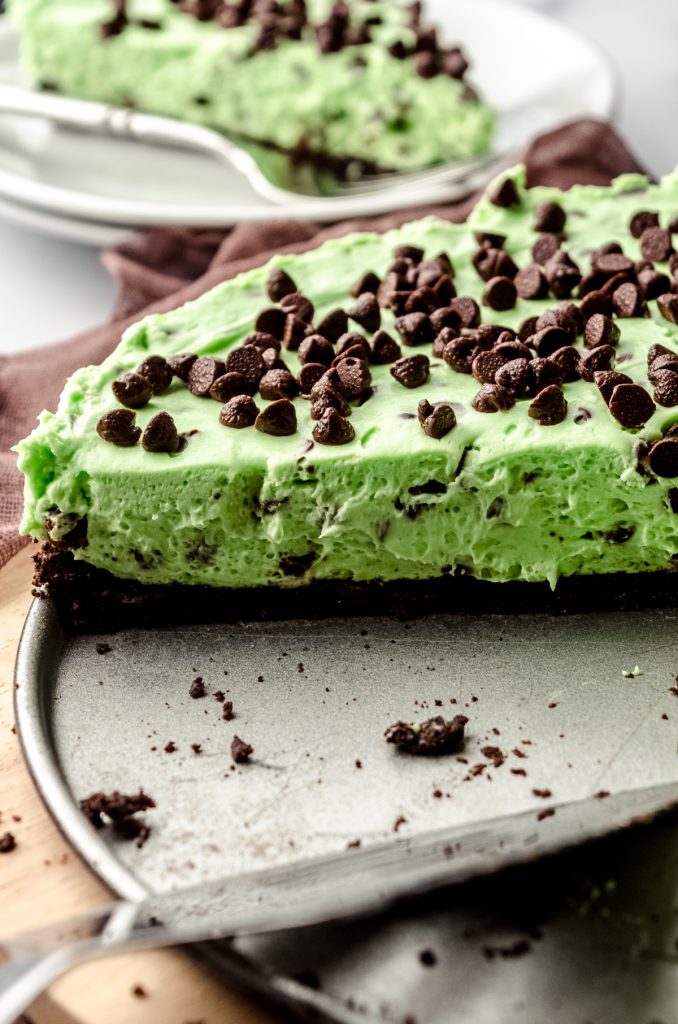
Grasshopper pie is a no bake dessert, typically light green in color, with a mint flavored mousse-like filling on a chocolate cookie crust. Many associate this pie with spring and/or Easter, but around these parts, I like to use it any time of the year that I can.
In fact, I have a candy cane version of this pie made with candy cane Hershey’s Kisses and tinted pink! Save that one for Christmas!
ingredients YOU WILL NEED
The ingredient list for this grasshopper pie is quite simple. Be sure to visit the “substitutions and variations” section of this post of the notes section of the recipe card if you’re looking to make any swaps.
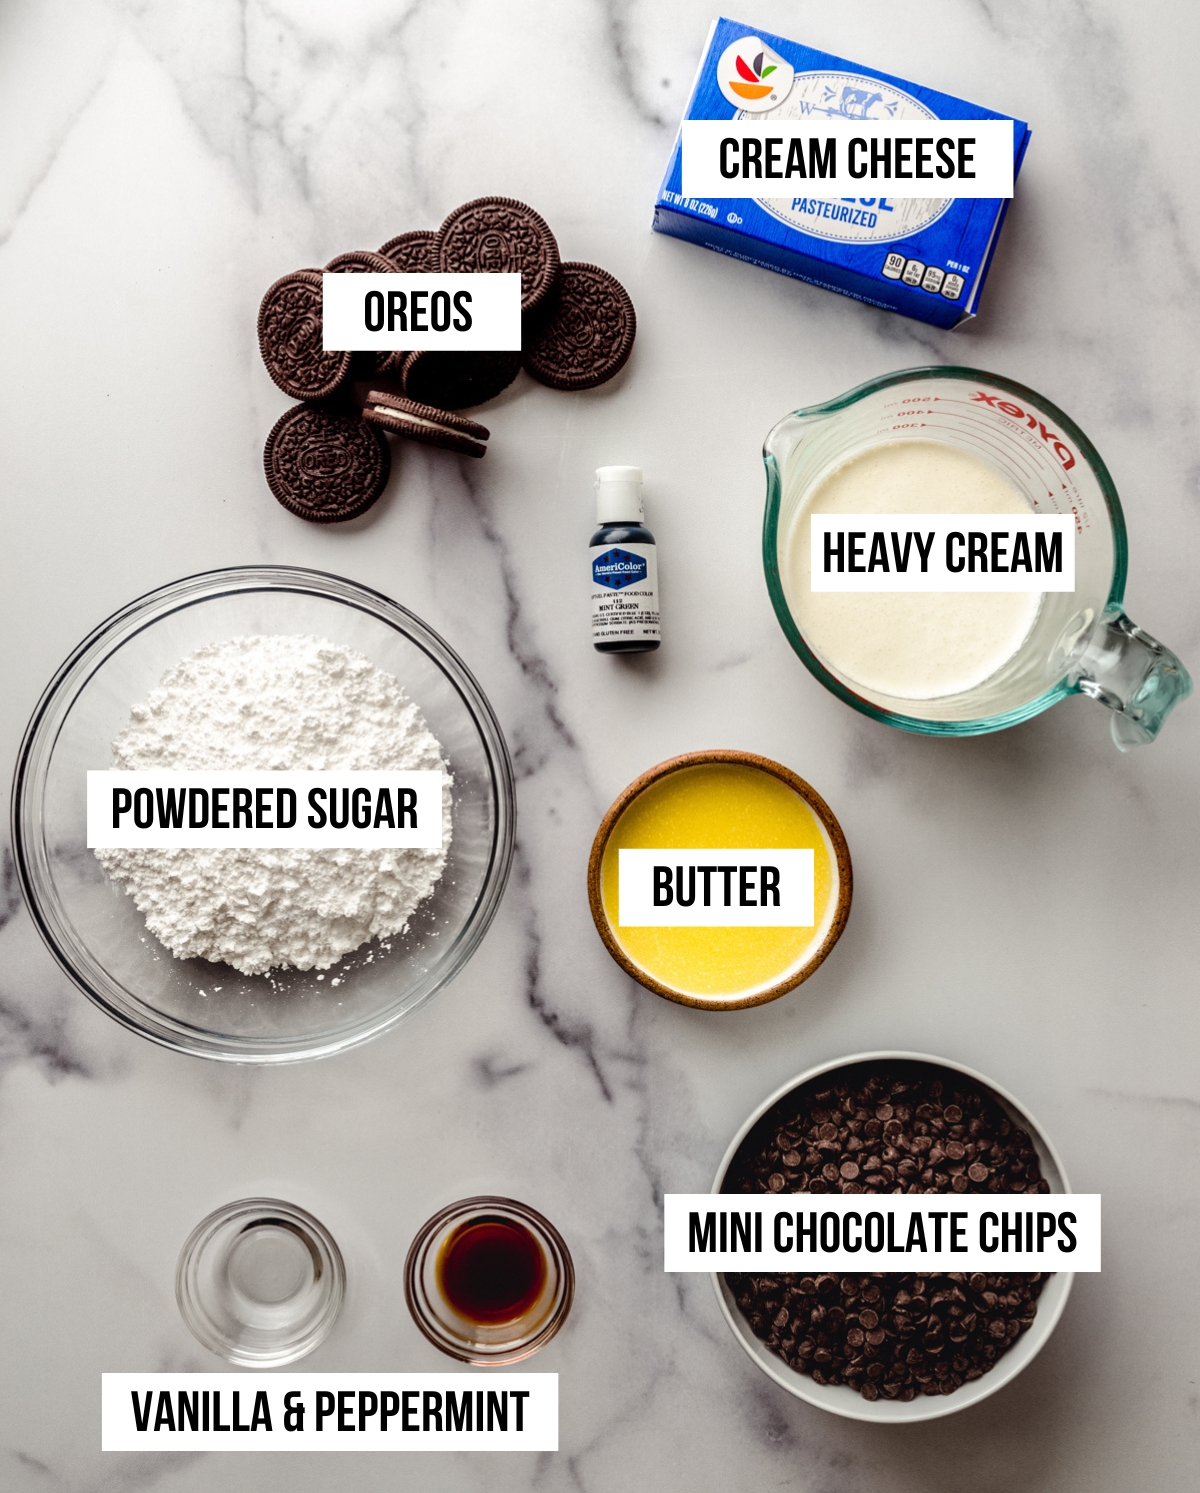
For this mint chocolate chip pie, you will need:
• Mint Oreos (regular is fine, any Stuf level is fine)
• butter
• heavy cream or heavy whipping cream
• full fat block cream cheese
• powdered sugar
• vanilla extract
• peppermint extract
• green food coloring (optional)
• mini semi-sweet chocolate chips
How to make Grasshopper Pie
Since there is no baking involved in this no bake mint chocolate chip pie, you won’t have to plan out any oven use. You will, however, need to build in at least 4 hours to chill the pie so the filling can set up.
So let’s start from the top (bottom?). The pie crust: so easy.
STEP #1
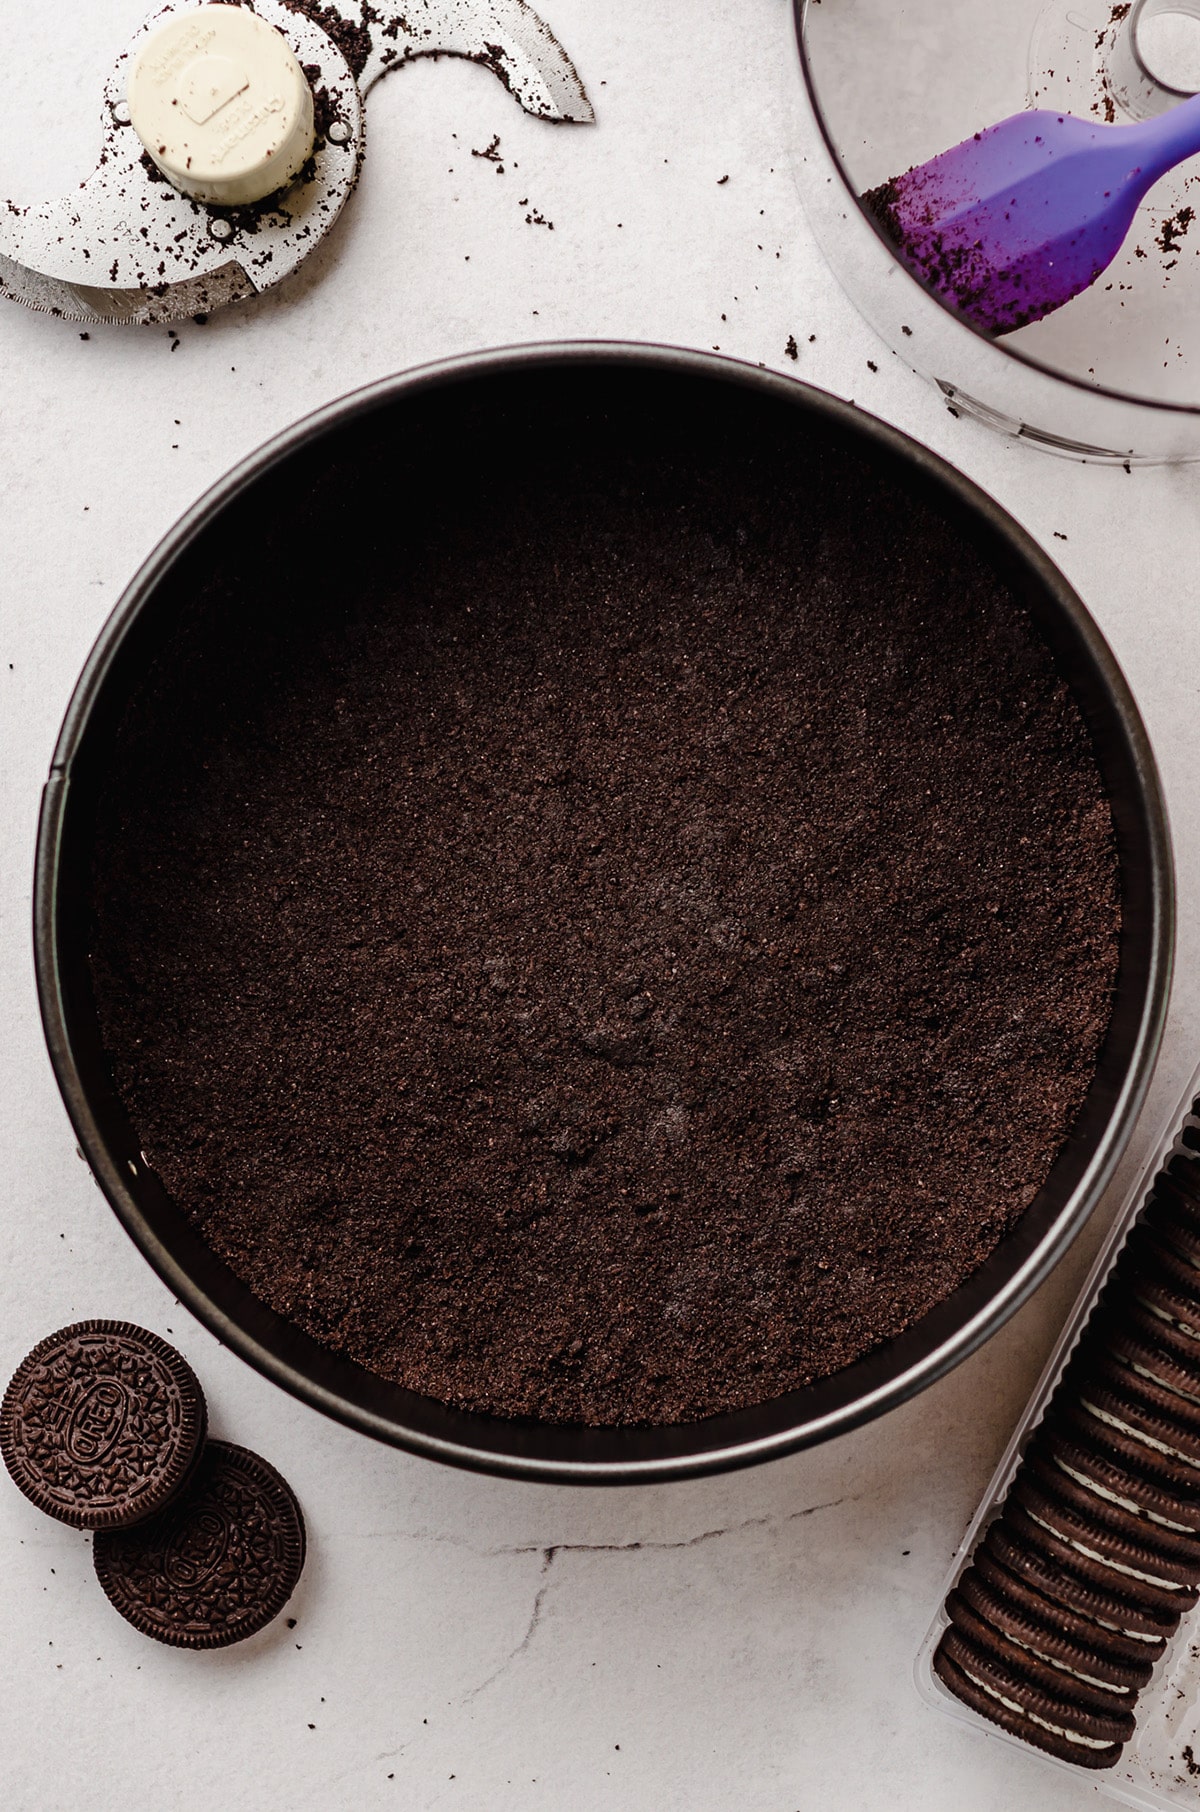
To make the crust, you will need crushed Oreos. You can crush them using a food processor, blender, or smashing them in a bag with a rolling pin.
Place the crushed Oreos in a medium size bowl and drizzle the melted butter evenly over the cookies. Stir to mix completely, then press the crust mixture evenly into the bottom of a 9″ springform pan (a regular 8″ or 9″ pie plate will work just fine as well). Chill in the refrigerator while you make the filling.
Next up: the filling.
The hardest part about making the filling is the homemade whipped cream, which I walk you through step-by-step right here (pssst it’s not hard at all). You’ll whip that up, then let it hang out in the refrigerator while you prepare the rest of the filling.
STEP #2
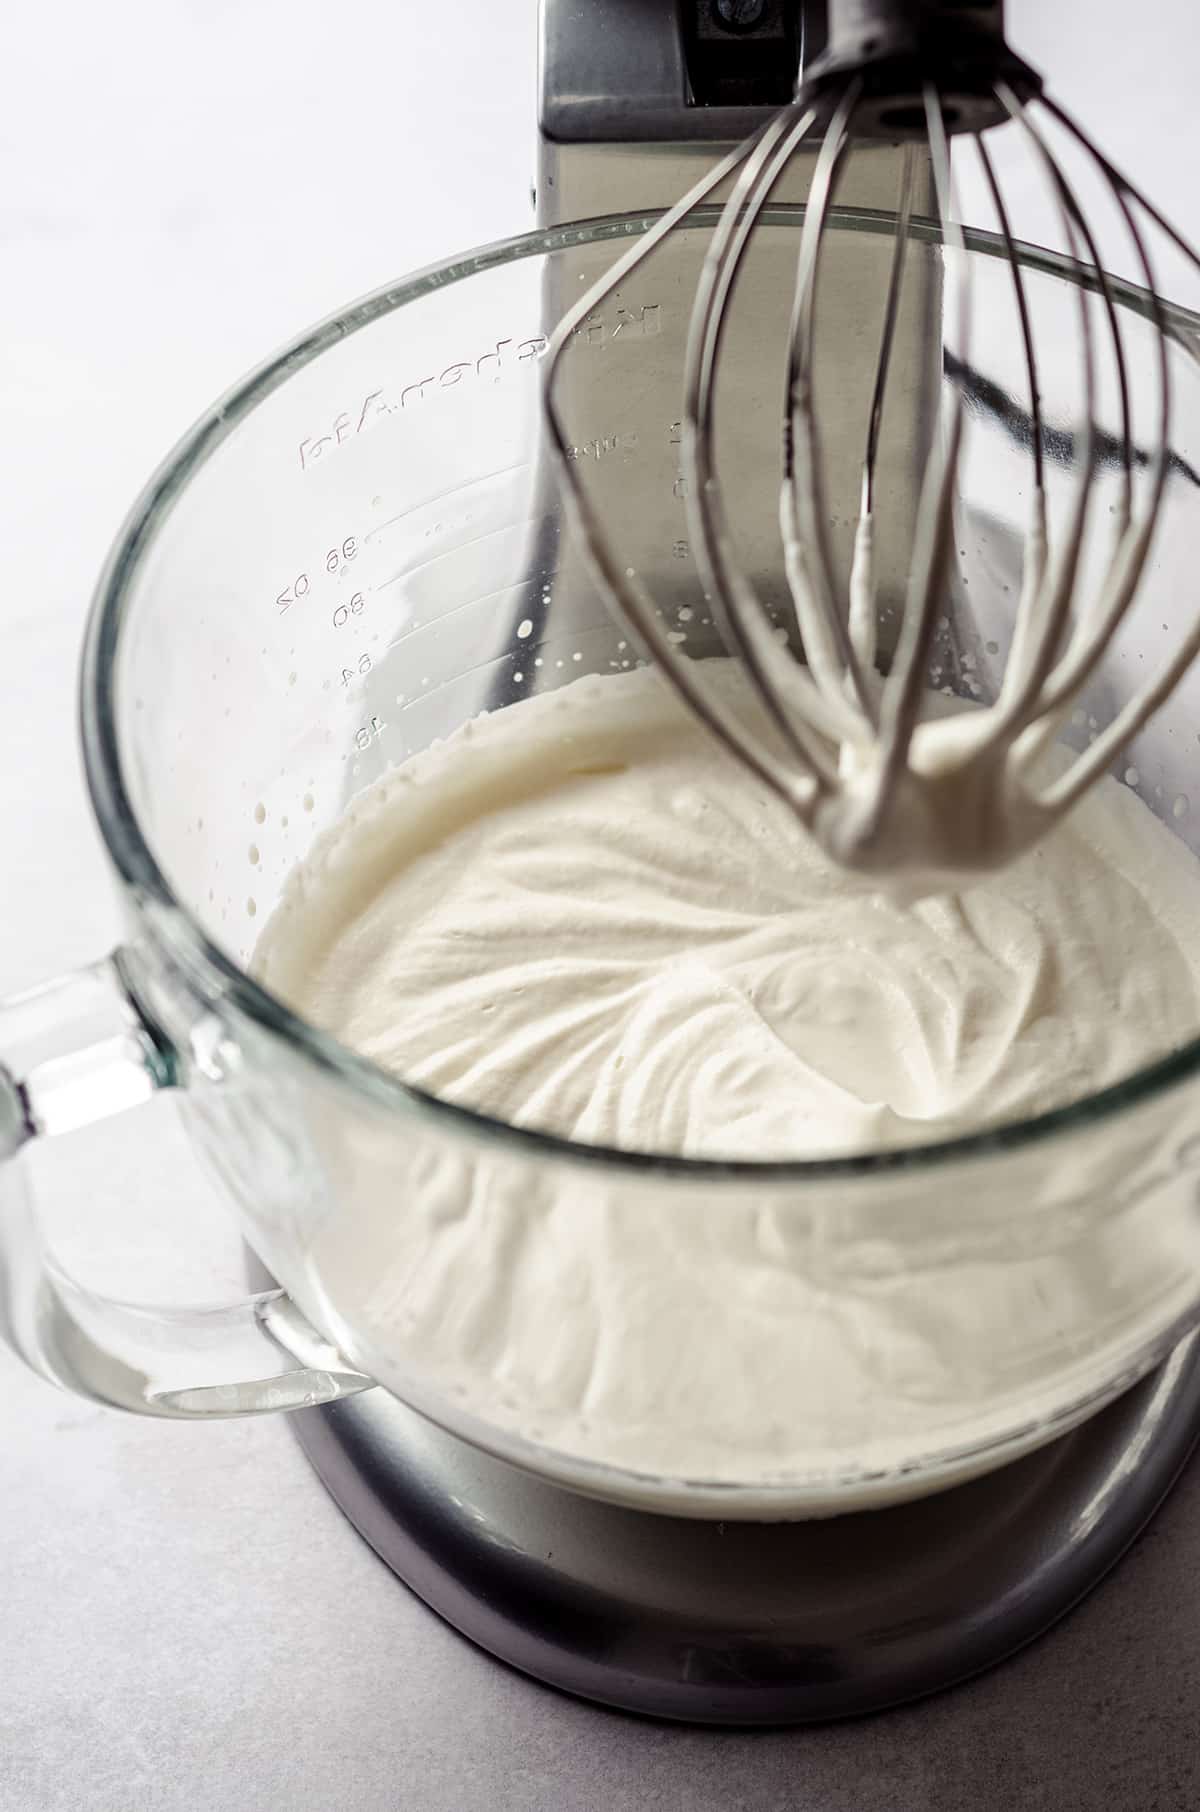
To make the filling for this mint pie, you’re going to start by making whipped cream. Beat the whipping cream in a stand mixer or with a handheld electric mixer until stiff peaks form (about 3-4 minutes; see this tutorial for step-by-step instructions for homemade whipped cream).
STEP #3
Place the bowl of whipped cream in the refrigerator (or transfer to smaller bowl if using a stand mixer) until ready to use.
STEP #4
In a separate large bowl (if you are using a hand mixer) or the same bowl of the stand mixer (which there is no need to clean) now fitted with the paddle attachment, beat the cream cheese on medium-high speed until it is smooth.
STEP #5
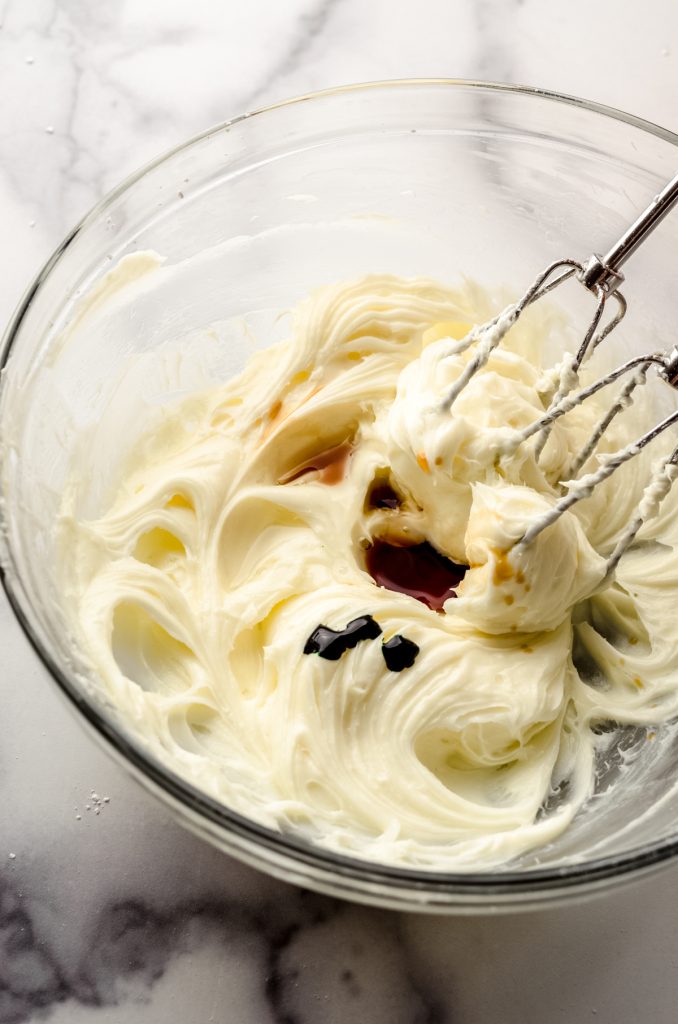
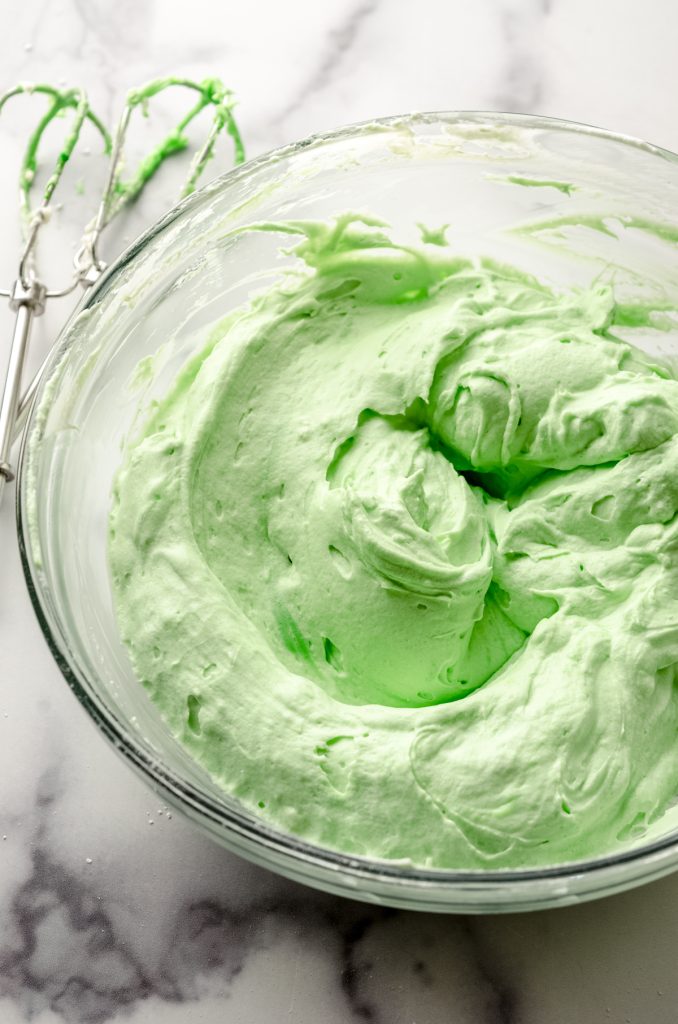
Turn the mixer speed down to low and add the powdered sugar, increase the mixer speed to medium-high, and beat again until smooth. Add the vanilla and peppermint extracts and the green food coloring (if using) and continue beating until smooth. Don’t worry if it’s super green– it will tame down in the next step. Scrape down the sides as necessary.


STEP #6
Next, turn off the mixer and grab the whipped cream from the refrigerator. Fold in the cold whipped cream until there are no more green streaks or swirls, then fold in 1 cup of the mini chocolate chips.
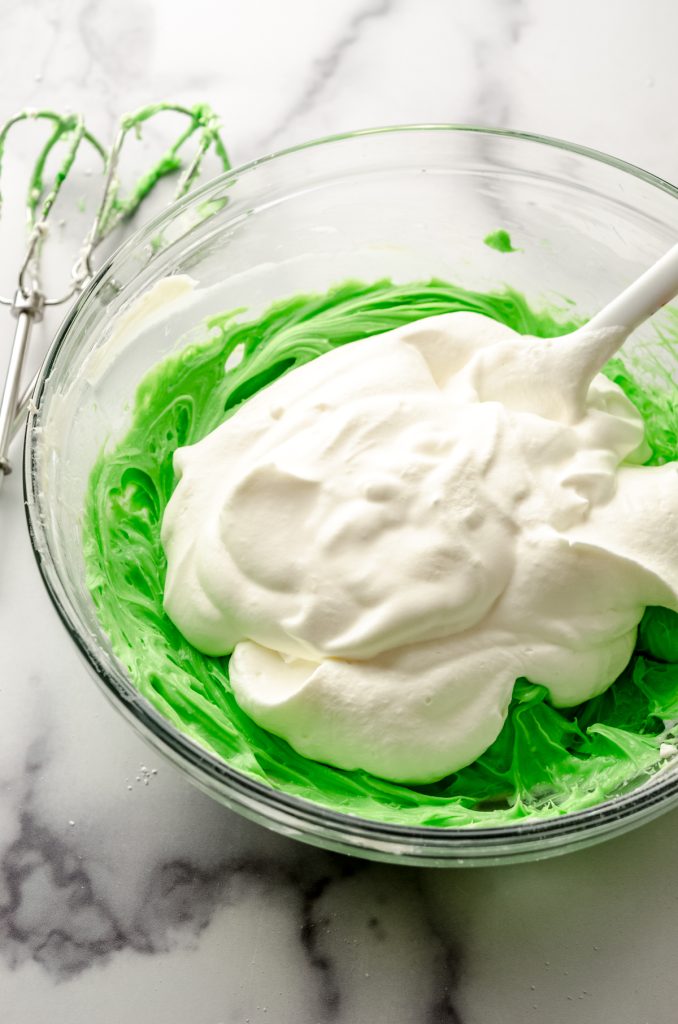
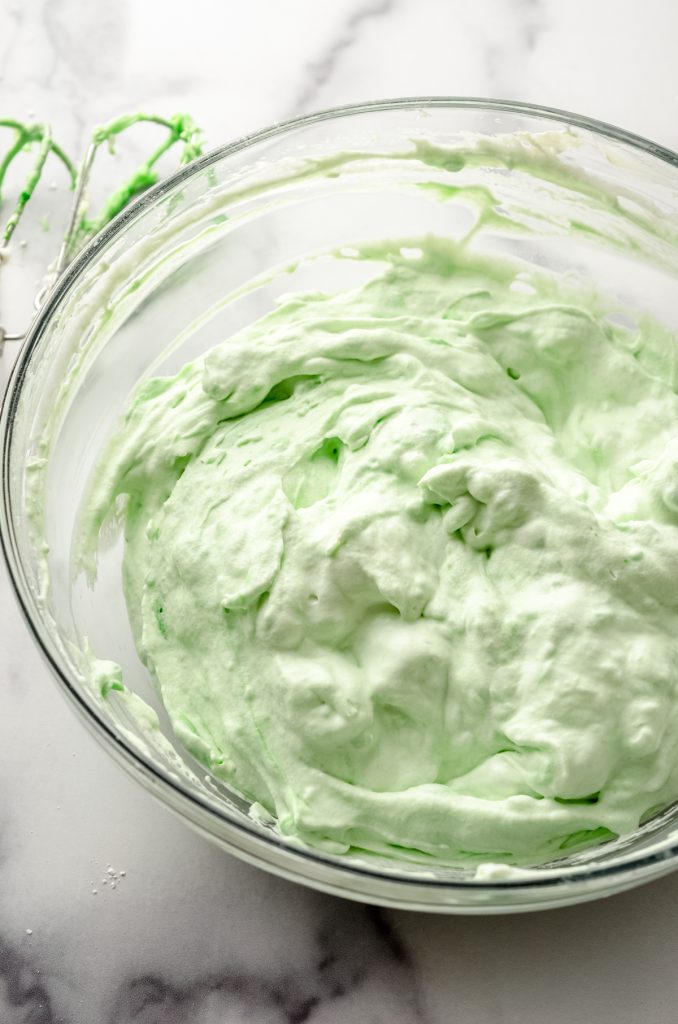
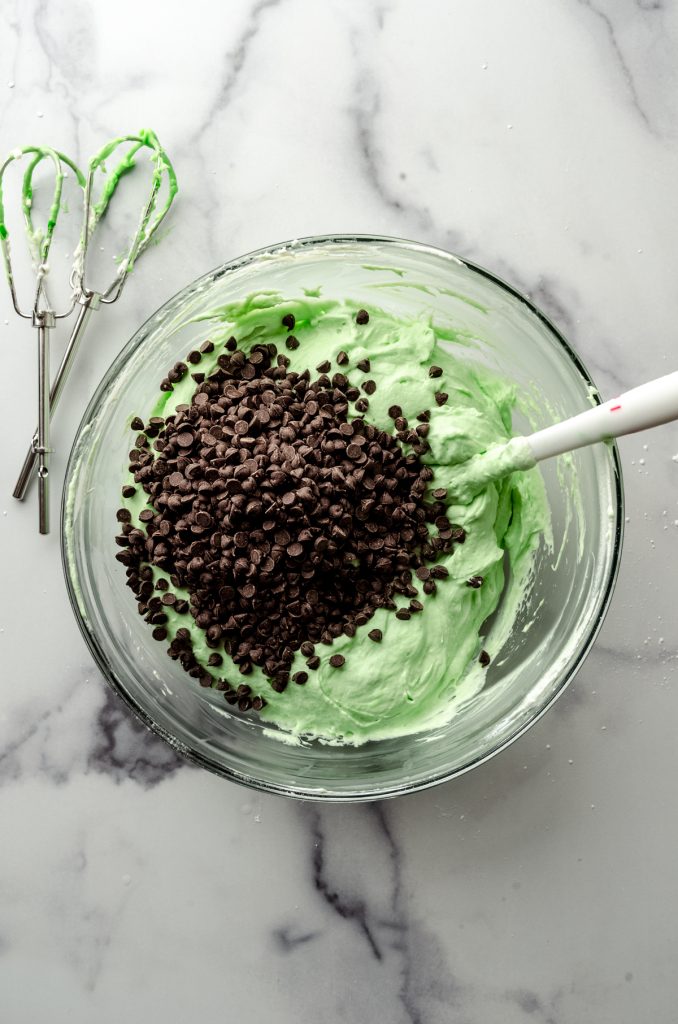
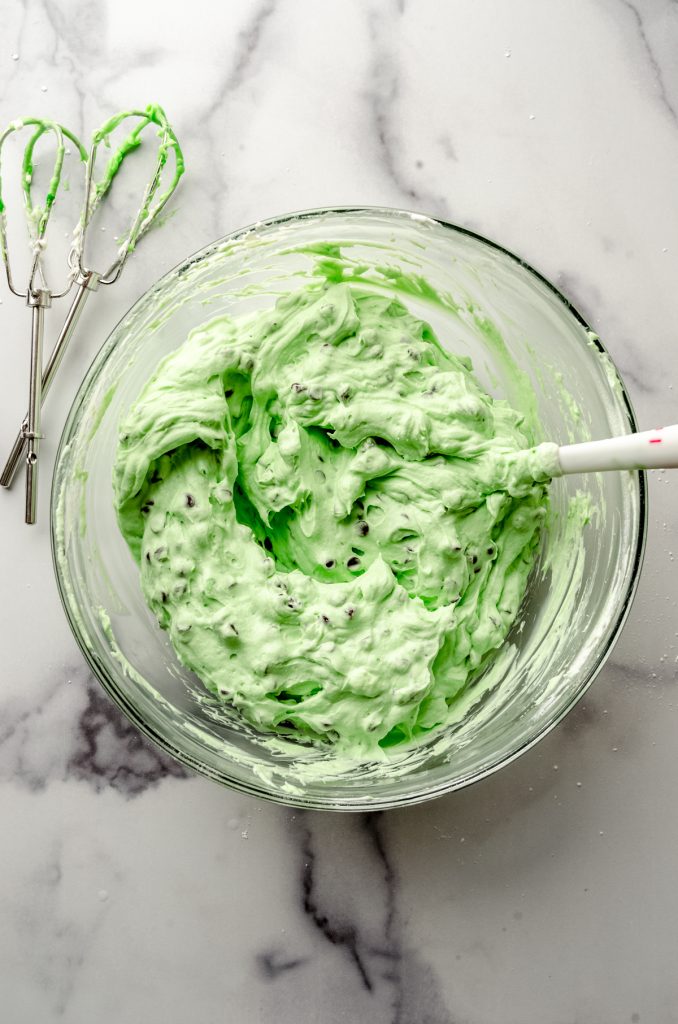
STEP #7
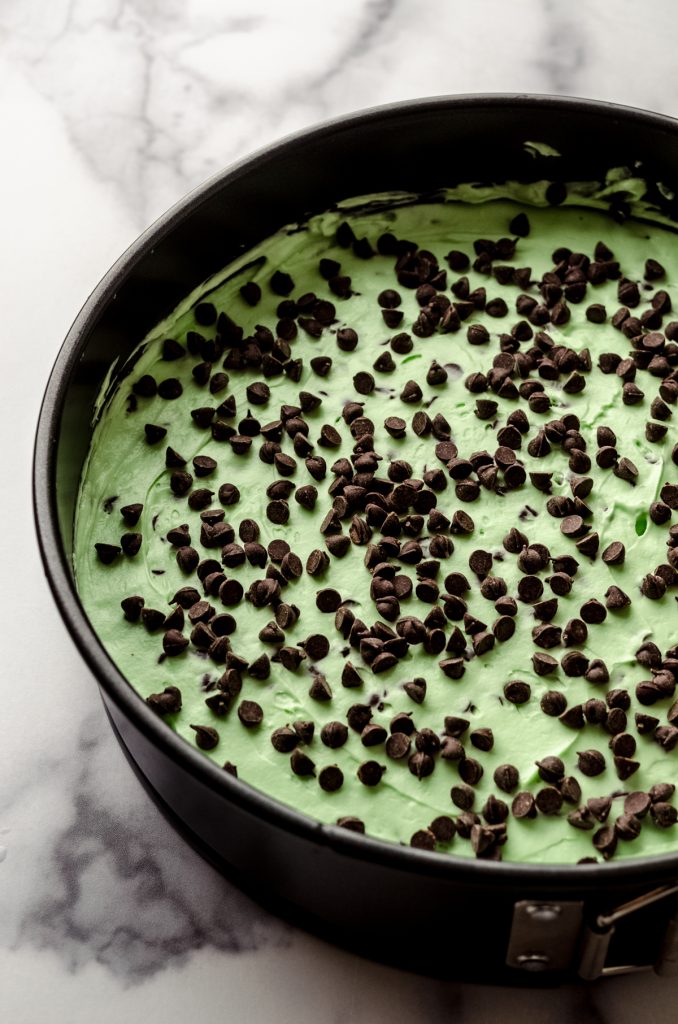
Once the chocolate chips are evenly dispersed, pour the filling onto the prepared chilled crust and spread evenly with the spatula (I prefer to use this small offset spatula). Sprinkle with remaining mini chocolate chips, then cover and allow to chill in the refrigerator before serving.
SUBSTITUTIONS & VARIATIONS
While I’ve written this recipe to be very easy as is, you may want to make some changes based on what you have available to you or in your pantry.
CHOCOLATE OREO CRUST: if you would prefer to use a store-bought/pre-made Oreo pie crust, omit the Oreos and butter from the recipe. You can leave the chocolate crumb pie crust in the pan it came in and do not need to remove it to put it in another container. The filling will over-fill the pie crust, but this should not be a problem since the filling is thick and holds its shape well.
HEAVY CREAM: if you’d prefer to use Cool Whip, omit the powdered sugar from the recipe and skip to step #4 where you fold in the whipped topping. Use 2 cups of Cool Whip in place of the 1 cup of heavy cream + powdered sugar.
CHOCOLATE CHIPS: you can replace the chocolate chips with chopped bar chocolate, if you prefer. You could also leave it out completely if you wanted to!
MAKE THIS FOR CHRISTMAS: turn this pie pink for Christmas and use candy cane Hershey’s Kisses! See my no bake peppermint pie for that recipe.
How to store LEFTOVERS
Leftover mint chocolate chip pie keeps well in the refrigerator up to 5 days. This pie freezes well and is quite enjoyable as a frozen dessert.
Mint Chocolate Chip Pie FAQs

No Bake Mint Chocolate Chip Pie Recipe
Ingredients
- 18 Mint Oreos1 regular is fine; crushed (about 2 cups)
- ¼ cup (57g) unsalted butter melted
- 1 cup (240mL) heavy cream2 or heavy whipping cream
- 8 ounces (227g) full fat block cream cheese softened to room temperature
- 1 cup (120g) powdered sugar
- 1 teaspoon vanilla extract
- ¾ teaspoon peppermint extract
- 6 to 8 drops green food coloring3 if desired
- 1 and ½ cups (288g) mini semi-sweet chocolate chips divided
Instructions
- Place the crushed Oreos in a medium size bowl and drizzle the melted butter evenly over the cookies. Stir to mix completely, then press evenly into the bottom of a 9" springform pan (a regular 8" or 9" pie plate will work just fine as well). Chill in the refrigerator while you make the filling.18 Mint Oreos1, ¼ cup (57g) unsalted butter
- In a medium size bowl with a hand mixer or the bowl of a stand mixer fitted with the whisk attachment, beat the whipping cream until stiff peaks form (about 3-4 minutes; see this tutorial for step-by-step instructions for homemade whipped cream). Place bowl in the refrigerator (or transfer to smaller bowl if using a stand mixer) until ready to use.1 cup (240mL) heavy cream2
- In a large bowl with a hand mixer or the same bowl of the stand mixer (no need to clean) now fitted with the paddle attachment, beat the cream cheese on medium-high speed until smooth. Reduce mixer speed to low and add the powdered sugar, increase the mixer speed to medium-high, and beat again until smooth. Add the vanilla and peppermint extracts and the green food coloring (if using) and continue beating until smooth. Don't worry if it's super green– it will tame down in the next step. Scrape down the sides as necessary.8 ounces (227g) full fat block cream cheese, 1 cup (120g) powdered sugar, 1 teaspoon vanilla extract, ¾ teaspoon peppermint extract, 6 to 8 drops green food coloring3
- Turn off the mixer and fold in the cold whipped cream with a large spatula until green swirls disappear. Pour in 1 cup of the mini chocolate chips and mix again with the spatula until evenly dispersed.1 and ½ cups (288g) mini semi-sweet chocolate chips
- Pour the filling onto the prepared crust and spread evenly with the spatula (I prefer to use a small offset one). Sprinkle with remaining ½ cup of mini chocolate chips. Cover with foil or plastic wrap and chill in the refrigerator at least 4 hours (for best results, overnight) before serving. Store leftovers covered tightly in the refrigerator up to 5 days. Pie can be wrapped tightly and frozen up to 2 months. Thaw in refrigerator overnight.
Notes
- Mint Oreo crust: if you would prefer to use a store-bought/pre-made Oreo pie crust, omit the Oreos and butter from the recipe.
- Heavy cream: if you’d prefer to use Cool Whip, omit the powdered sugar from the recipe and skip to step #4 where you fold in the whipped topping. Use 2 cups of Cool Whip in place of the 1 cup of heavy cream + powdered sugar.
- Green food coloring: I prefer to use gel food coloring. My favorite is AmeriColor.
Nutrition Disclosure
All nutritional values are approximate and provided to the reader as a courtesy. Changing ingredients and/or quantities will alter the estimated nutritional calculations.
Oh, this looks SO amazing! Happy Pi Day!!
Thank you, Kristy!
I am in LOVE Lynn! I love pies! And Oreos! And no bake recipes! This is gorgeous, perfect for Pi Day – pinned!
Thank you, Jess! You sure do love your Oreos! 🙂
AAAHHH! Happy Pi day (a day late)! This looks decadent. I love me some mint and chocolate too! (and now, with no braces, I can eat cold chocolate chips without any wires bending. been there done that) My mom makes a cookie crust for her cheesecake. They’re the best! Now I really, really want to try this. My little brother, who is a tech nerd (aka, walking web coding dictionary), likes to recite the first sixty digits of pi whenever anyone mentions the equation. Yeah…probably a good thing I forgot it was Pi Day yesterday. Ha! Fun fact for ya 😉
Haha, fun fact about me: I have always thought it was impressive that I could remember 3.1415926 BECAUSE 15 was my field hockey number in high school and 926 is my birthday. But obviously, your brother is far more talented than I! Hahaha. I hope you give this pie a try someday, Aria! Especially with those brand new teefers! The first thing I ate when I got mine off was corn on the cob and strawberries 🙂
Haha, that’s great! I actually got my braces off in January, and I ate steak! But I’m still discovering all the things I can eat now. Except for the fact that my wisdom teeth are coming in and it’s still relatively uncomfortable. But this pie looks so good!
Ohh those darn wisdom teeth! That’s the worst!
I’m so torn on this, because I looooooove mint chocolate chip (especially artificially colored green!) but I hate cream cheese in sweet things. But mint chocolate chip! But cream cheese. It’s like I have the little devil and angel sitting on my shoulders.
Hahaha, I can totally understand that! I was actually surprised at how much it DIDN’T taste “cheesecakey!”
My store had no mint extract . What can I use to replace it
Hi Lauren– unfortunately, nothing can replace mint extract. If you’d really like to make this pie, you can get some extract on Amazon! http://amzn.to/2biut86
Thank you !
This pie turned out really well! I’d highly recommend trying out this recipe.
I’ve been making this for my sister’s birthday for years and my whole family absolutely loves it. However, I recently had to stop eating dairy indefinitely and made a small version dairy free/vegan. I used So Delicious cream cheese and Silk heavy whipping cream as subs. It tasted amazing but I should note it’s not as tall/thick bc vegan whipping cream doesnt firm up and expand like the real deal and, this is so so important, freeze instead of refrigerate! Bc its vegan it’s pretty soupy and the freezer will give the same firmness as the original version. Make sure you freeze it for the listed minimum of 4 hrs by our lovely chef above. Hope this helps others!
Thanks so much, Abigail! I’m glad you can still enjoy this pie– and thank you for sharing your tips for others 🙂