
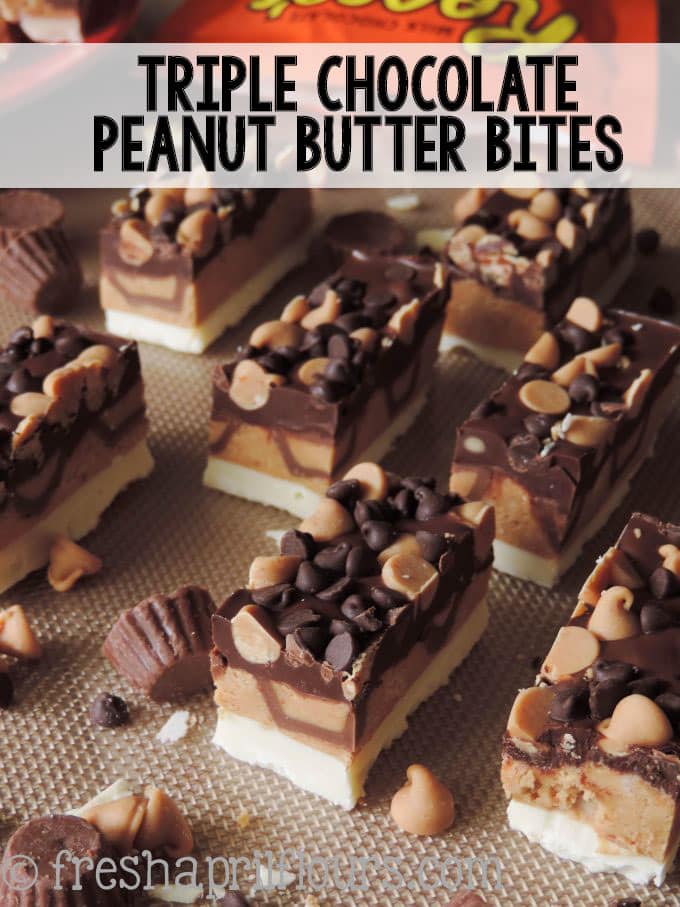
Chocolate Peanut Butter Bites
As an Amazon Associate, I earn from qualifying purchases. Read the full disclosure here.
A slightly crunchy peanut butter cup layer, sandwiched between dark and white chocolate layers, and topped off with some more chocolate and peanut butter!

This cute and easy no bake dessert is going through a serious identity crisis. In the very best way possible.
Let me explain…
It all started when I pinned this peanut butter truffle bark from The Gunny Sack and you folks went bananas.
The title of the original recipe called it a “truffle bark” (see? It was already a teeny confused before I got my hands on it), but the way I made it, it’s kind of a bar, but also kind of a bite-size snack.
Whatever the heck it is, I think we all can agree that you can never go wrong with peanut butter and chocolate and I am certain you are going to love this recipe as much as my readers have over the years (it’s lived here since 2014!).
INGREDIENTS
This treat is actually so much more than just peanut butter and chocolate. Ohhhh yes, my friends. This no bake dessert involves peanut butter, peanut butter chips, white chocolate, dark chocolate, semi-sweet chocolate chips, Reese’s mini cups and graham crackers.

So. Many. Goodies.
You’ll also be using butter, powdered sugar, and vanilla extract. Just some usual suspects here.
And we’re layering everything so we get to experience every ingredient in its own spotlight.
THESE BARS HAVE THREE LAYERS
The first layer is simply white chocolate.
That layer gets topped with a peanut butter and graham cracker mixture. It’s kind of like the inside of a peanut butter cup, but better. The graham crackers add texture and different flavor and it is such a delicious complement to the other layers.
And of course, those little mini Reese’s peanut butter cups that get smashed into the layer add to everything that’s already happening. It’s the best layer, IMO.
The top layer is simply dark or semi-sweet chocolate, to which you’ll add semi-sweet chocolate chips as well as peanut butter chips.
Are you getting excited about all these layers? Layered desserts are some of my favorite.
HOW TO MAKE CHOCOLATE PEANUT BUTTER BITES
As mentioned, these bars start with a bottom layer of white chocolate. I almost always use bar chocolate for this recipe, but if I decide to use chips, I add a teaspoon of shortening to them in order to keep everything smooth during the melting process.
Regardless, you want to keep this going over low heat. Keep it moving at all times. You don’t want to scald your chocolate, and white chocolate is the most sensitive kind!
Once everything is melted, pour all of it into an 8″ x 8″ pan lined with foil, spread it out, tap it on the counter to help settle everything, and pop it in the fridge while you prep your peanut butter layer.
No need to clean your pot yet– you’re going to need it again when you melt your dark chocolate so you can keep it dirty.
For the peanut butter layer, we’re turning to a combination of peanut butter, some vanilla extract, and powdered sugar. We’re also adding crushed graham crackers.
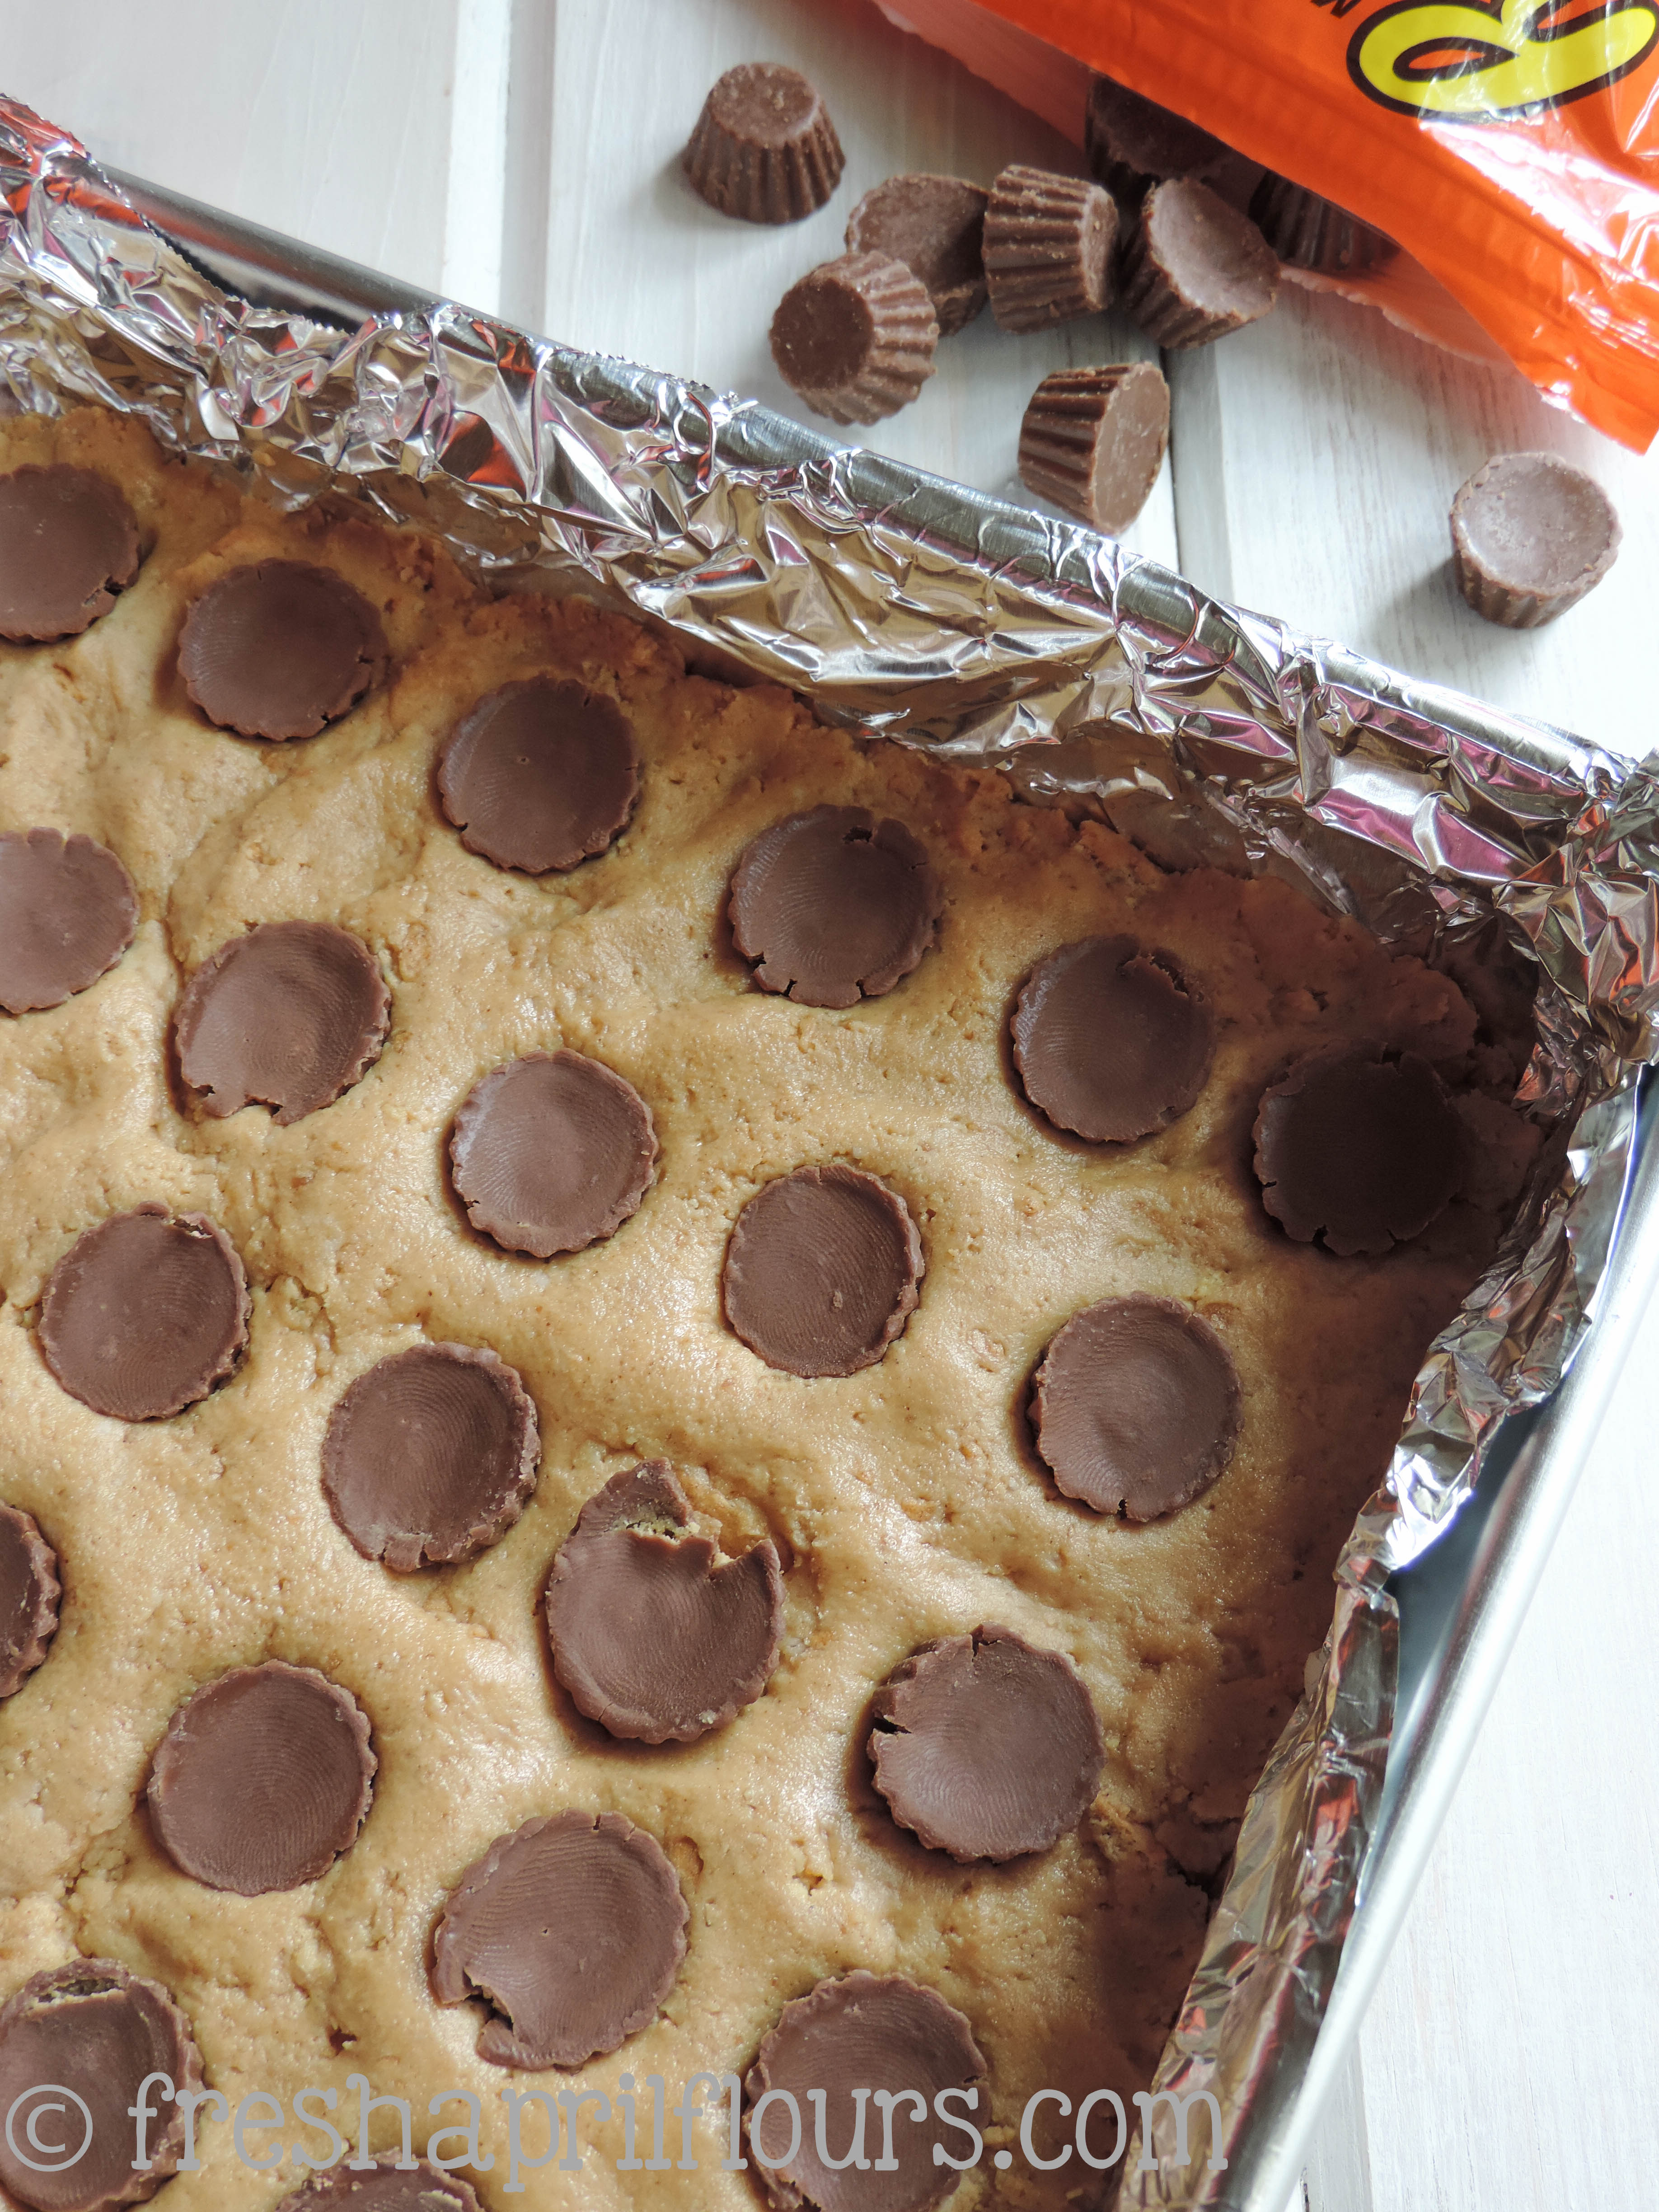
This layer gets spread on top of the white chocolate layer (once it’s cooled completely, of course), and then the fun part… Pressing mini Reese’s peanut butter cups into the layer.
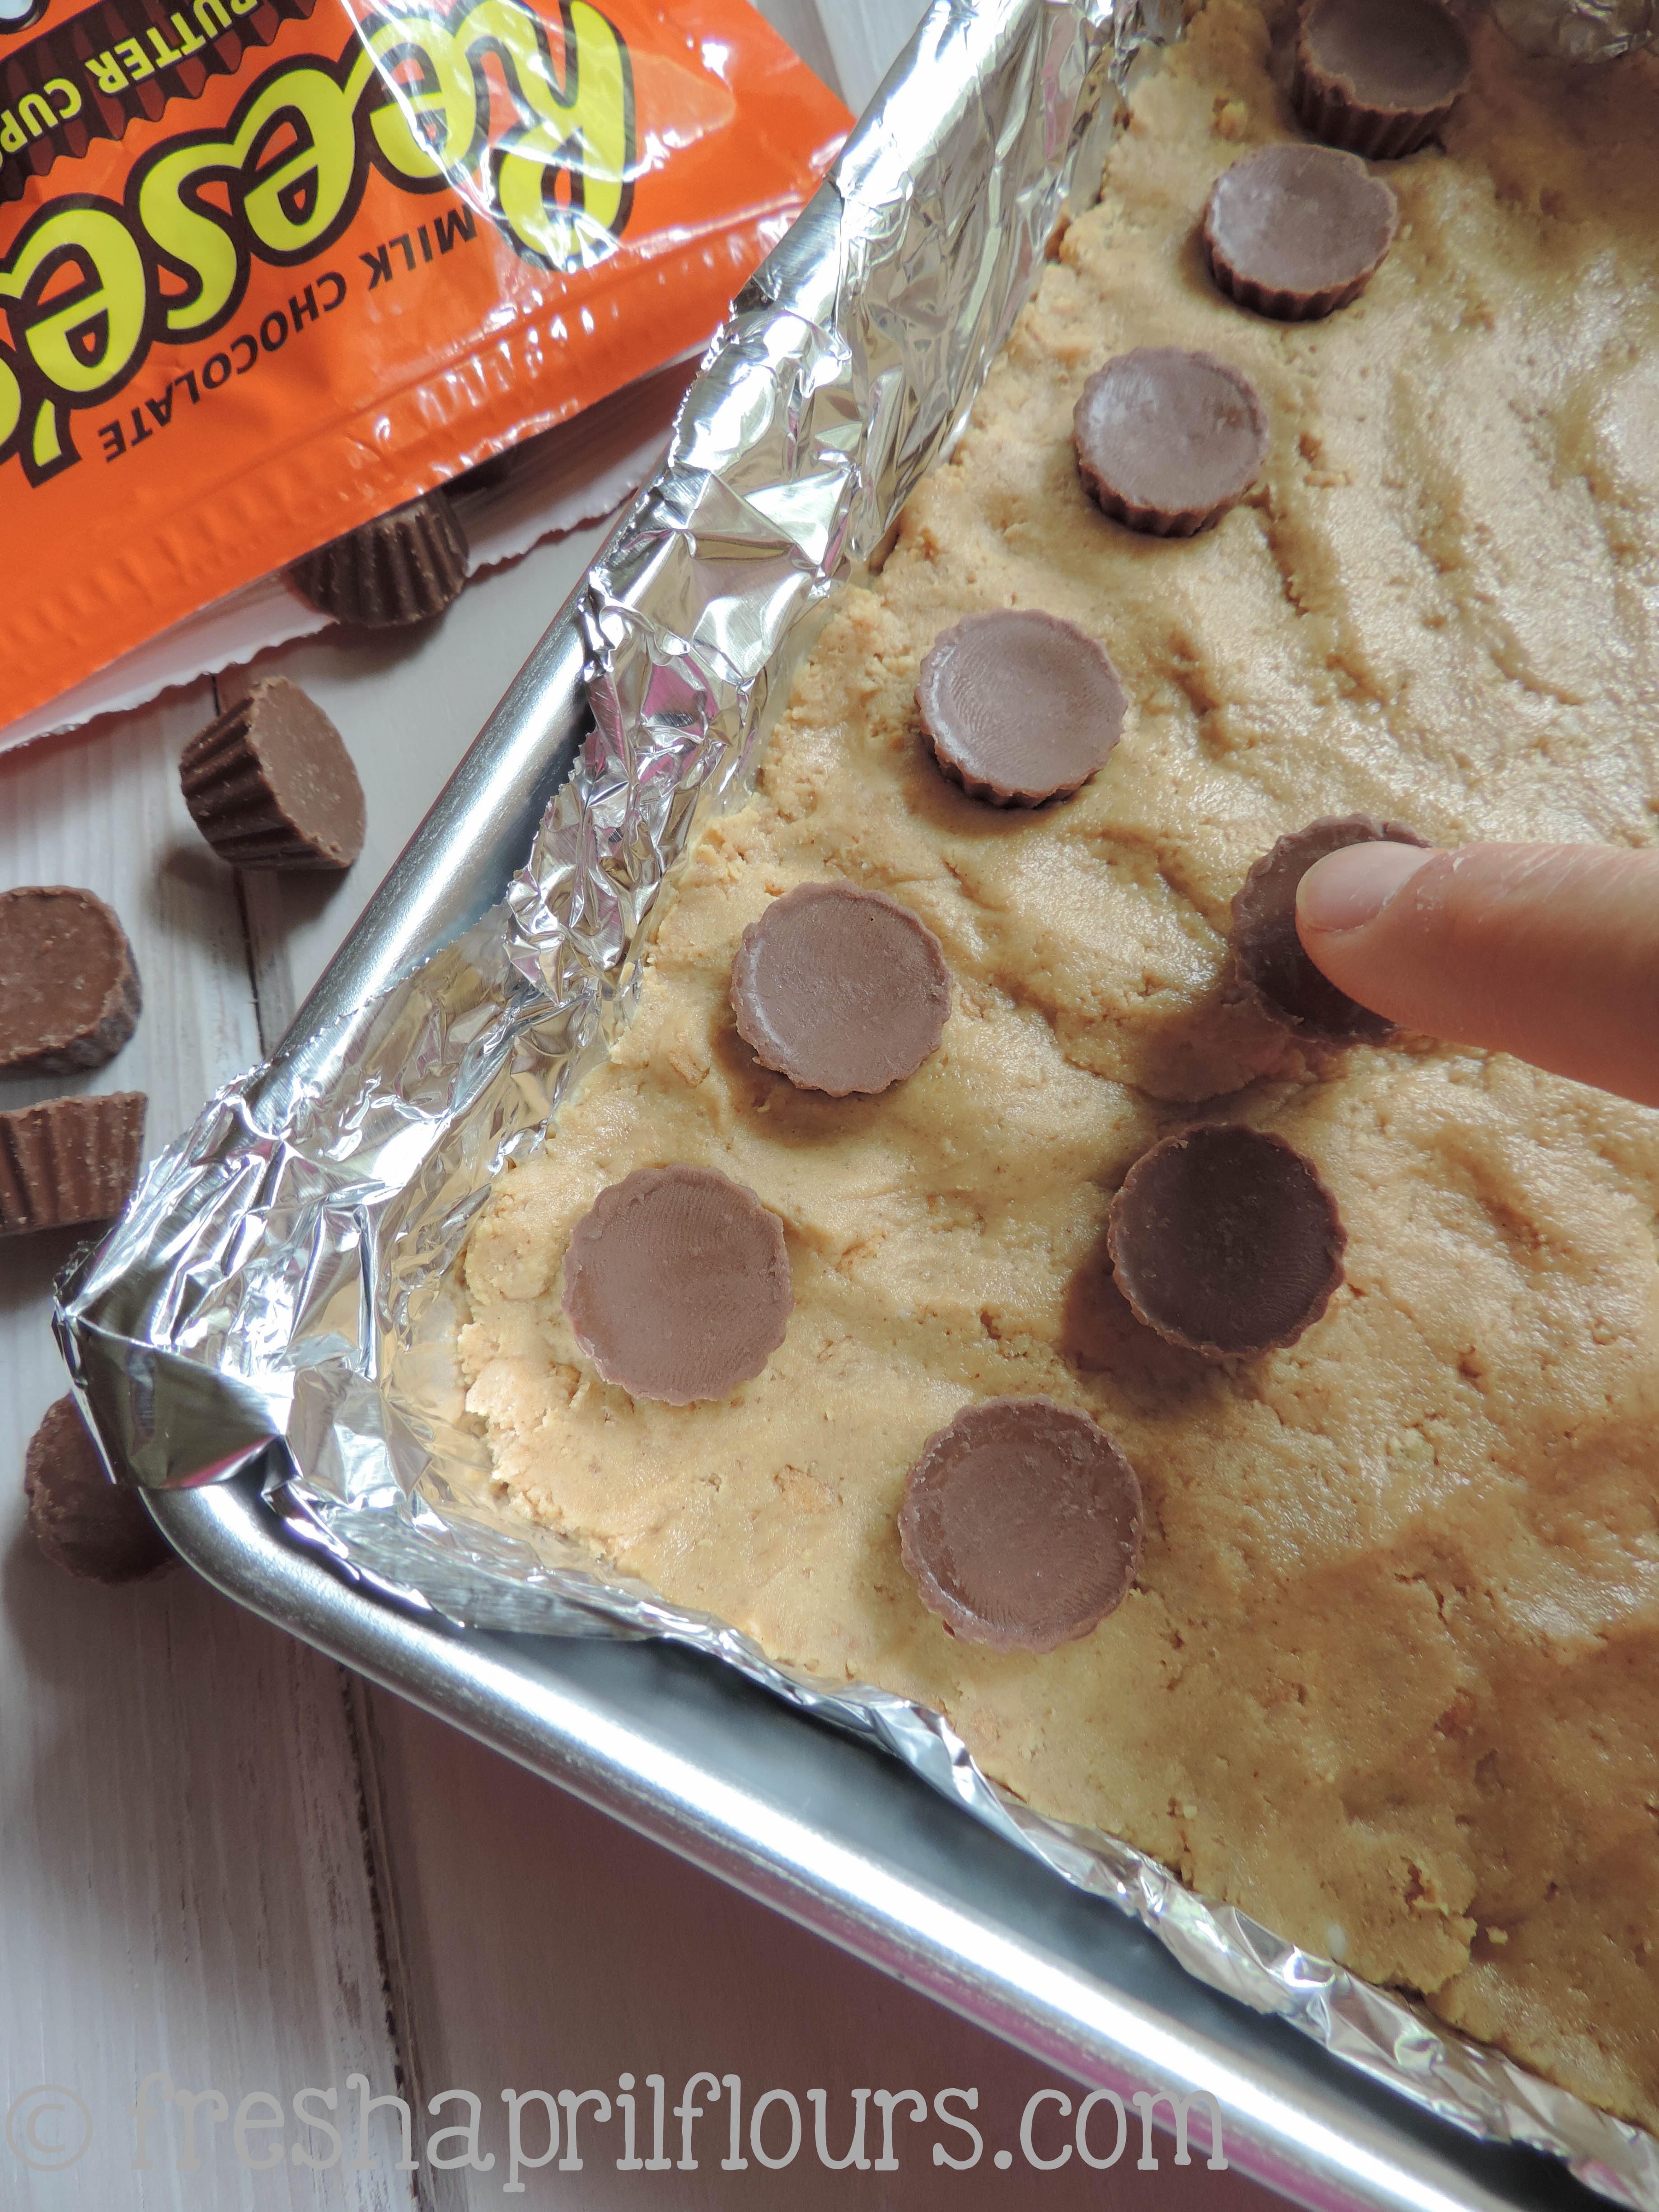
Feel free to scatter your mini Reese’s cups around. I’m just a bit obsessive when it comes to this kind orderly/uniform of thing. And don’t be afraid to smoosh your cups a little!
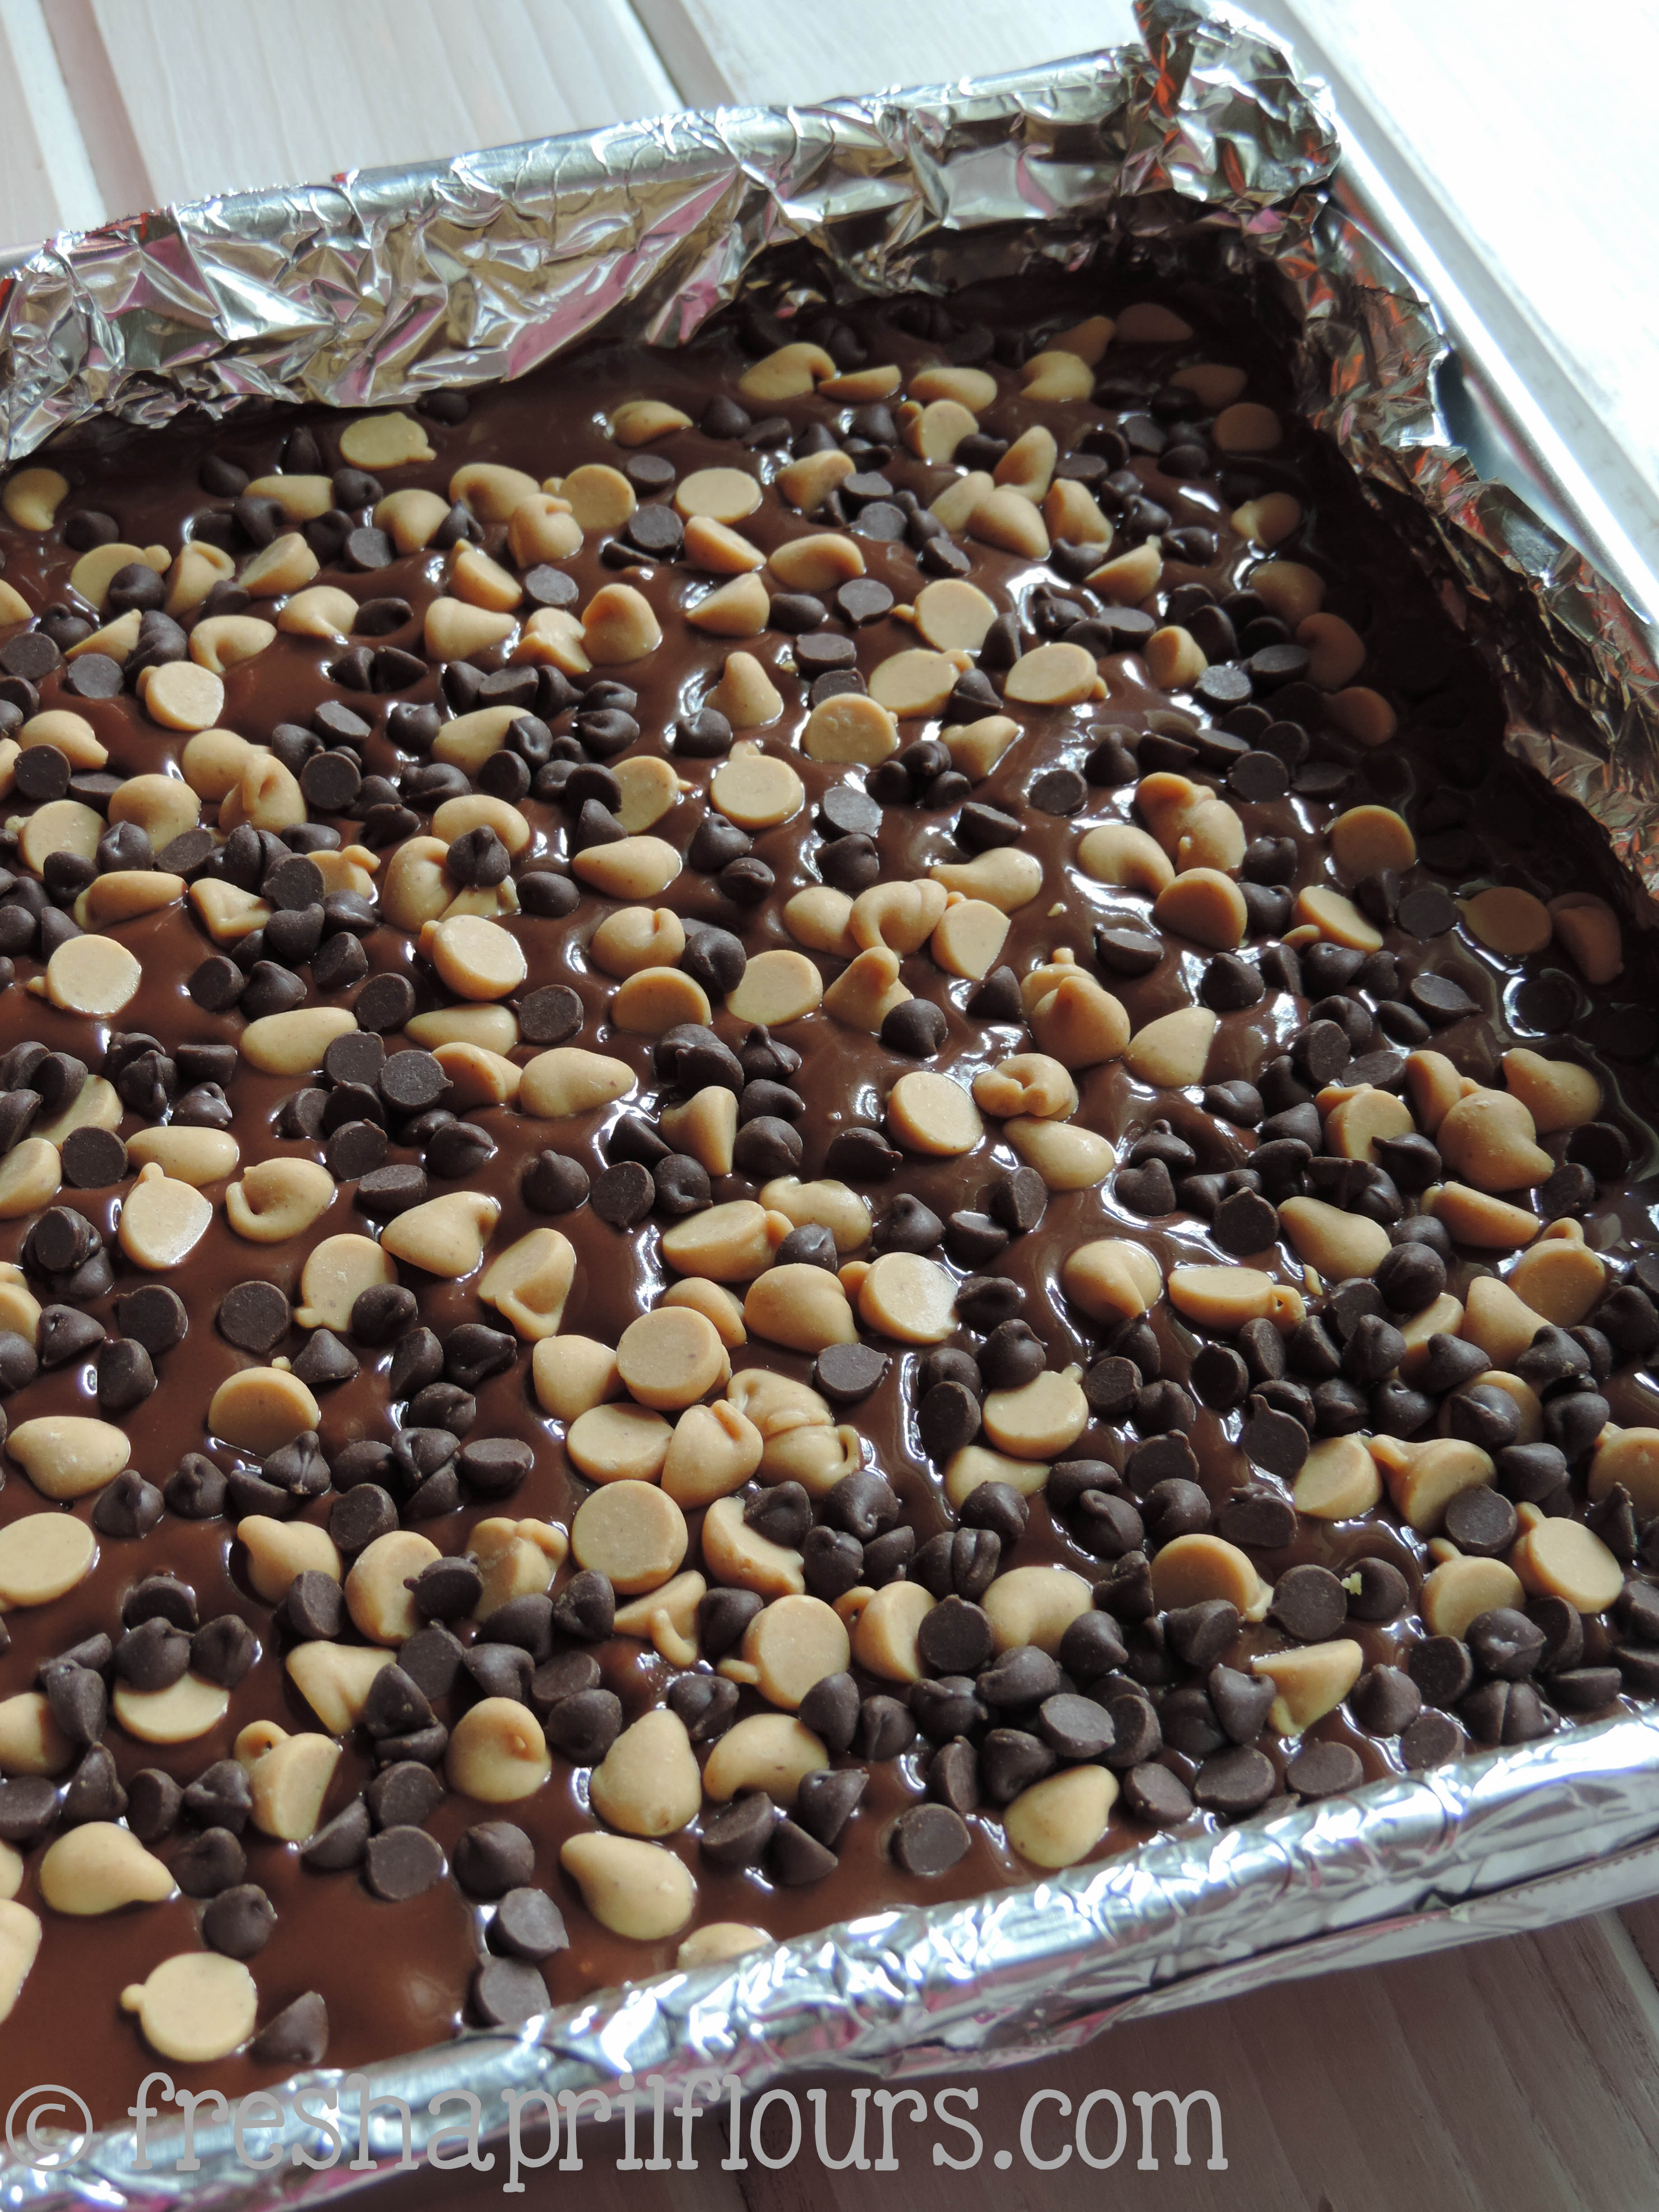
One last layer of dark chocolate, and a generous sprinkling of both semi-sweet and peanut butter chips, and these delectable no bake chocolate peanut butter bites are just about ready.
The next part is the hardest part: waiting the half hour it takes for the whole pan to be chilled enough to cut into pieces.
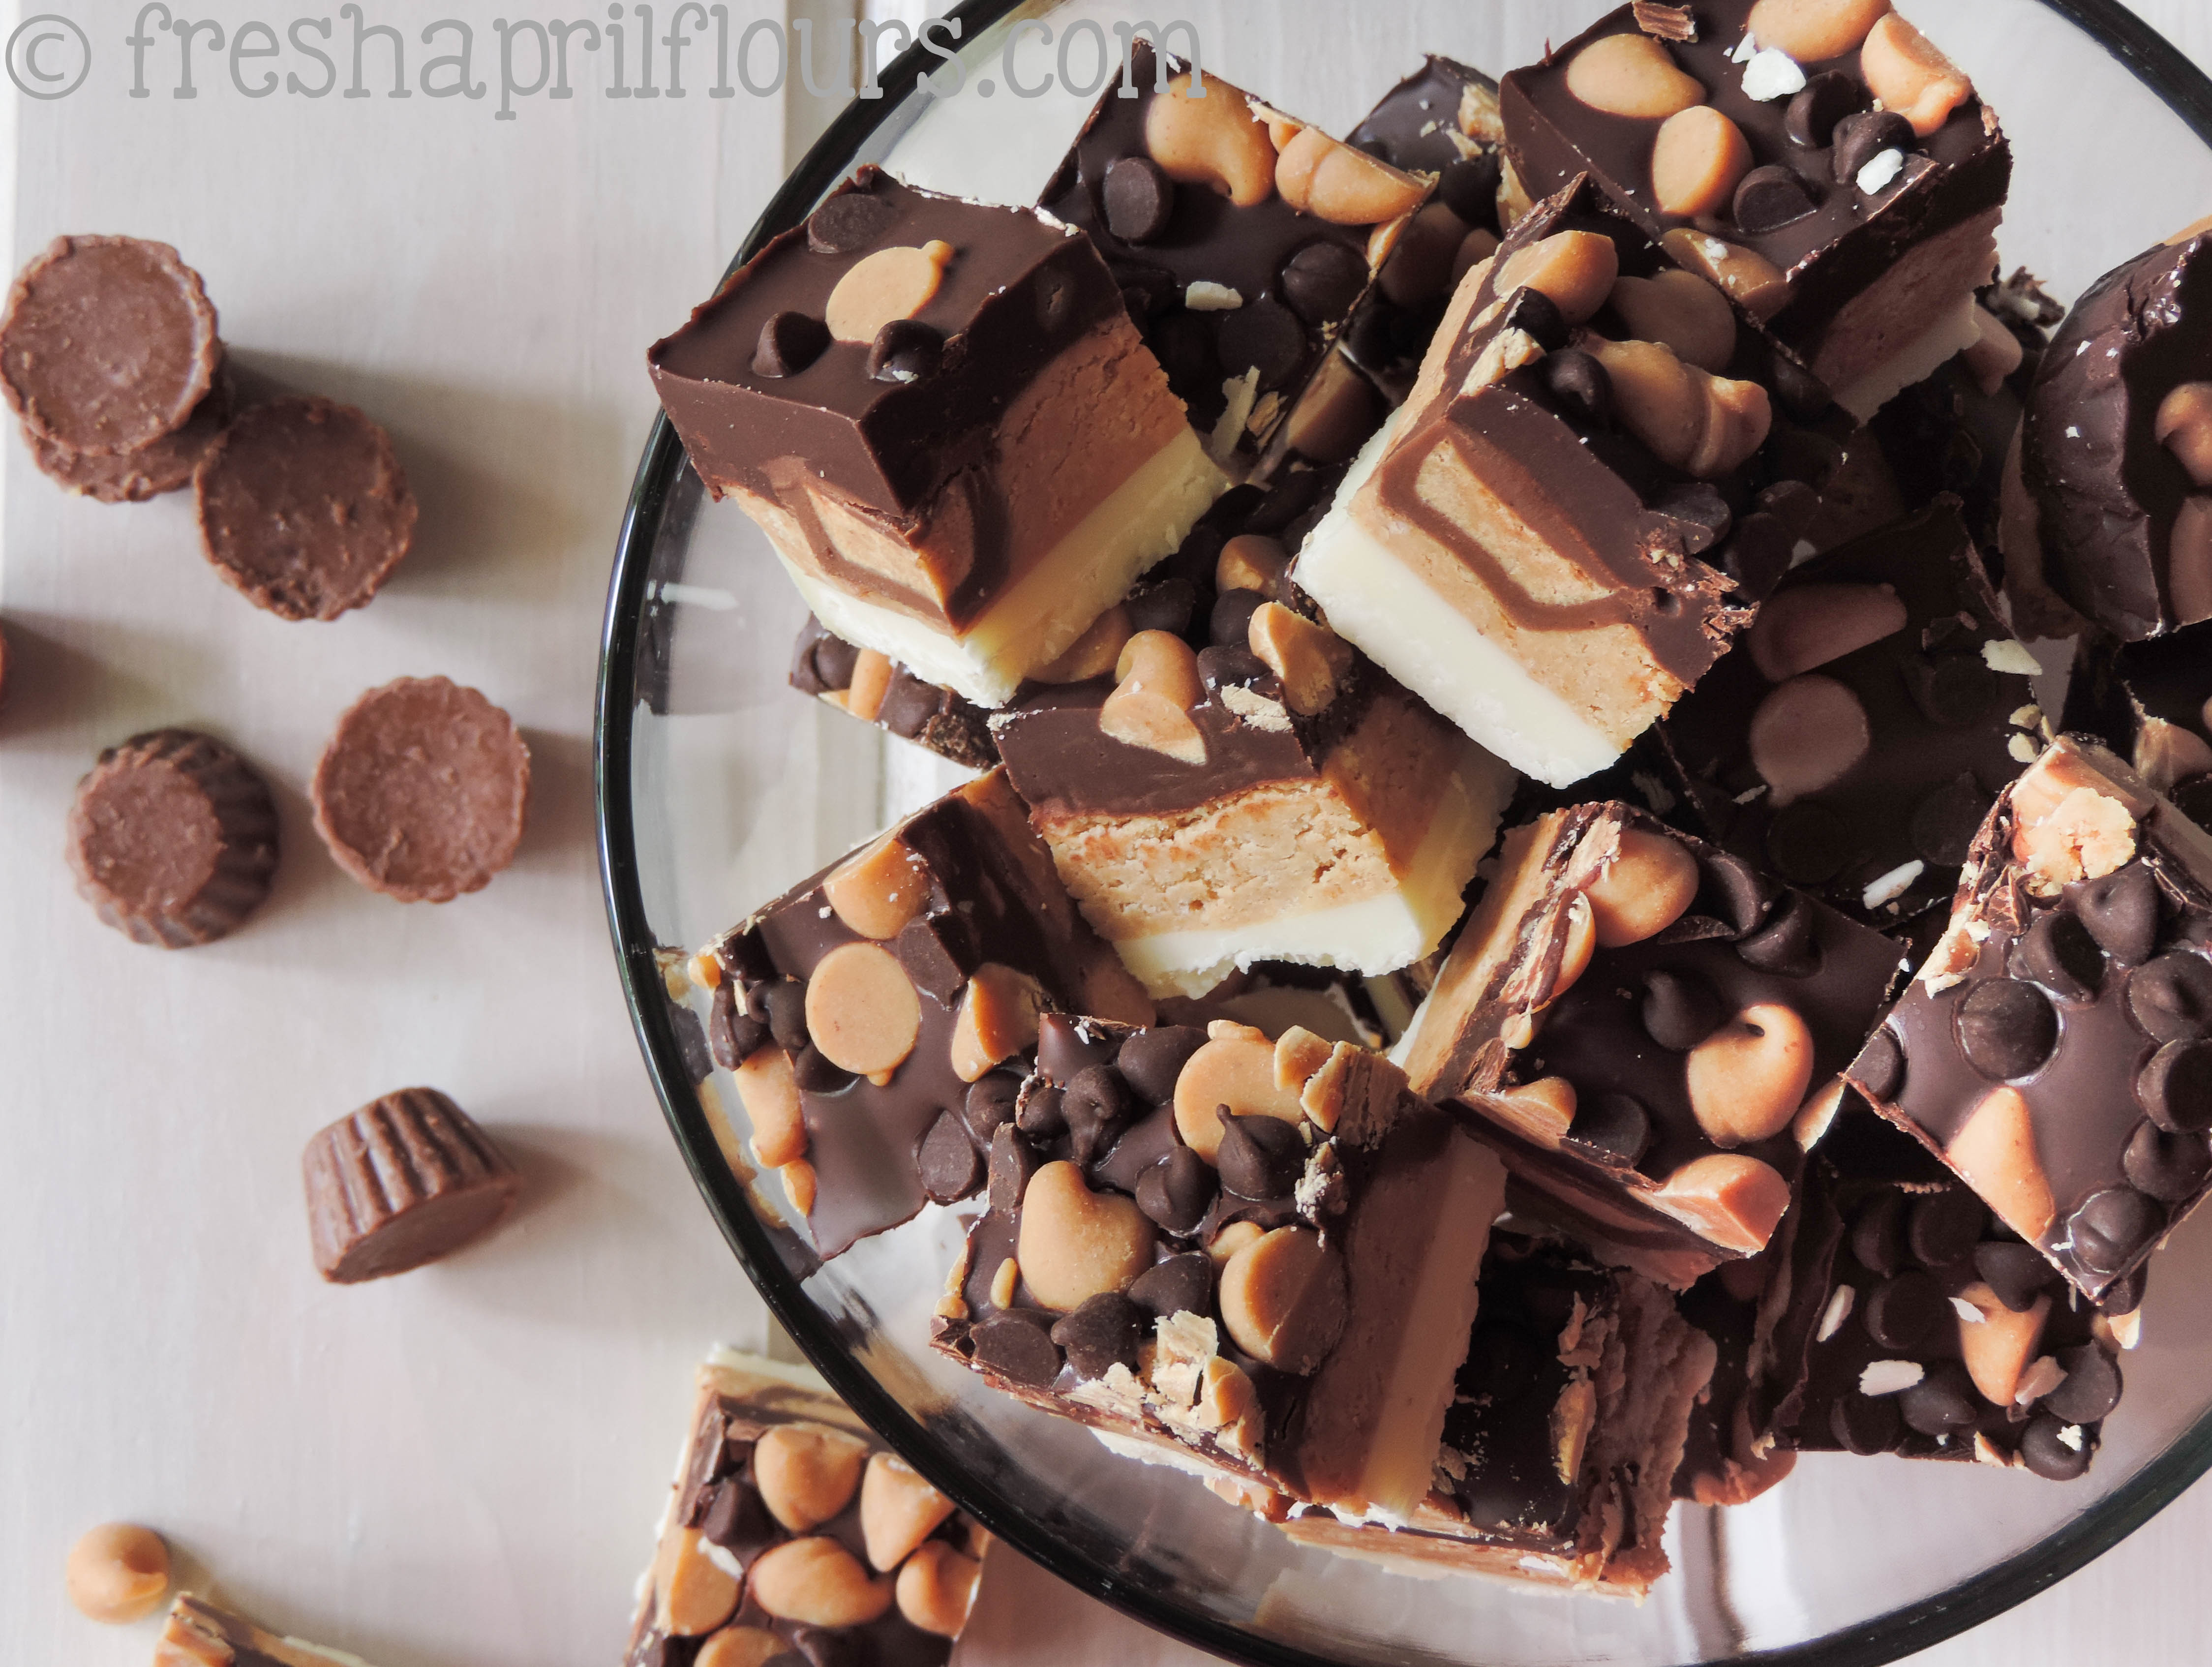
Once they’re ready to cut, lift the foil out of the pan and have at it. Bars, bites, jaggy edged pieces, one big huge 8″ x 8″ square (?!?!). I’ll take that last option, pleaseandthankyou.
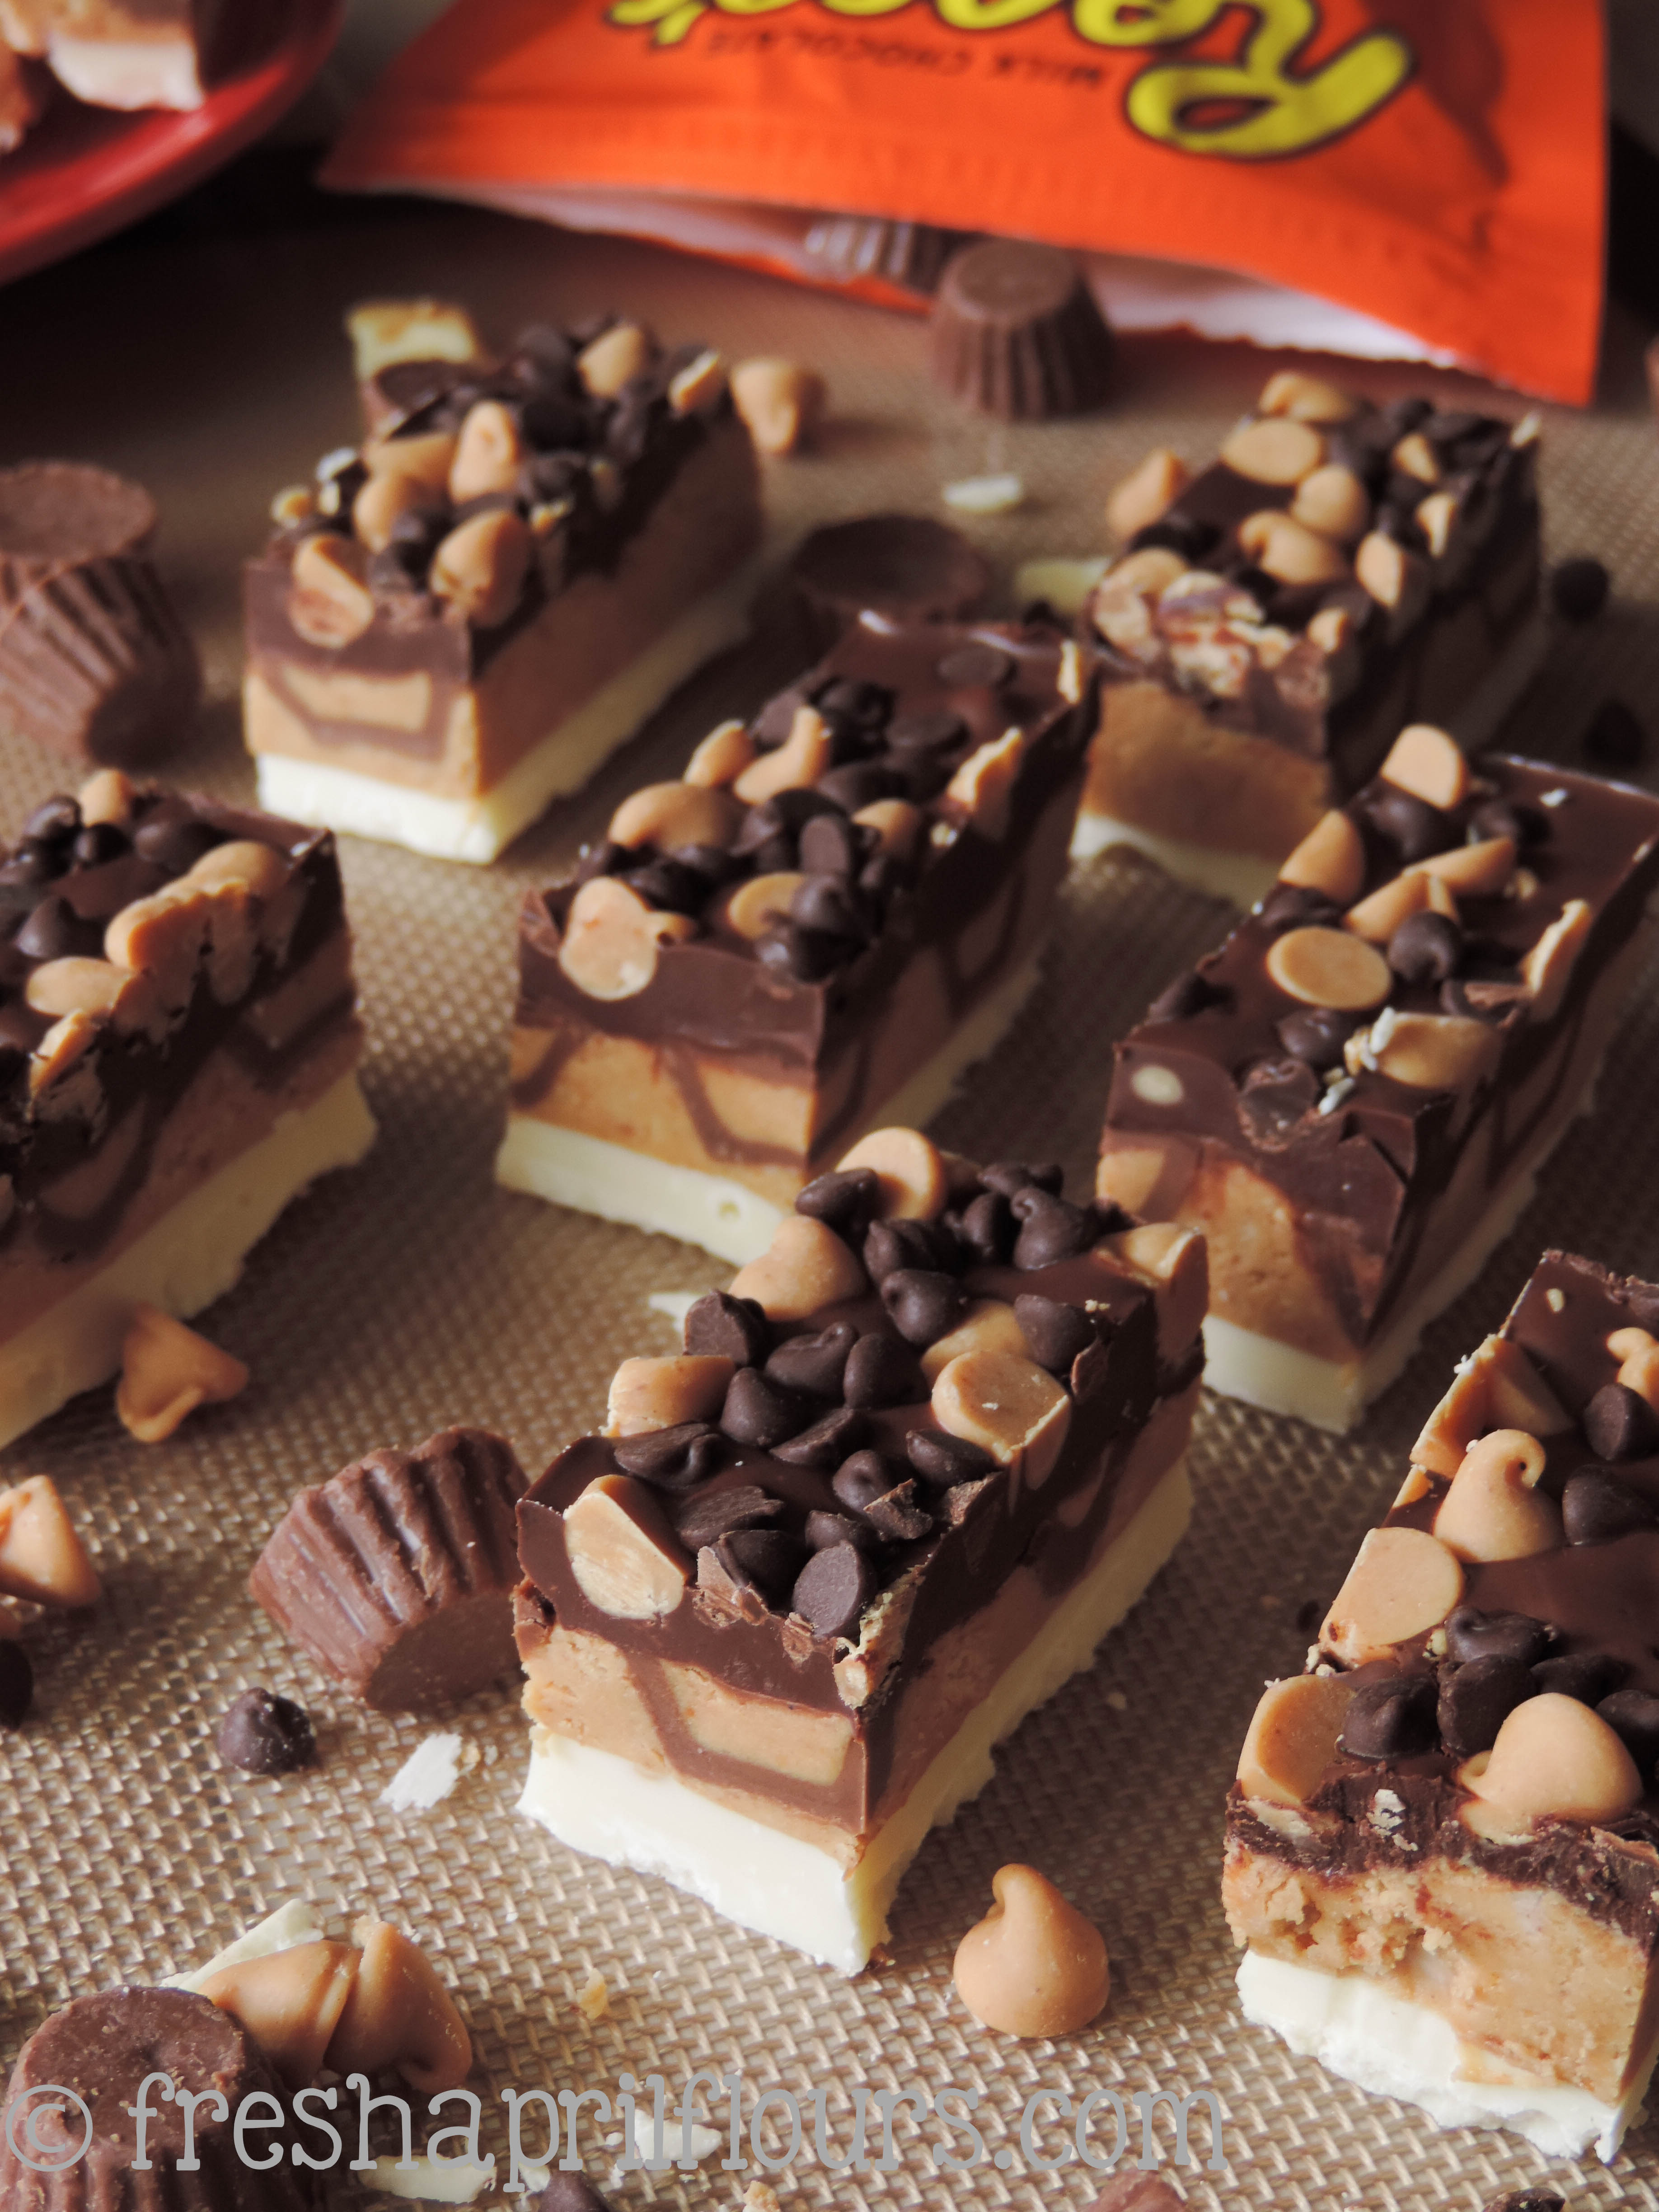
Seriously, people. Look at them. Just LOOK AT THEM!
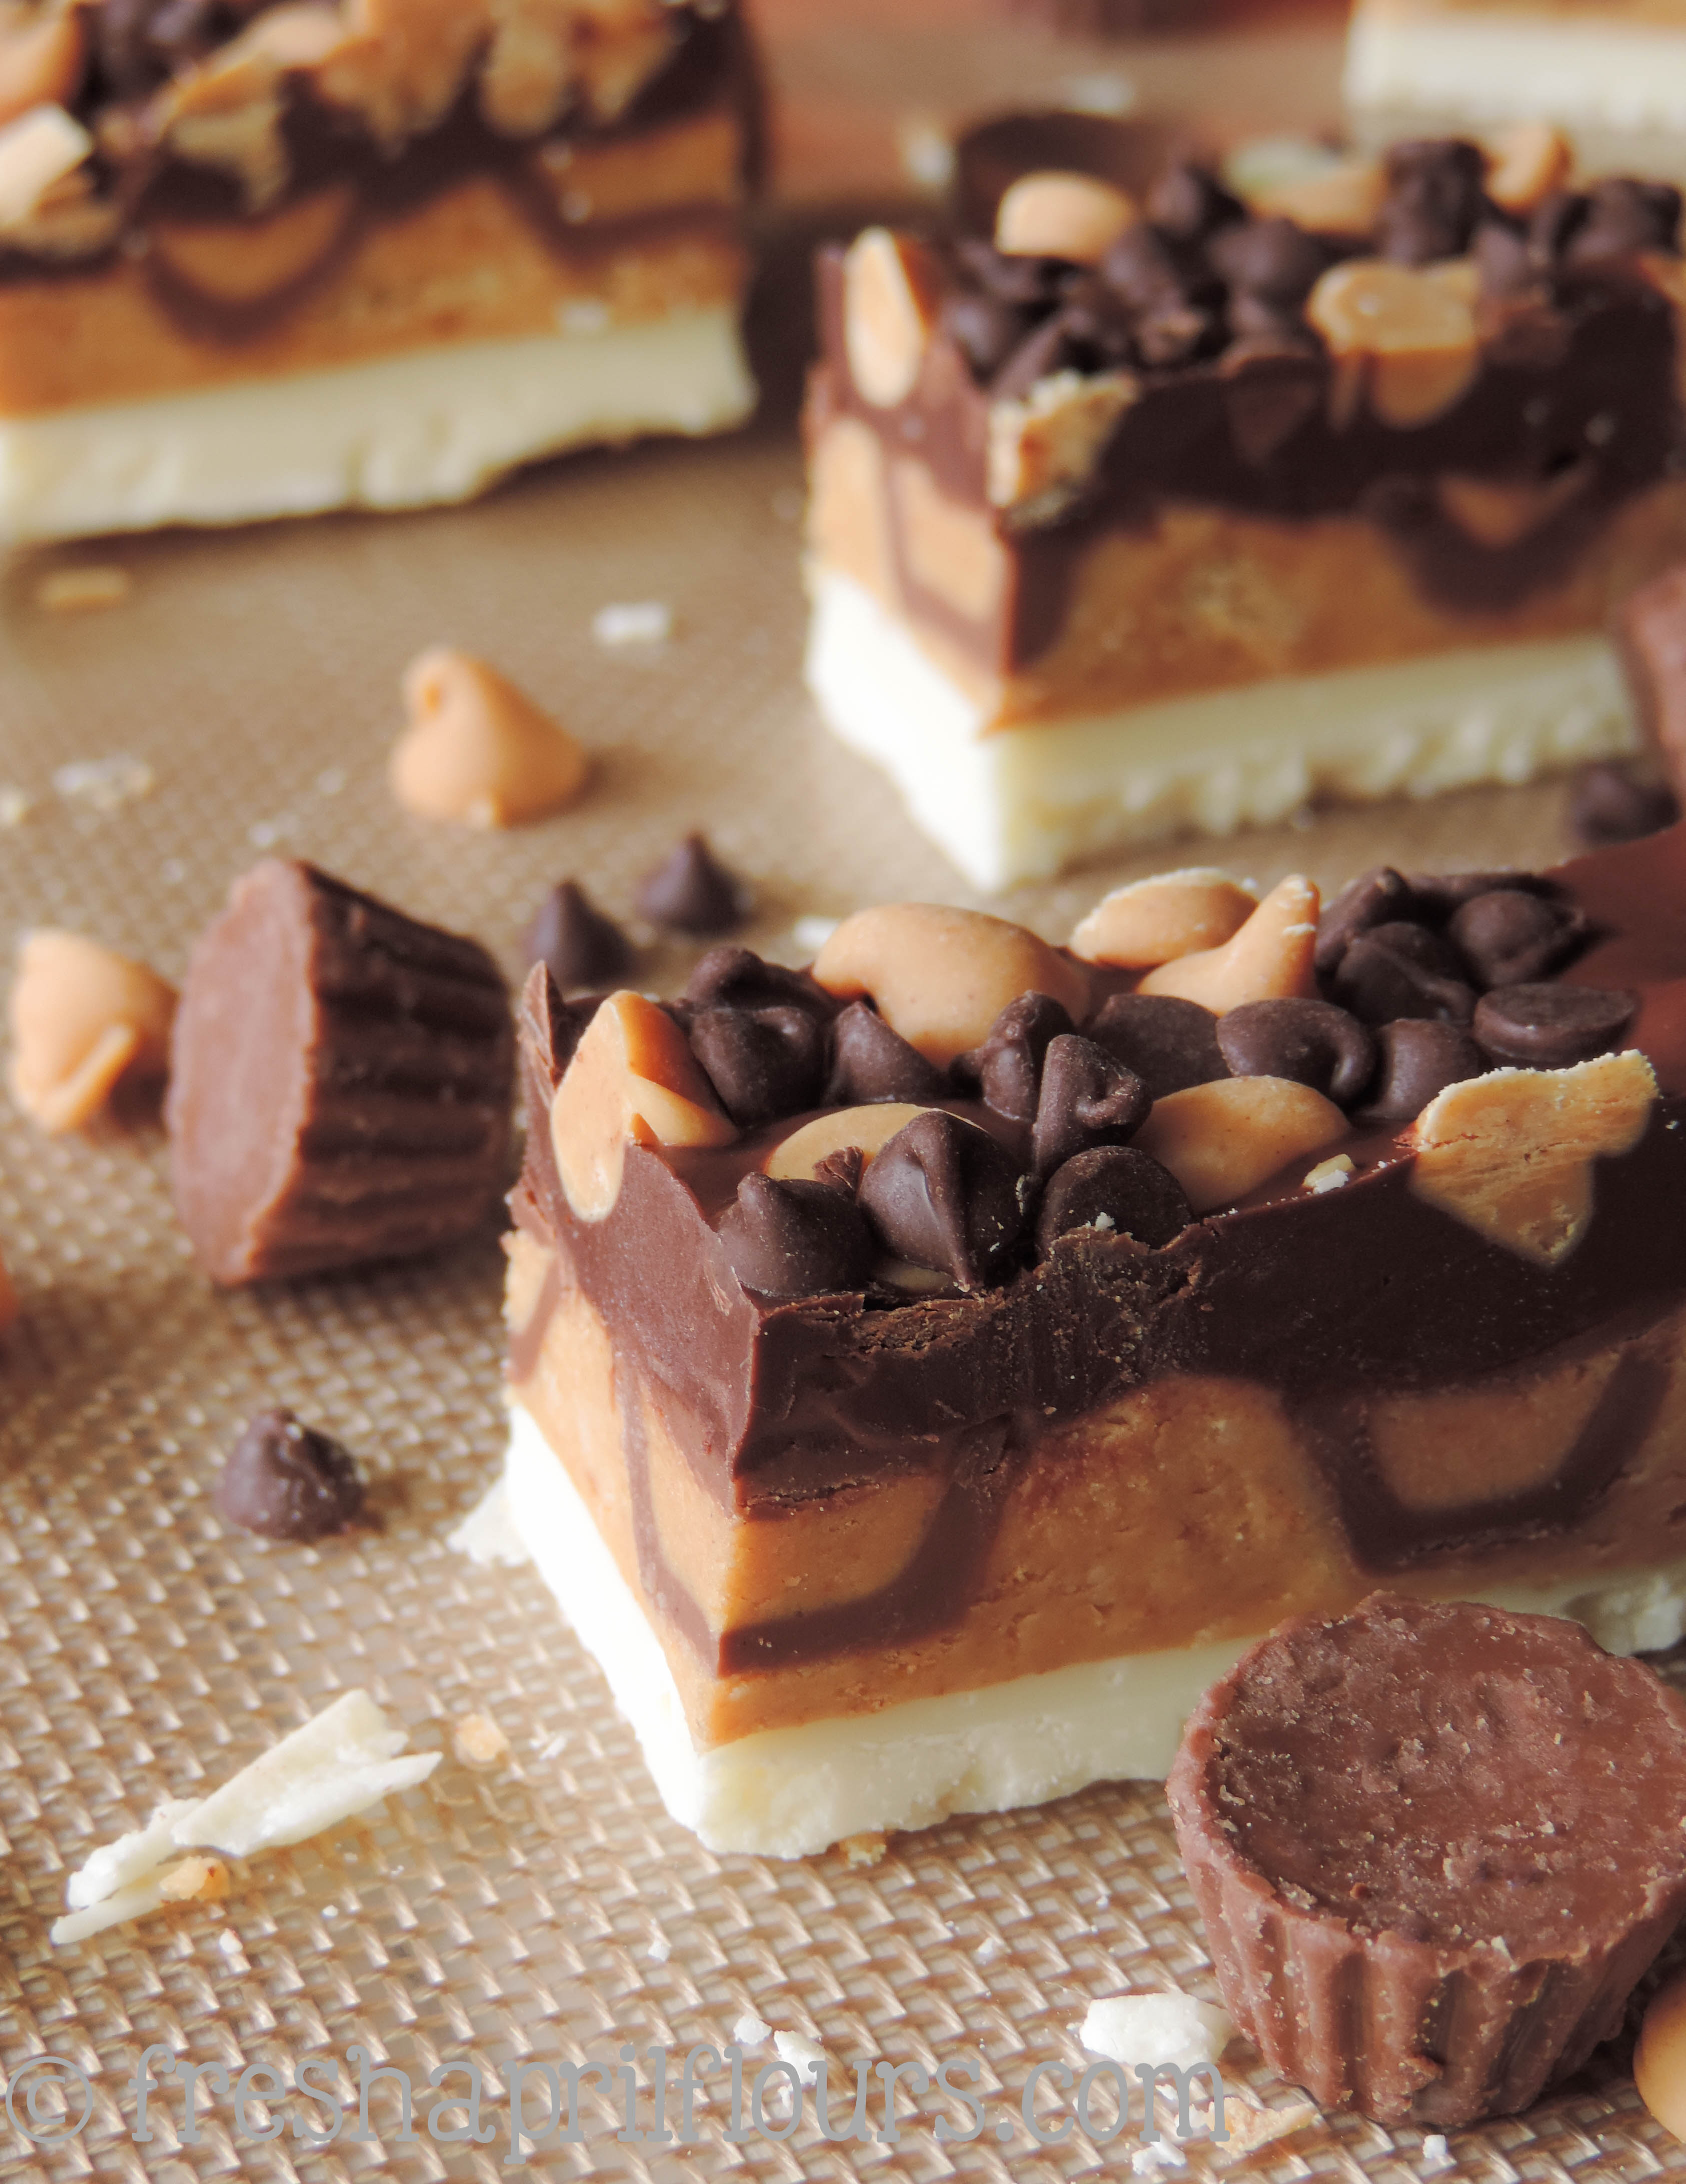
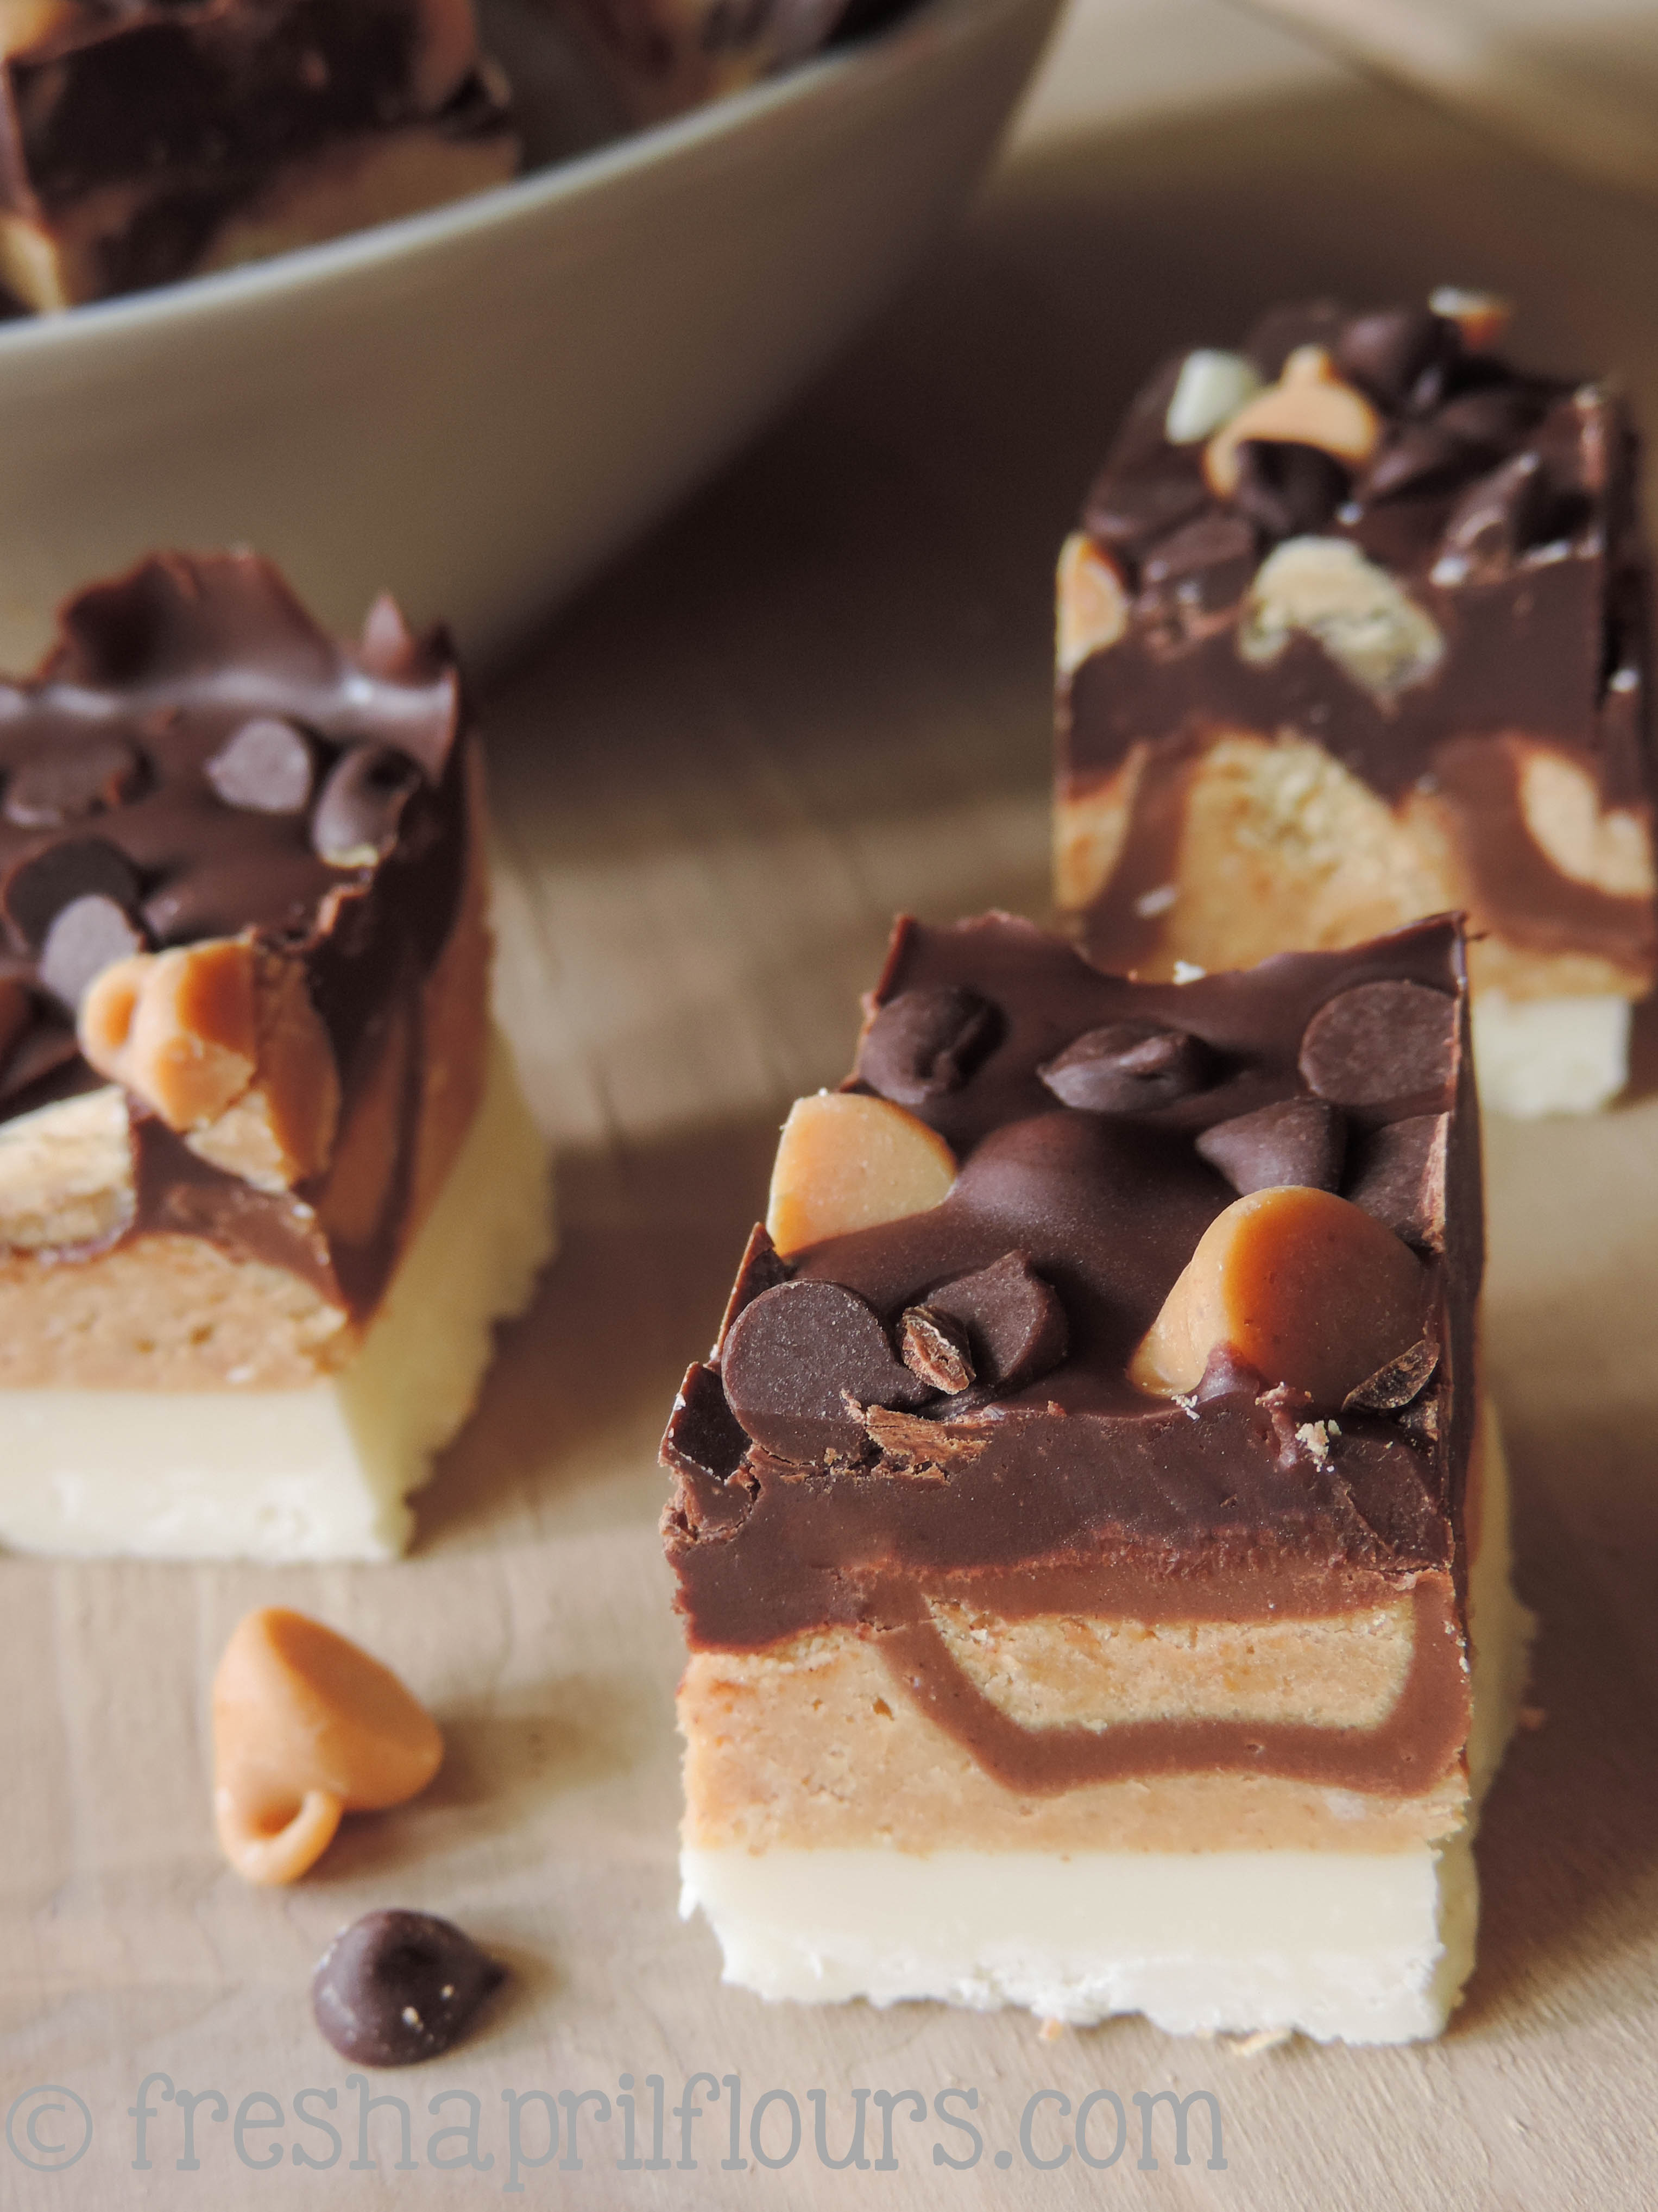
A sweet and creamy white chocolate layer…
A crunchy, salty peanut butter layer studded with mini peanut butter cups…
A smooth, slightly bitter dark chocolate layer…
And more chocolate and peanut butter chips on top for good measure.
There’s no way you won’t love these peanut butter chocolate bites. Unless, of course, you don’t love one of the best combinations of flavors to ever exist in the history of the world. Do those people even really exist?
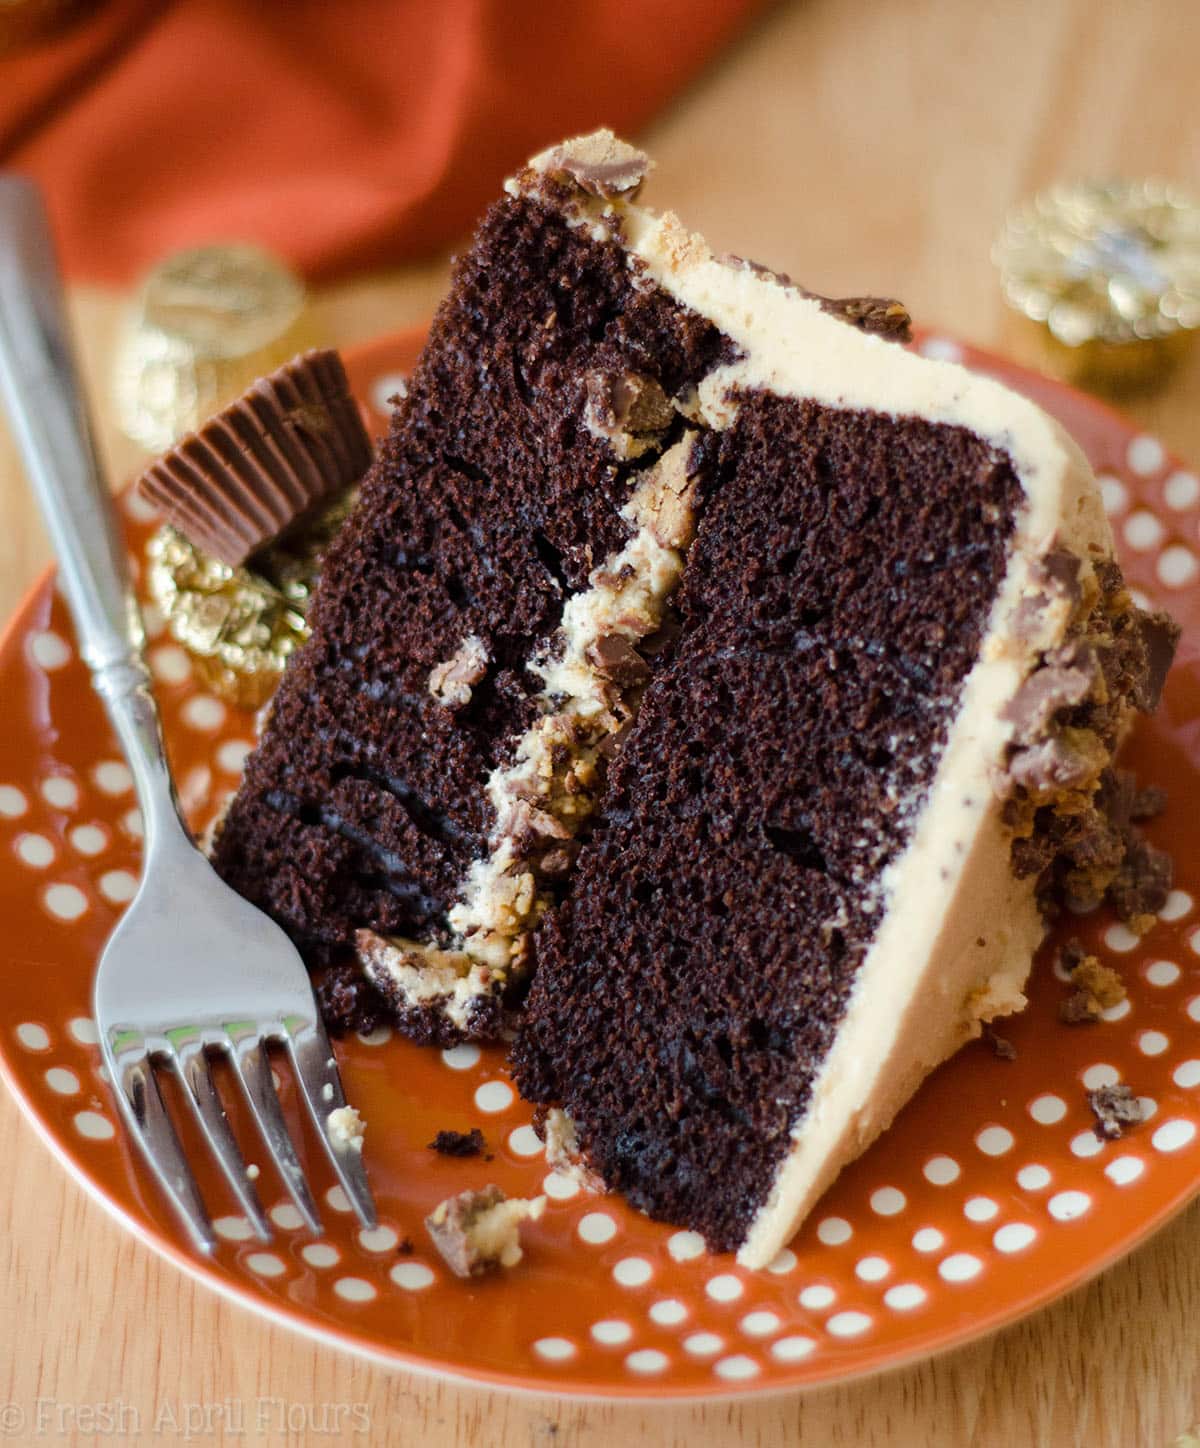
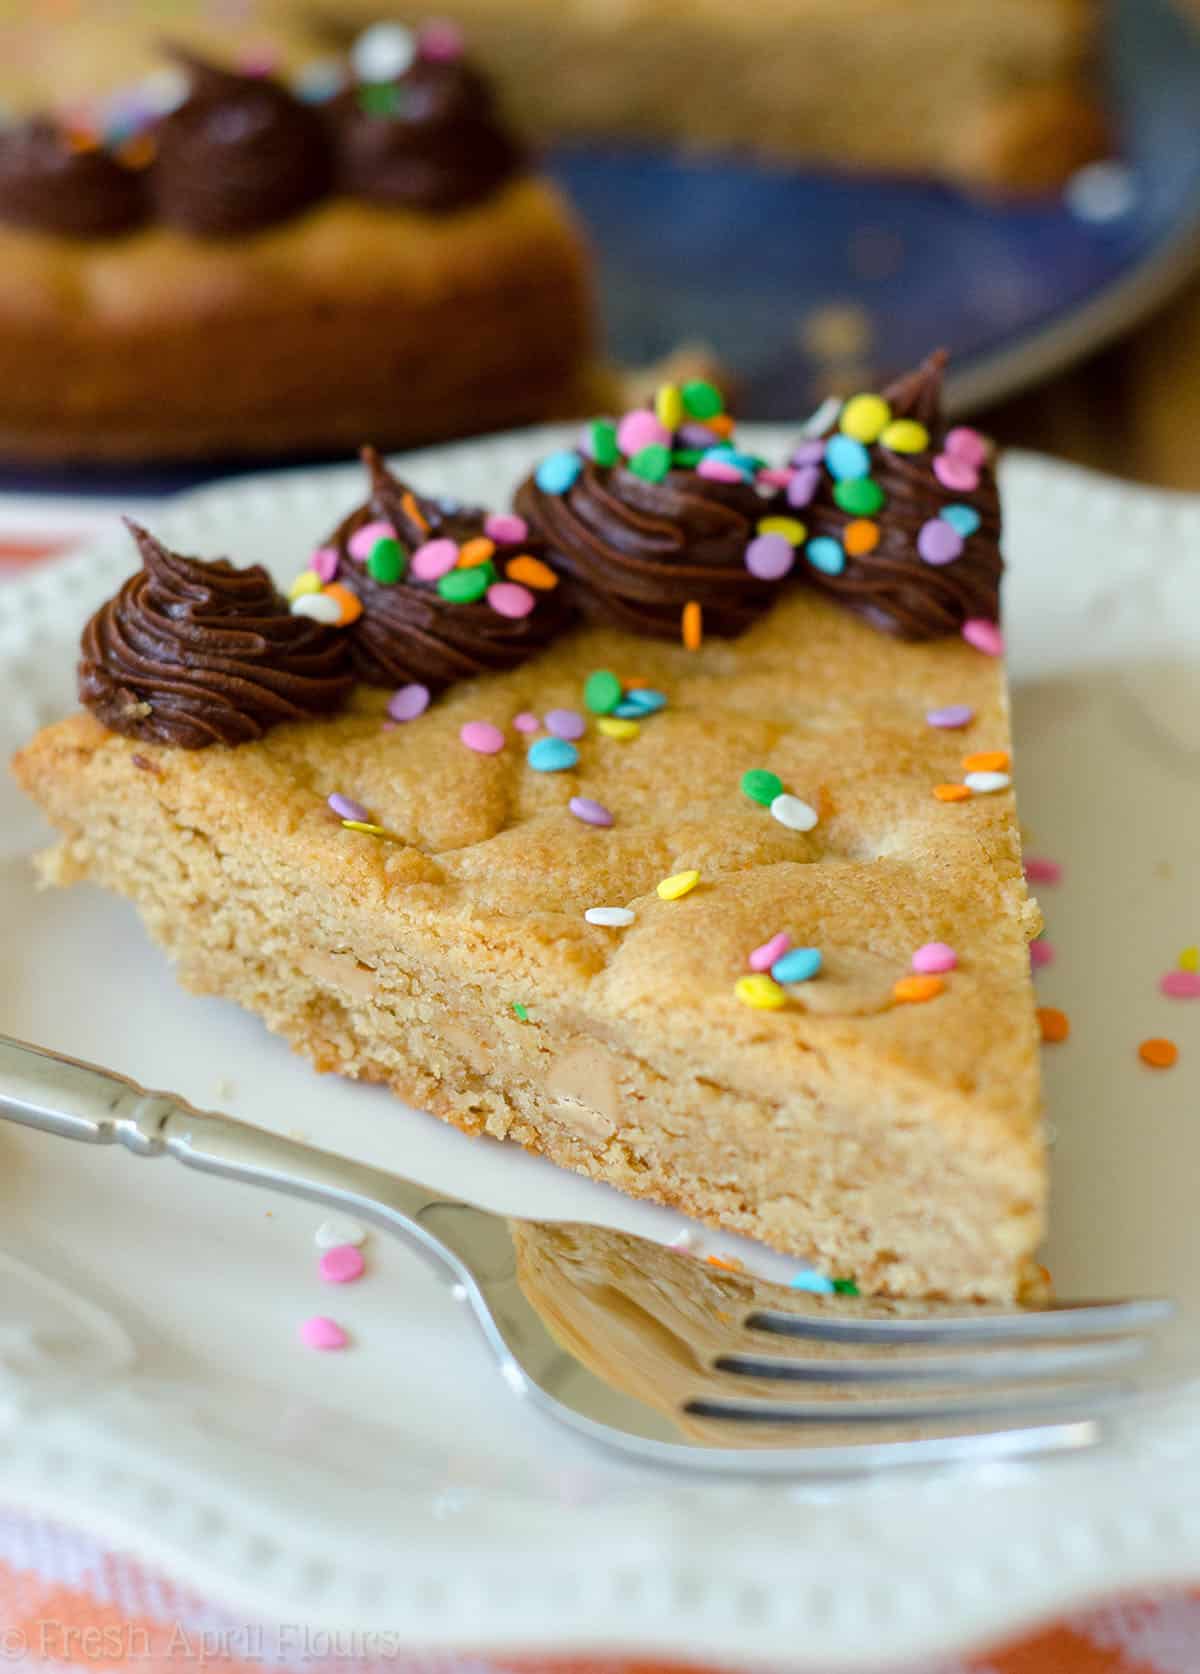
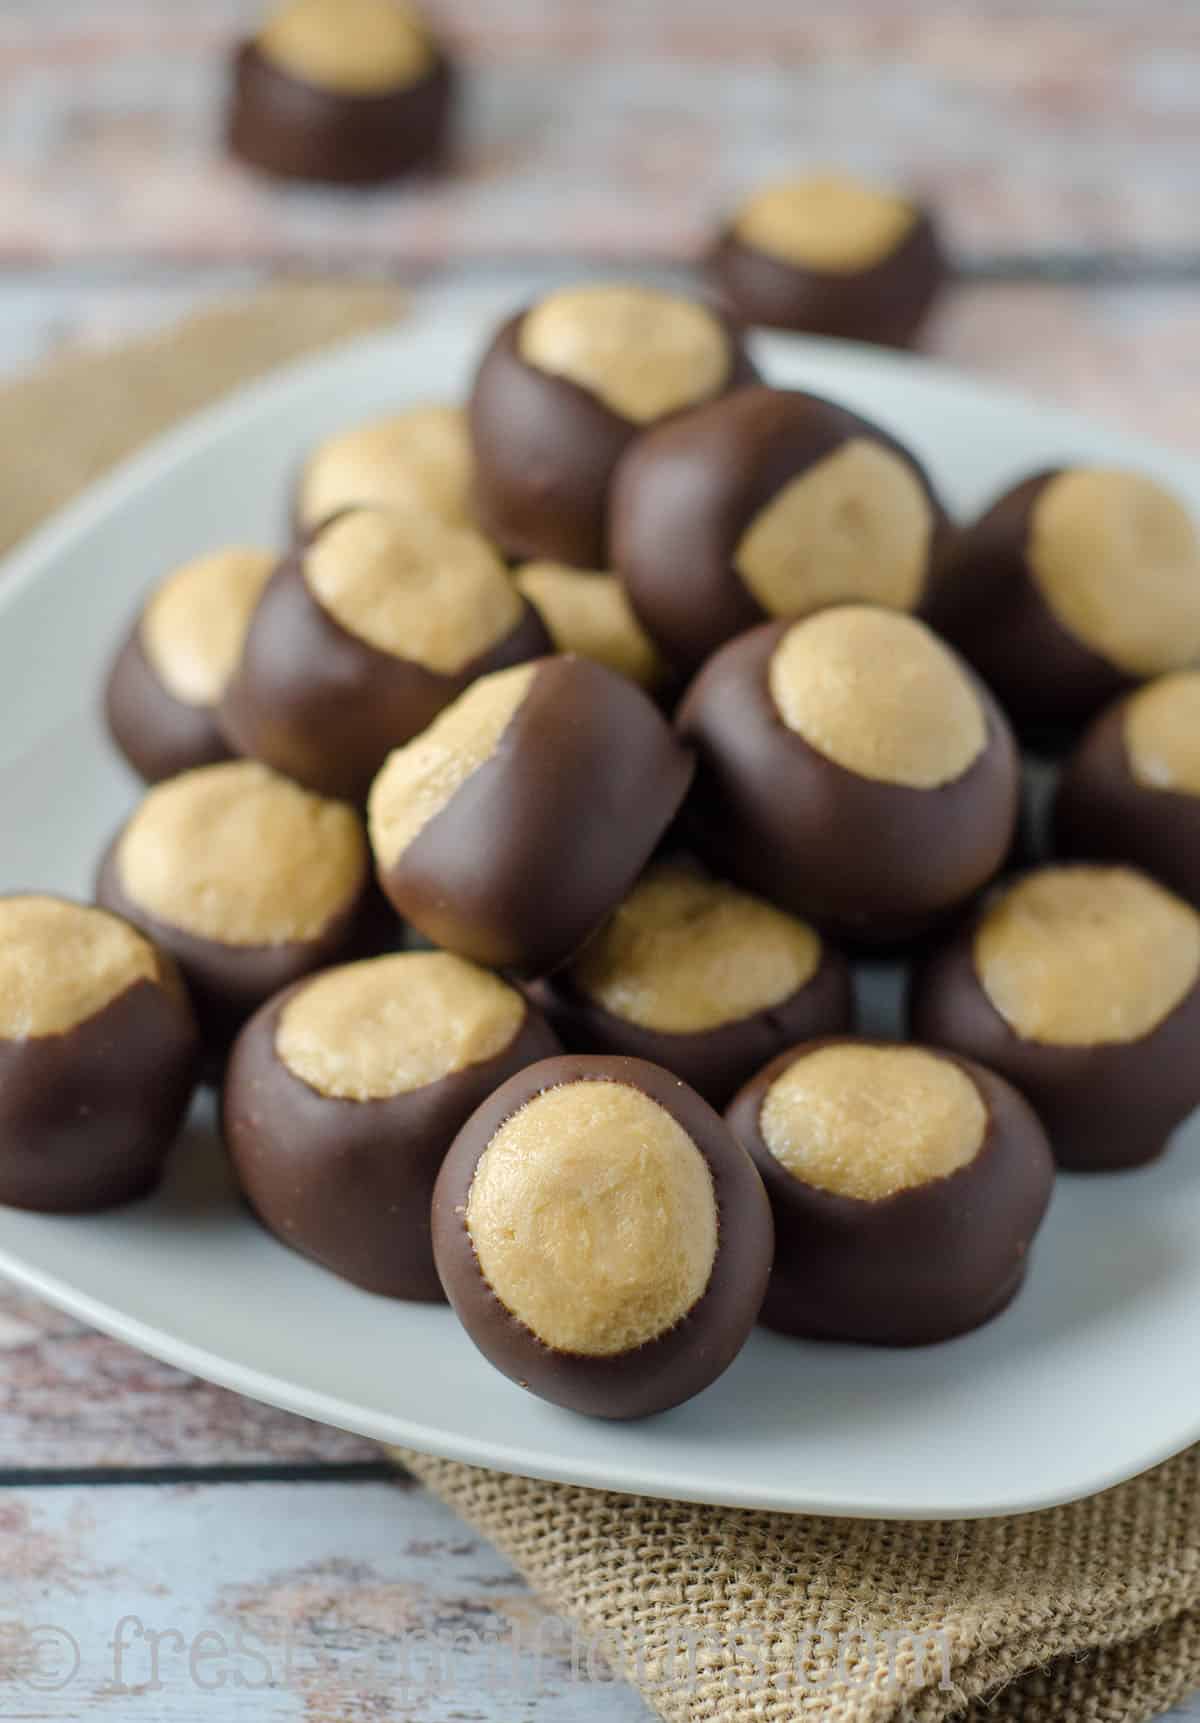
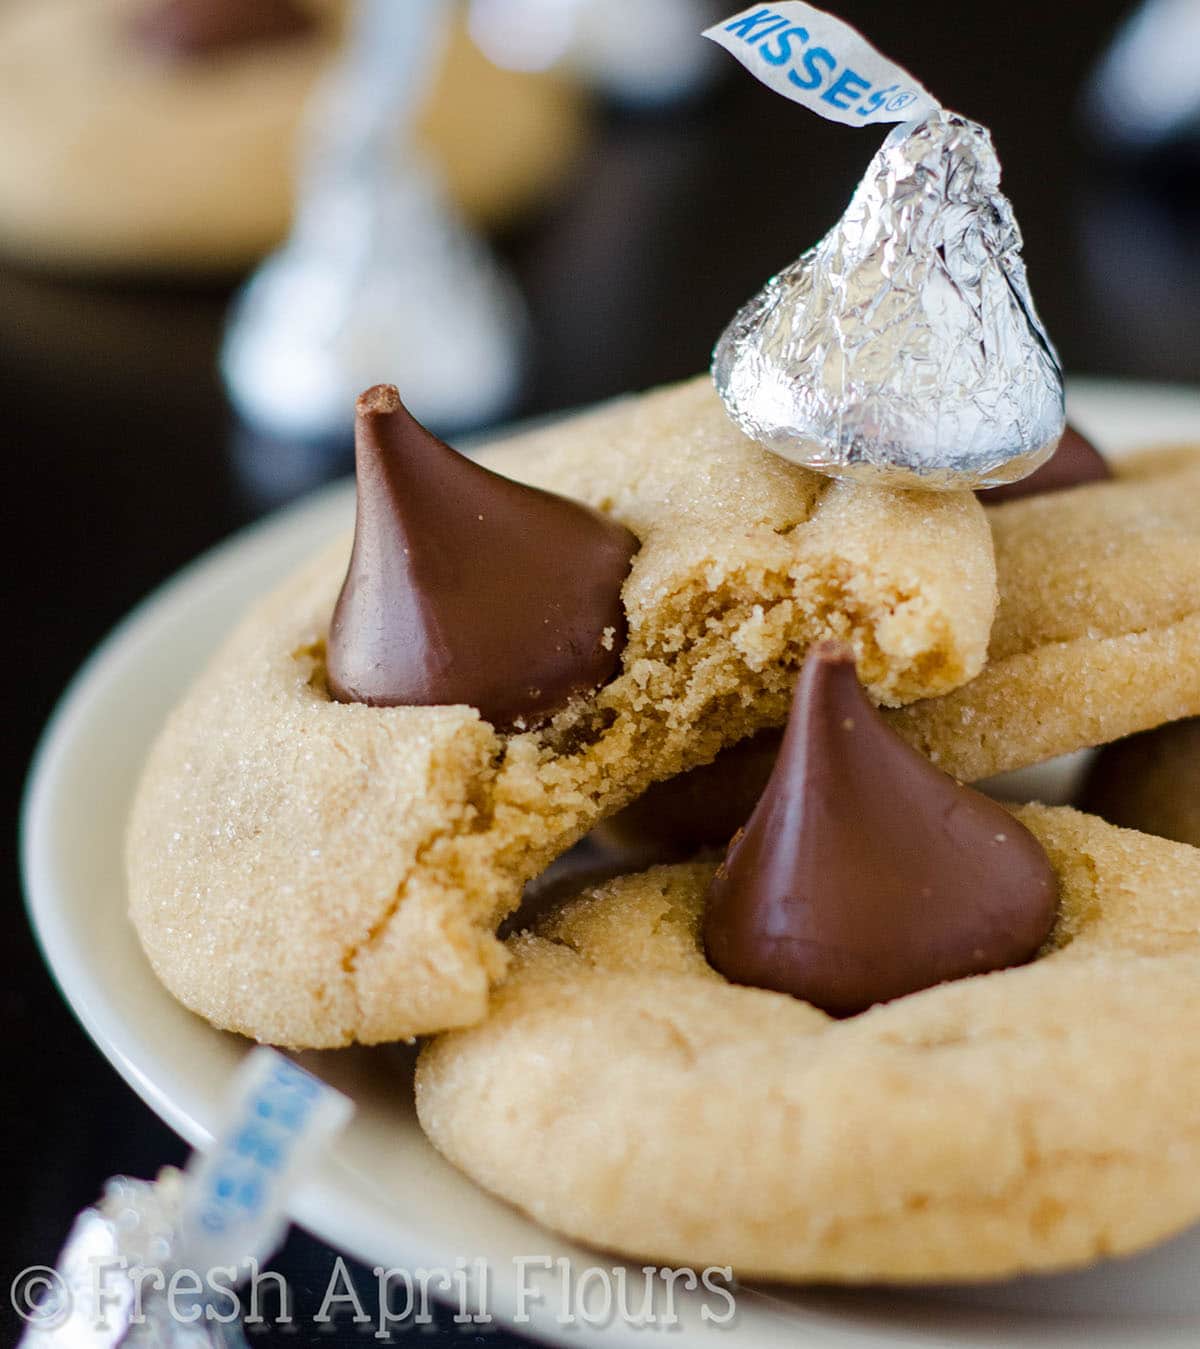
If you’re a chocolate peanut butter fan, check out some of my favorite chocolate peanut butter recipes: dark chocolate layer cake with peanut butter frosting, peanut butter cookie cake, Buckeye candy, peanut butter blossoms, and chocolate chip peanut butter bread.

Chocolate Peanut Butter Bites
Ingredients
- 10 ounces (285g) high-quality white chocolate chopped
- 2 teaspoons vegetable shortening divided
- 10 ounces (285g) high-quality semi-sweet or dark chocolate chopped
- ¼ cup (57g) unsalted butter melted
- ¾ cup (192g) creamy peanut butter not natural
- 4 full sheets graham crackers crushed (about ¾ cup)
- 1 and ½ cups (180g) powdered sugar
- 1 teaspoon vanilla extract
- 24 Reese's peanut butter cup minis
- ⅓ cup (80g) peanut butter chips
- ½ cup (112g) mini semi-sweet chocolate chips
Instructions
- Line an 8″ x 8″ baking pan with foil, leaving an overhang. Set aside.
- In a medium saucepan over low heat, melt the white chocolate and 1 teaspoon of vegetable shortening, stirring constantly, until completely melted.
- Pour the melted white chocolate into prepared pan, tap on counter a few times to settle everything, and refrigerate pan while you make your peanut butter layer. Do not clean your saucepan– you will need it again.
- In a medium size bowl, combine the melted butter, peanut butter, crushed graham crackers, powdered sugar, and vanilla extract. Mix well until completely combined.
- Remove your pan with the chilled white chocolate layer from the refrigerator. Press the peanut butter layer evenly on top of the white chocolate layer with your hands or the back of your spoon or spatula.
- Press mini-peanut butter cups into peanut butter layer in rows (does not have to be perfect). Set aside.
- Working again with the saucepan, melt the dark chocolate and the remaining teaspoon of vegetable shortening, stirring constantly, until completely melted.
- Pour melted chocolate on top of peanut butter/mini-peanut butter cup layer and spread evenly with spoon or spatula. Tap pan on counter a few times to settle everything. Sprinkle mini semi-sweet chocolate chips and peanut butter chips on top of dark chocolate layer. Refrigerate for 30 minutes.
- When pan is completely chilled, remove by holding foil overhangs and cut into desired serving size. Cut bar/bites should be kept in the refrigerator.
Notes
Nutrition Disclosure
All nutritional values are approximate and provided to the reader as a courtesy. Changing ingredients and/or quantities will alter the estimated nutritional calculations.
WOW! Pinned! That looks incredible!
These look amazing! I just wanted to let you know I have a website (Simply Creative Recipe) where I showcase recipes that I find and I am linking to this post if you don’t mind. Please feel free to submit any recipes to my site if you’d like.
Thanks, Alyssa!